- TOSIZE.lu
- Do it yourself
- DIY Projects
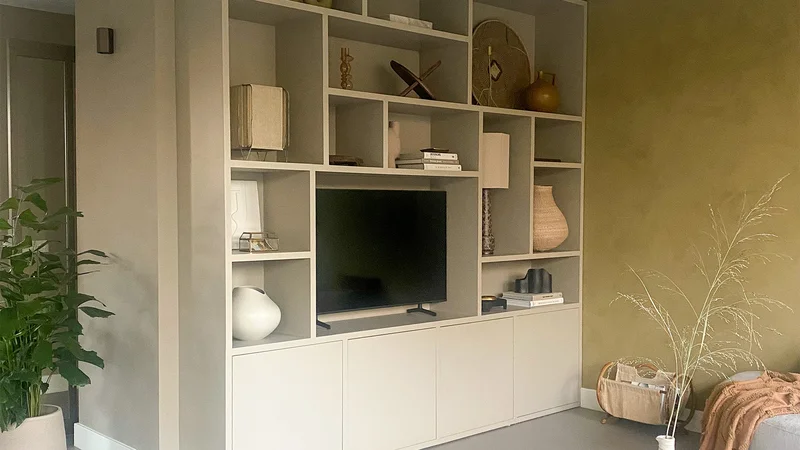
A TOSIZE furniture cupboard with storage space, by Joram
A TOSIZE furniture cupboard with storage space, by Joram
Make this furniture yourself using TOSIZE.lu
Joram
Average
3 minutes
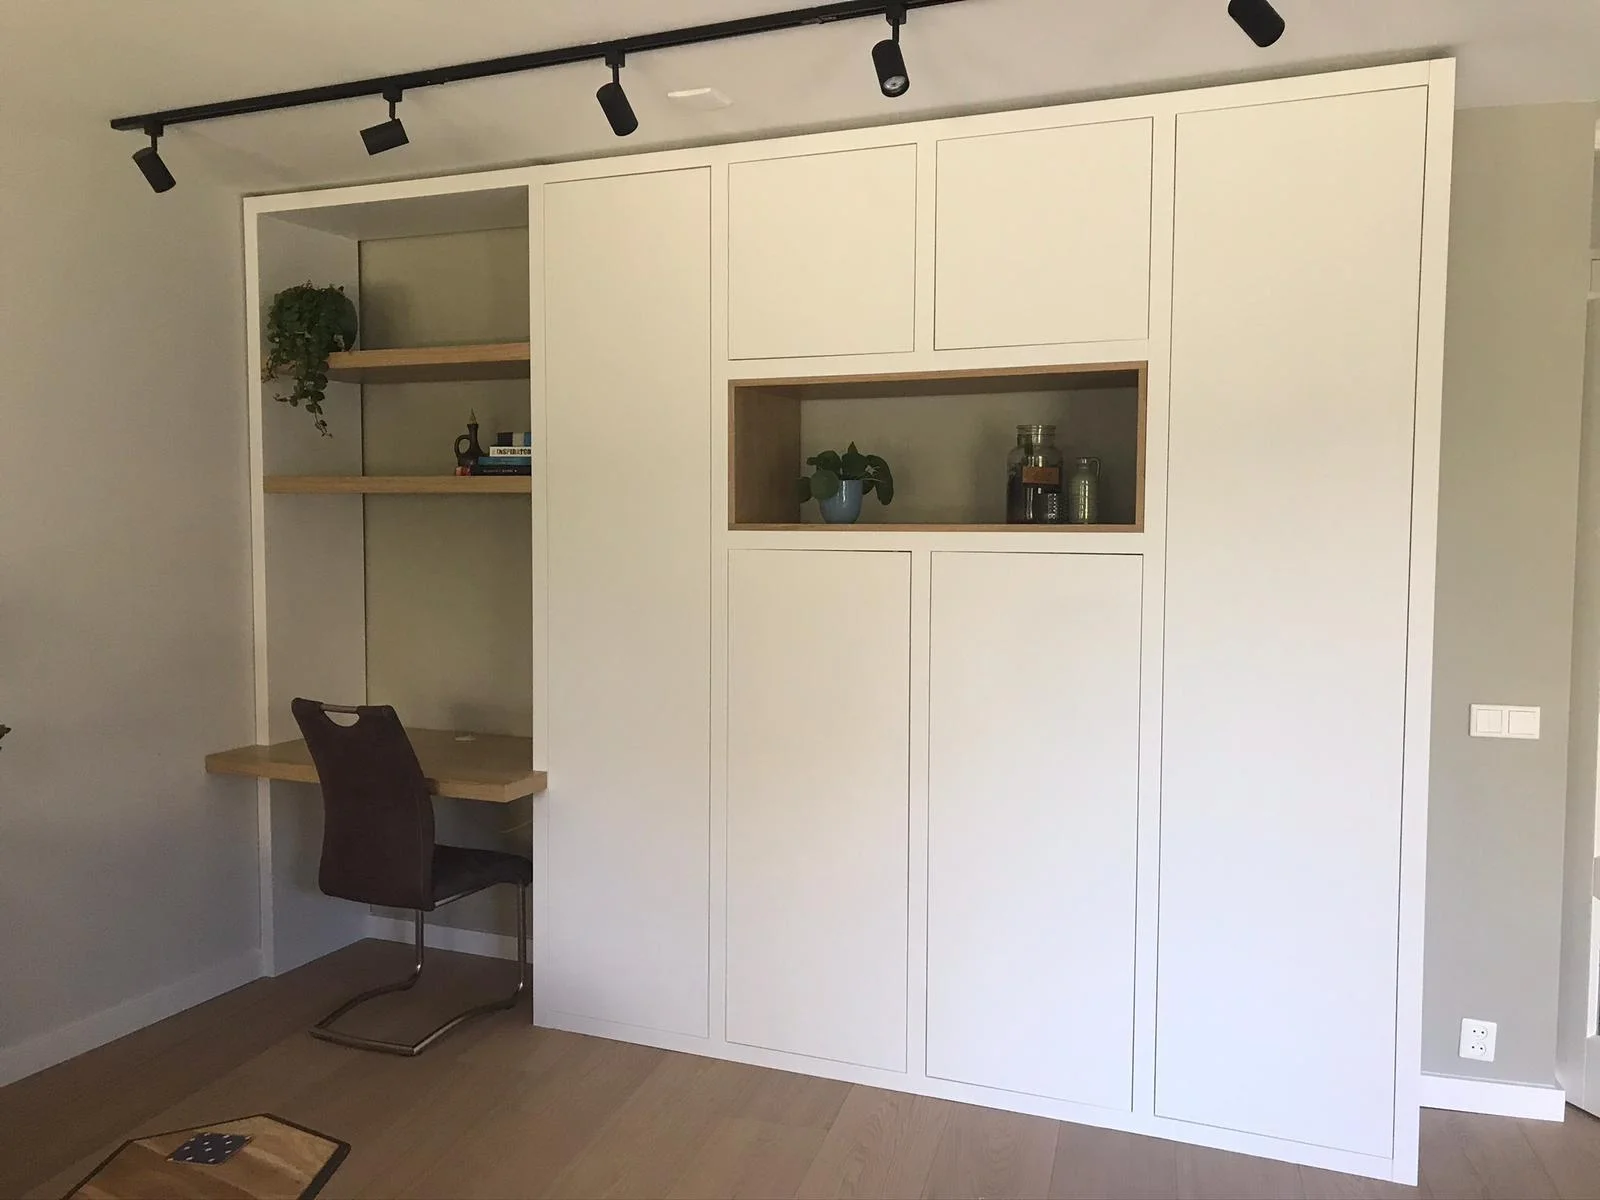
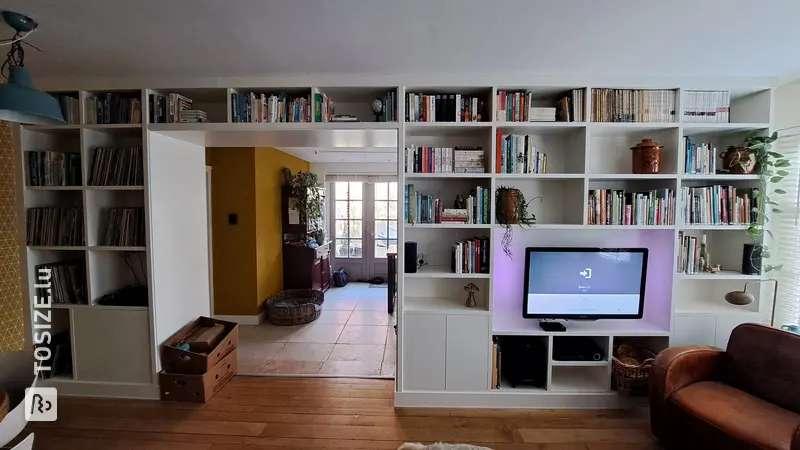
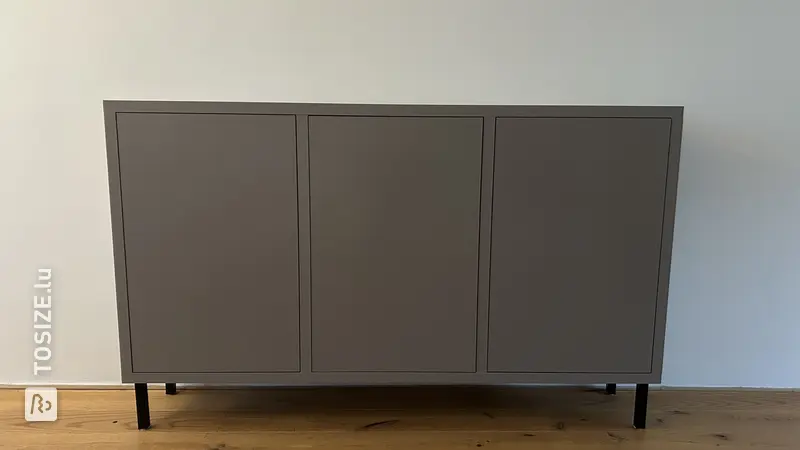
Joram shares his experience in this DIY project of assembling, building, and finishing a beautiful custom-made wardrobe. He chose MDF so that he could paint the wardrobe himself. Read more about his experience below.
Description from Joram
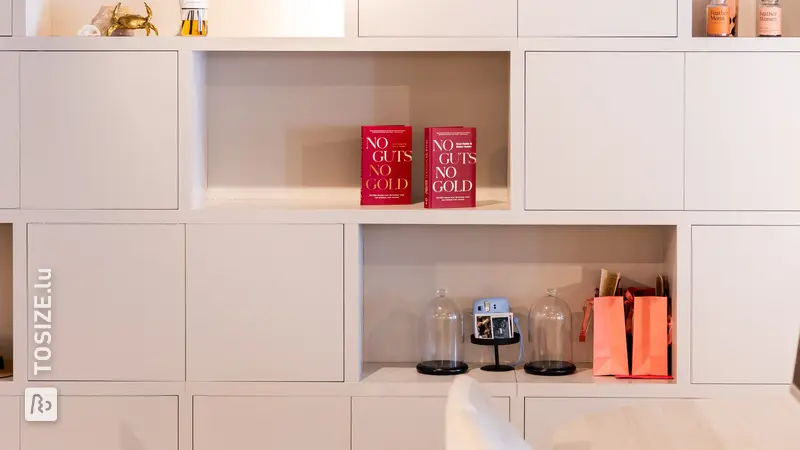
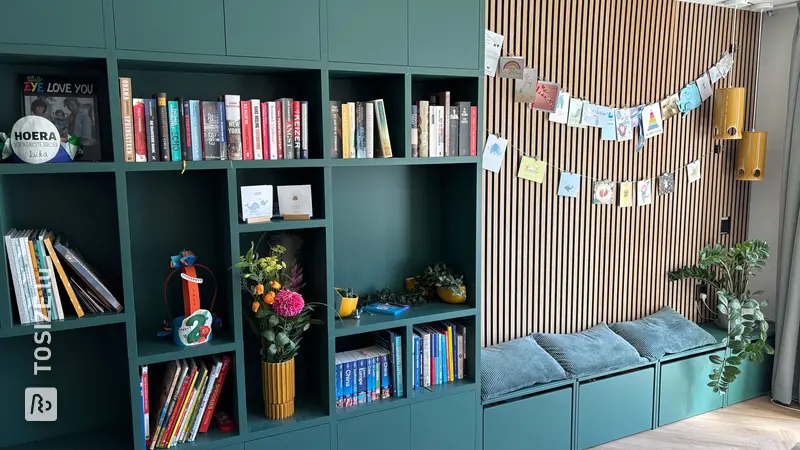
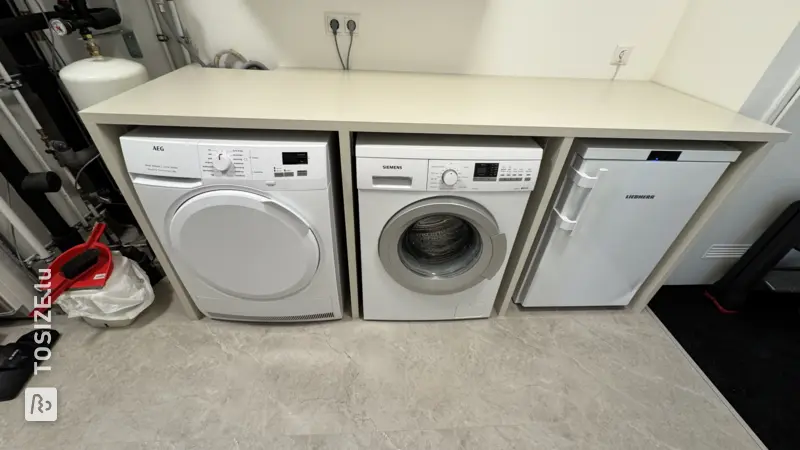
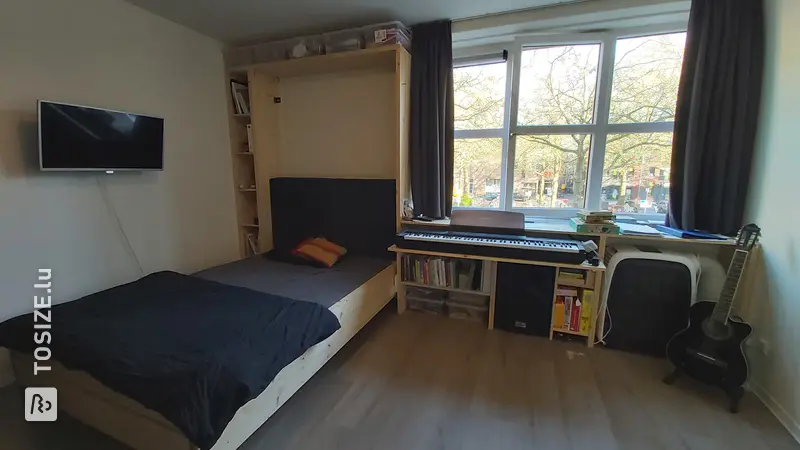
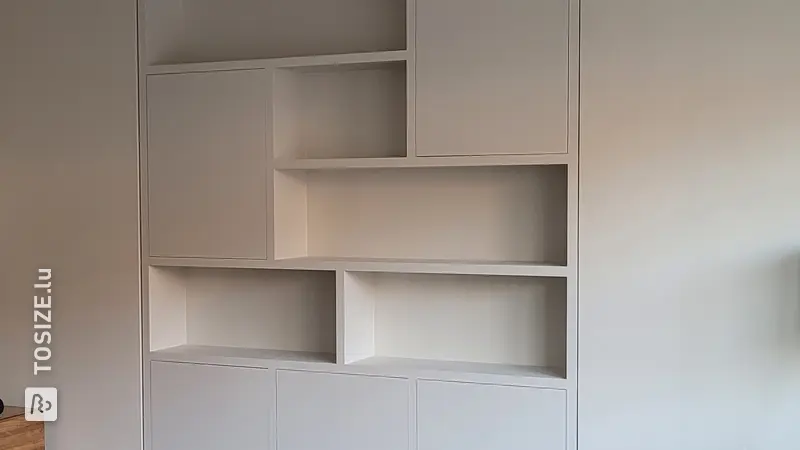
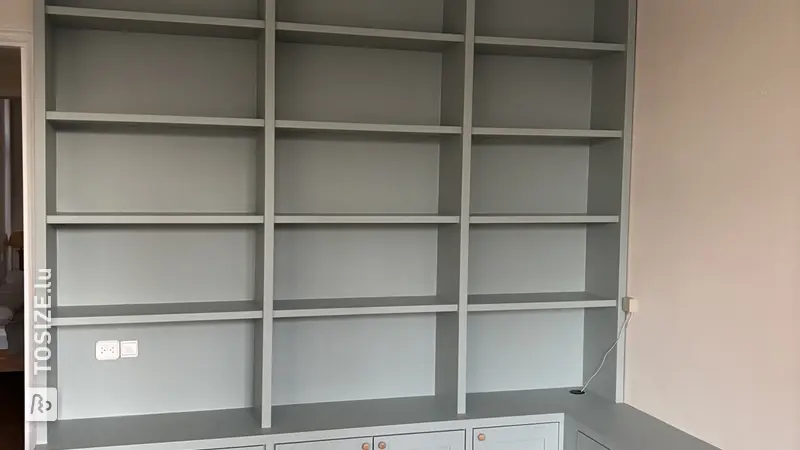
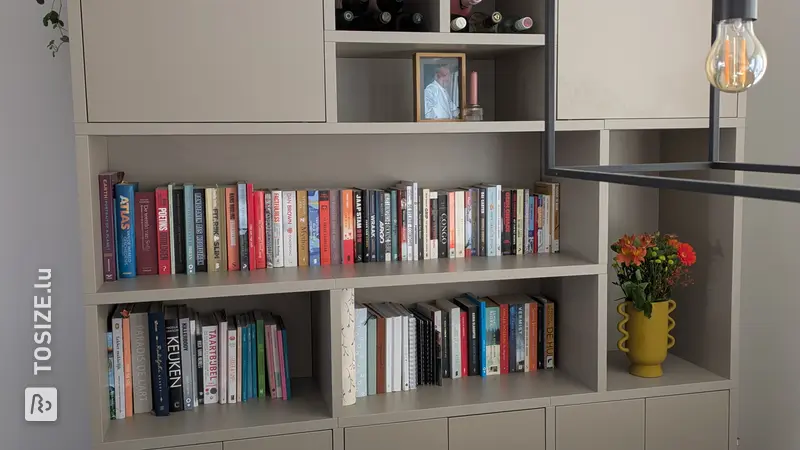
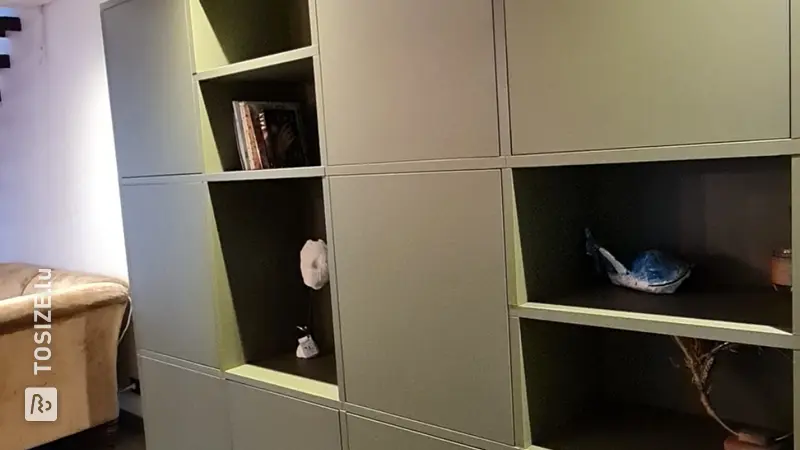
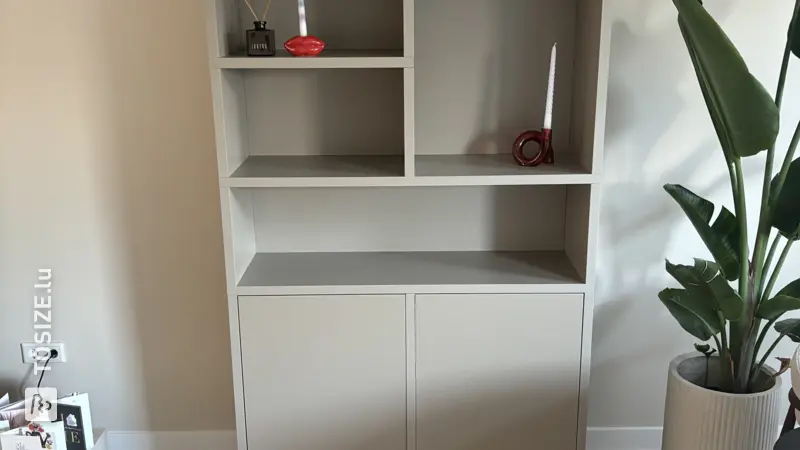
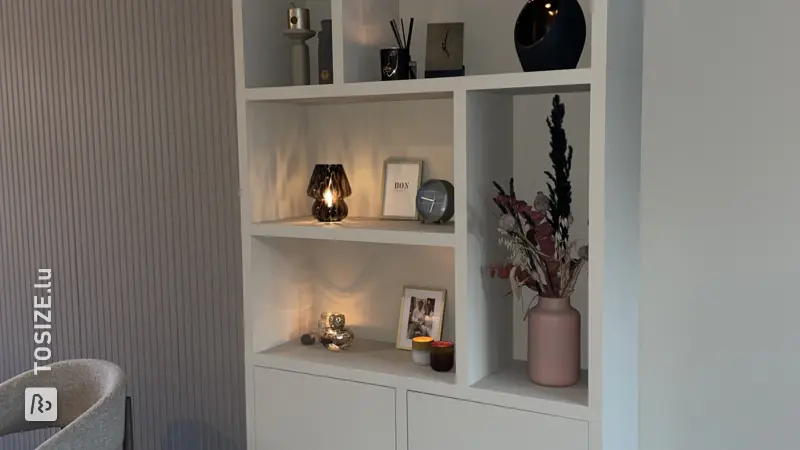
In early 2023, the idea to create a custom wardrobe arose. Why? Because there wasn't a single ready-made wardrobe that met our exact needs. Our wishes:
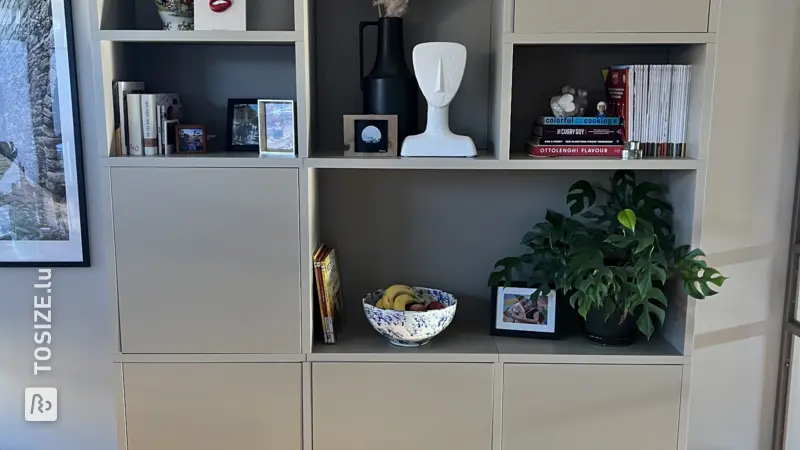
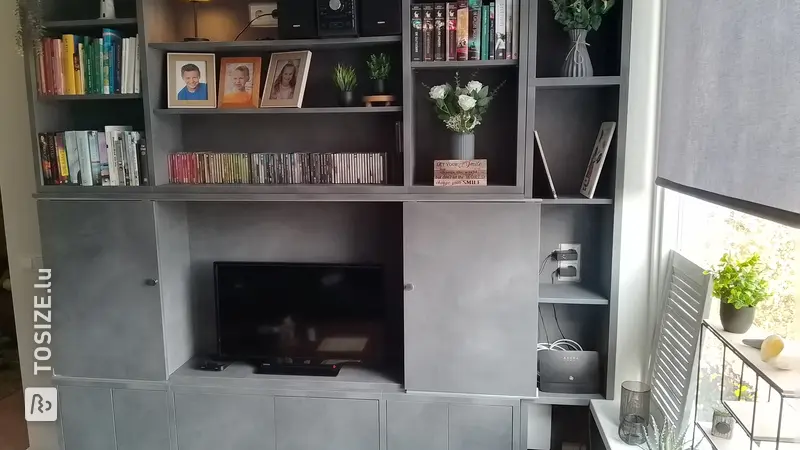
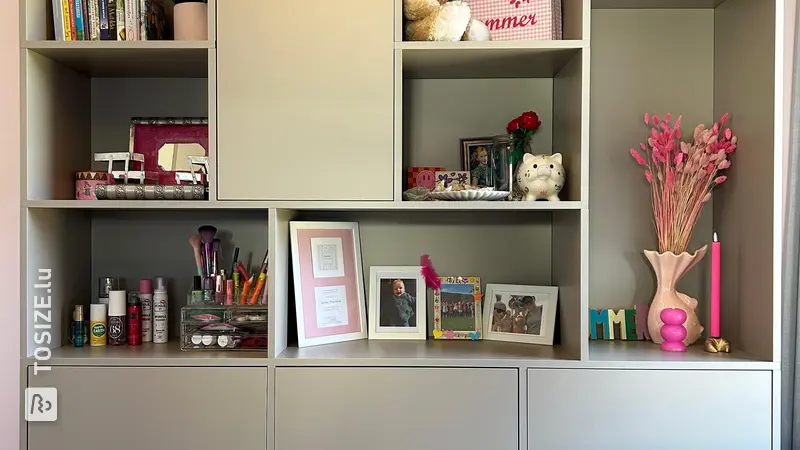
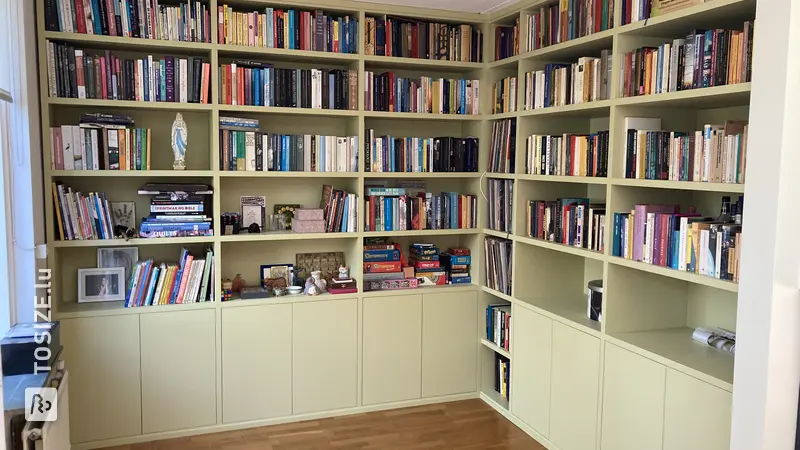
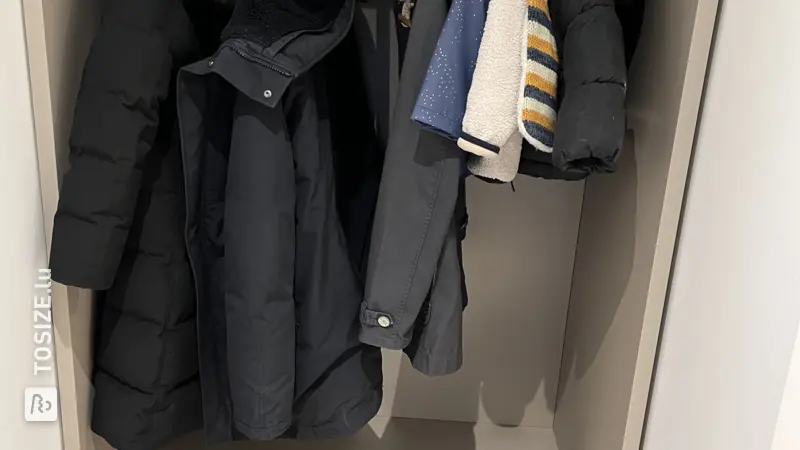
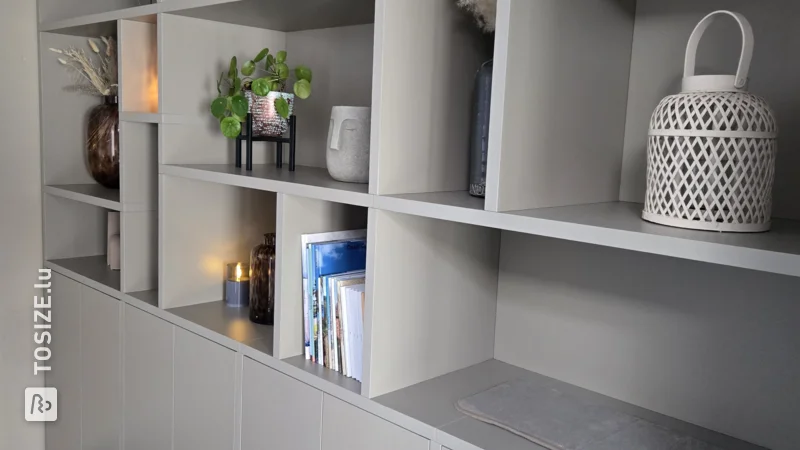
- Functional (ample storage space)
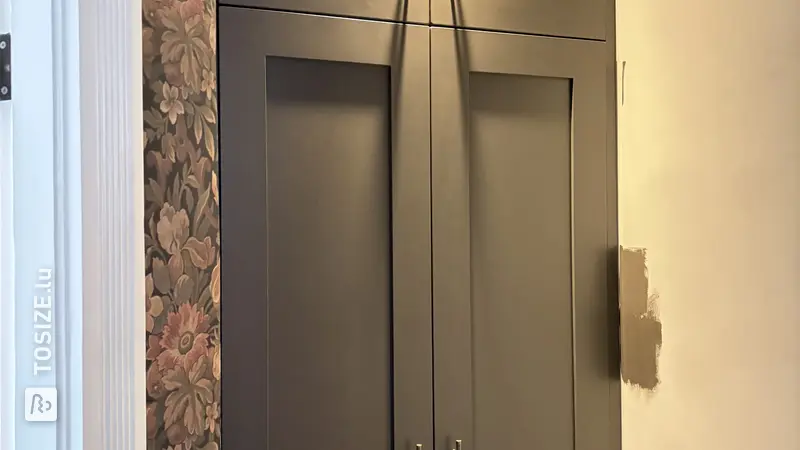
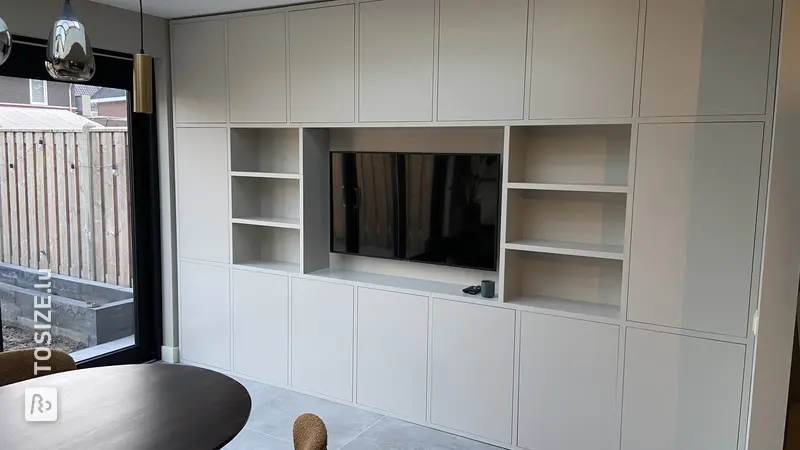
- Wardrobe up to the ceiling
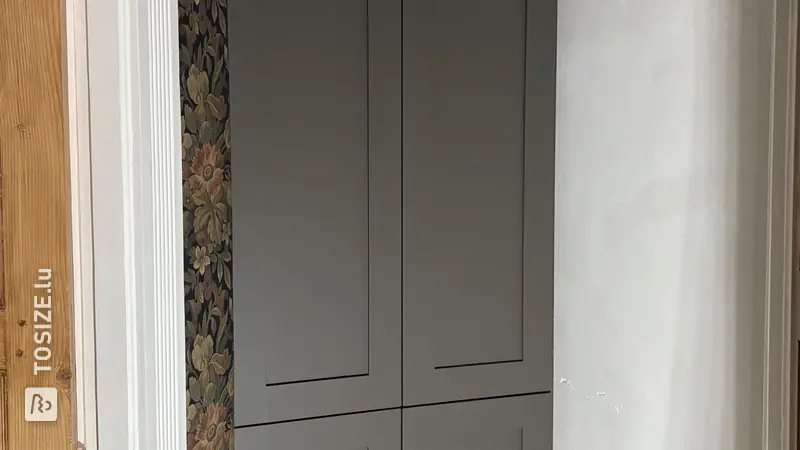
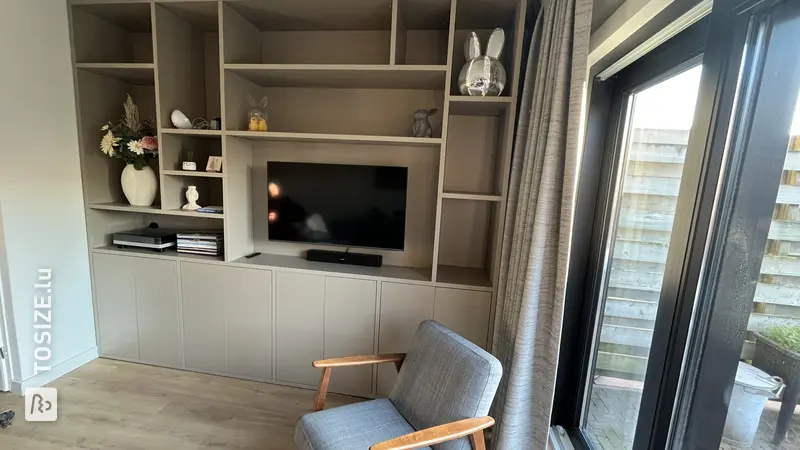
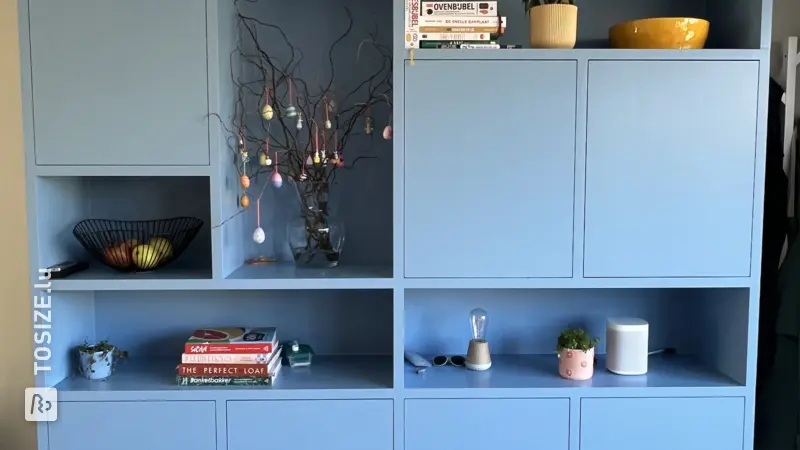
- Wardrobe in the same color as the wall behind it
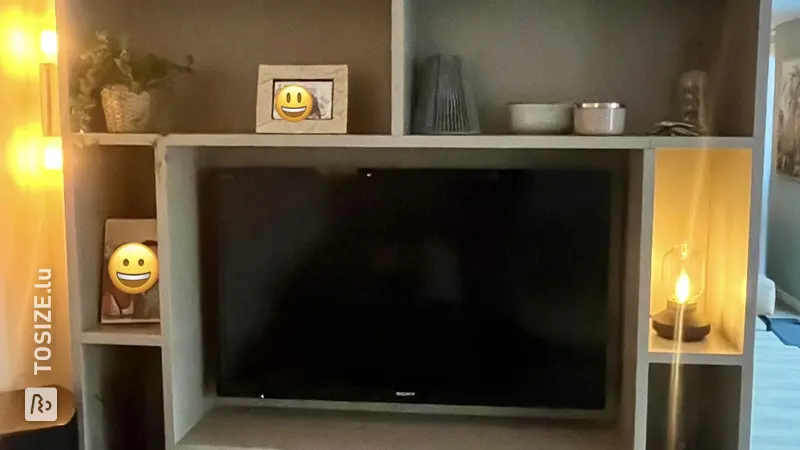
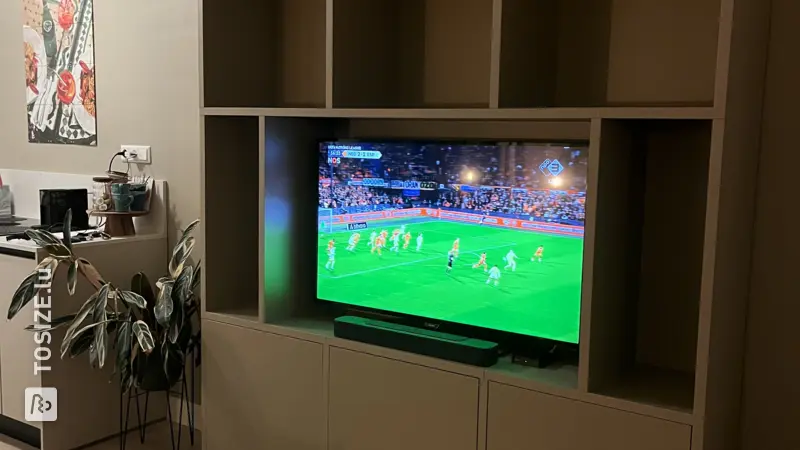
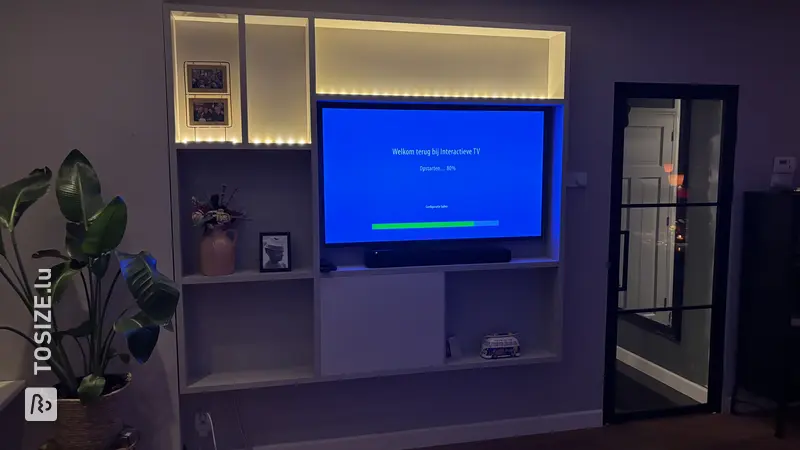
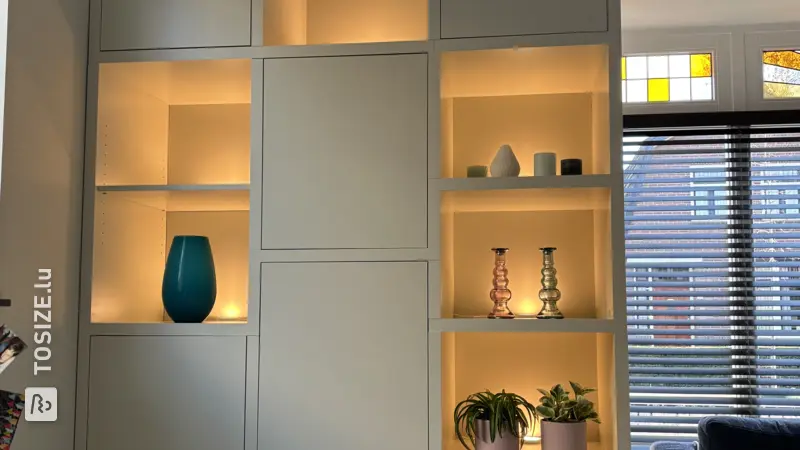
- Lighting inside the wardrobe
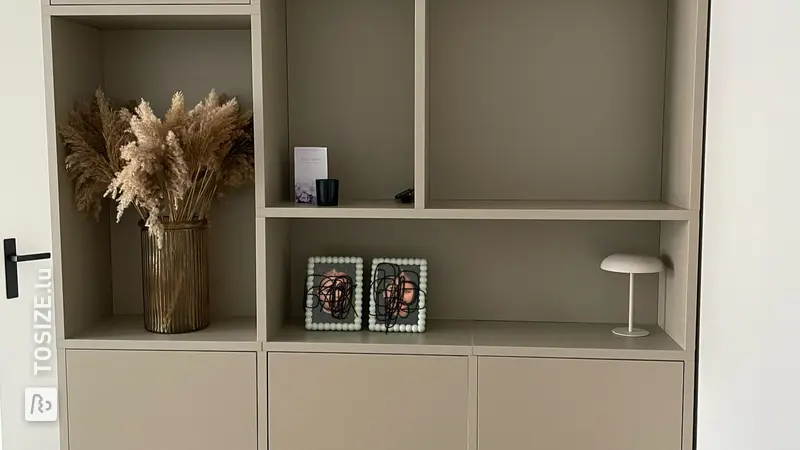
- Sufficient space for home accessories
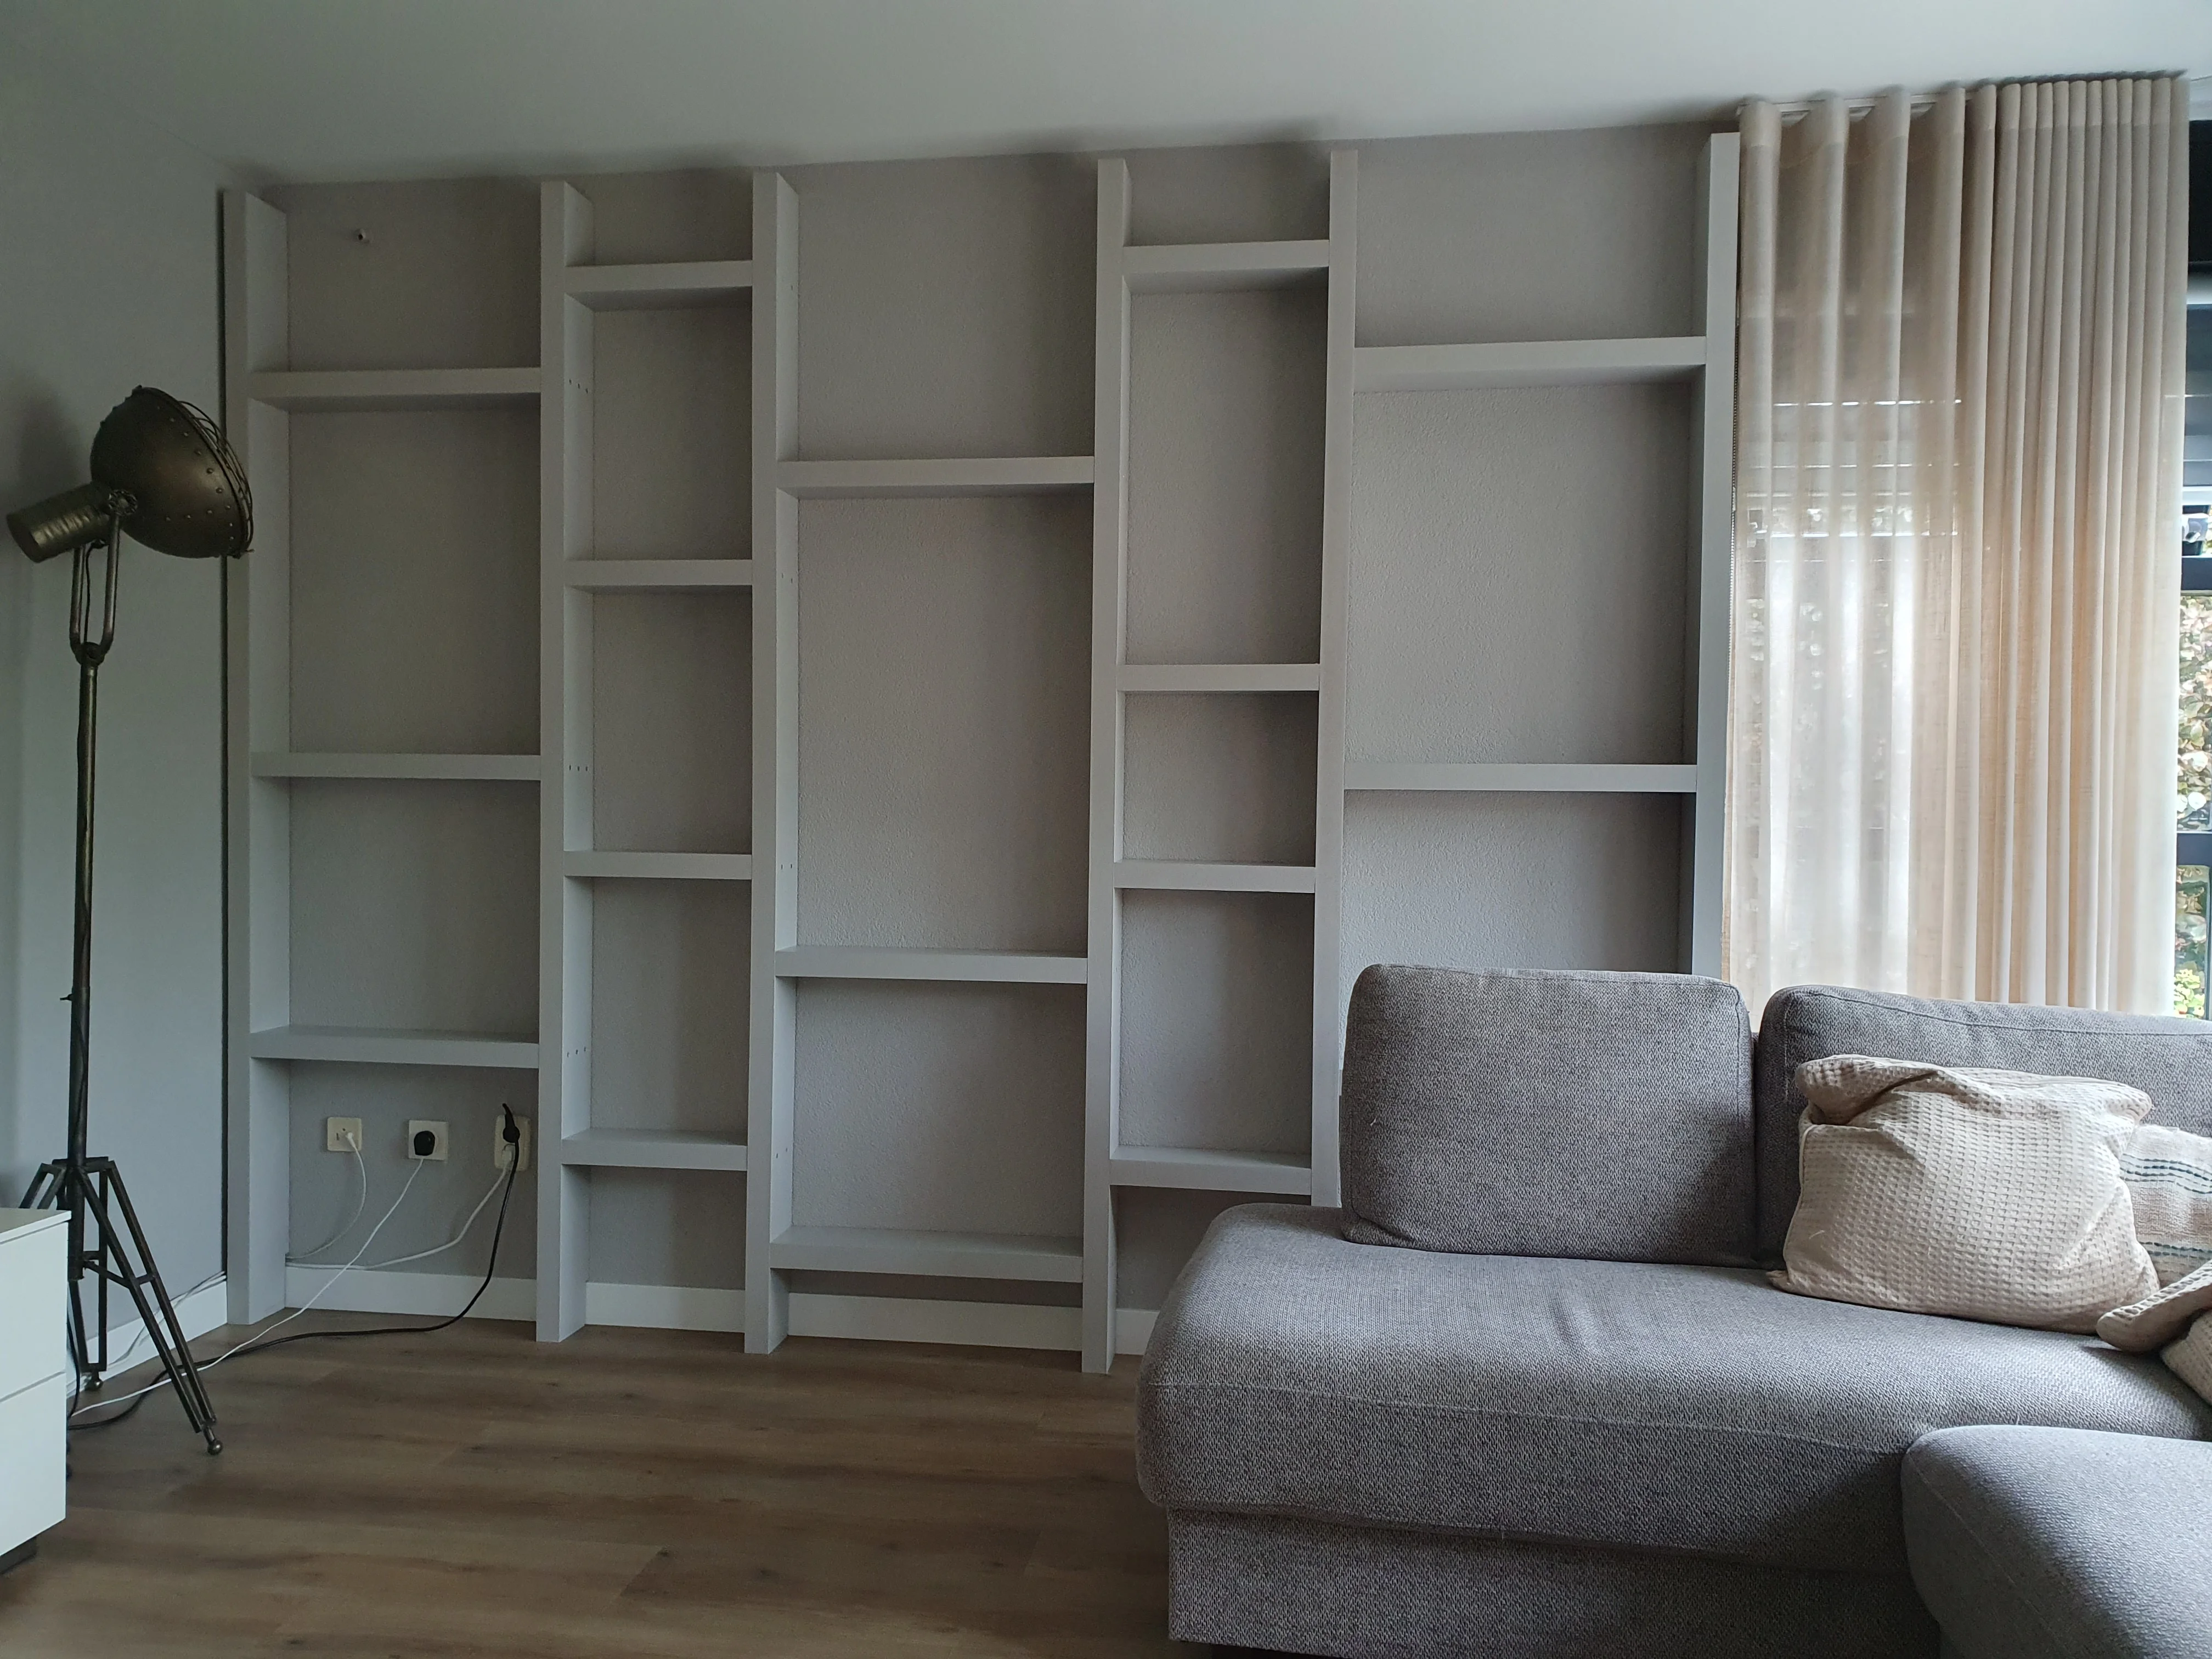
We quickly came across this handy webshop and were inspired by the many DIY projects. We first drew a sketch of the wardrobe on paper, then designed it in the TOSIZE configurator. The staff was very thoughtful and attentive, which led to a few adjustments until we arrived at the best wardrobe for us. The wardrobe arrived in early June, and that's when the real project began!
How I approached this project
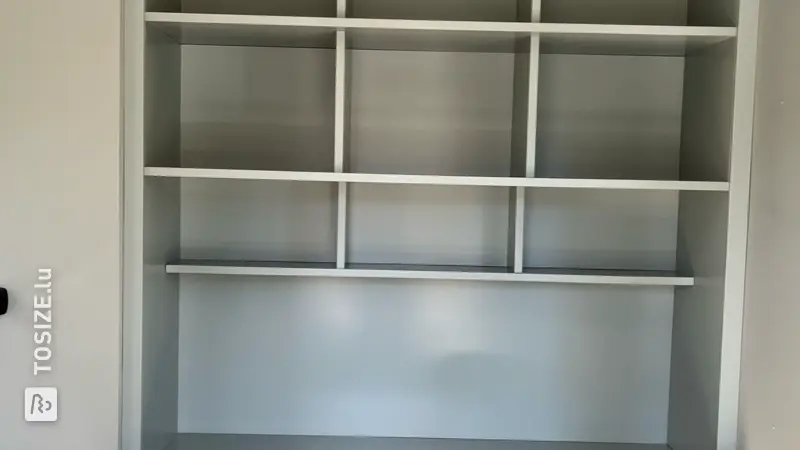
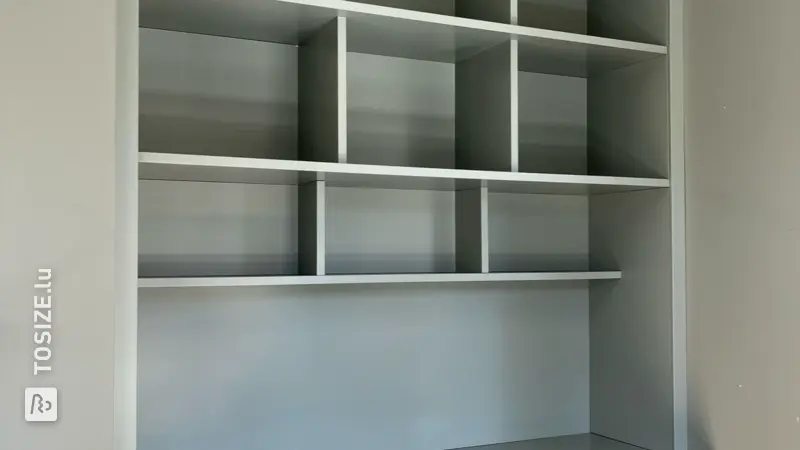
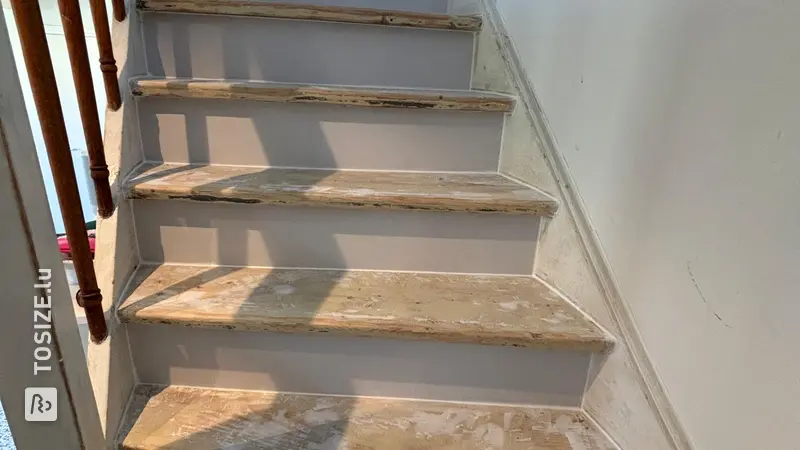
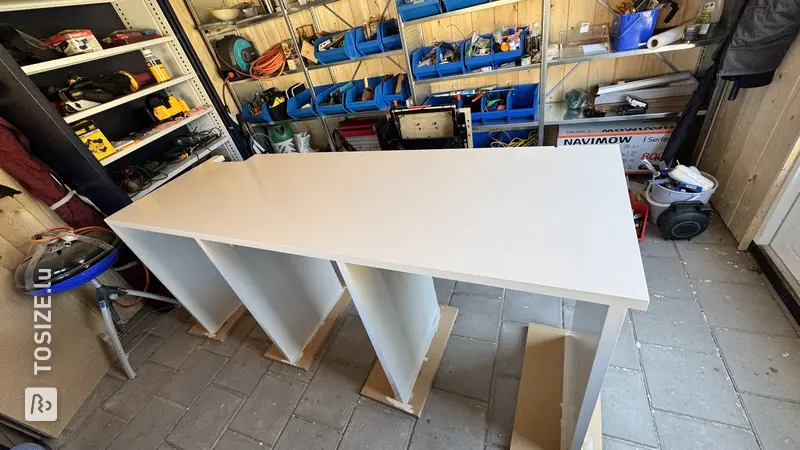
Assembling the wardrobe, which we initially feared the most, turned out to be surprisingly quick! The design was clear, and the parts could only be assembled in one way. With two people, we spent about two hours putting the wardrobe together. Once the wardrobe was assembled, I proceeded as follows:
- The wardrobe and doors were first thoroughly cleaned with thinner to remove any dust and glue residues from the MDF, followed by sanding with 180-grit paper. I then wiped them again with Universol (degreaser) to ensure a clean, grease-free surface.
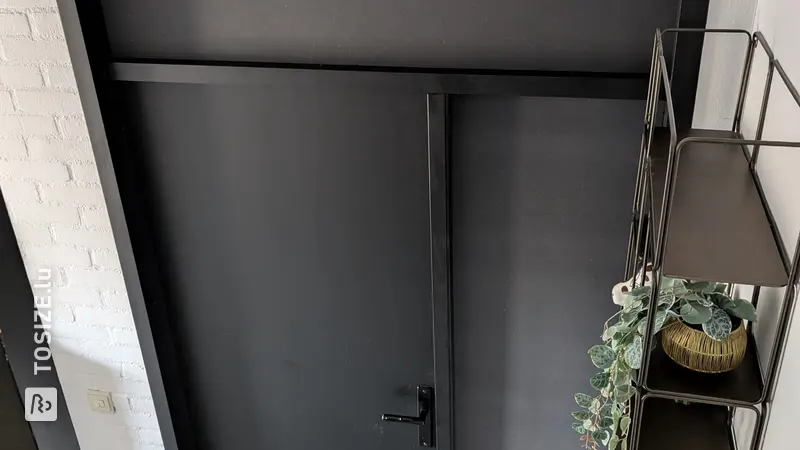
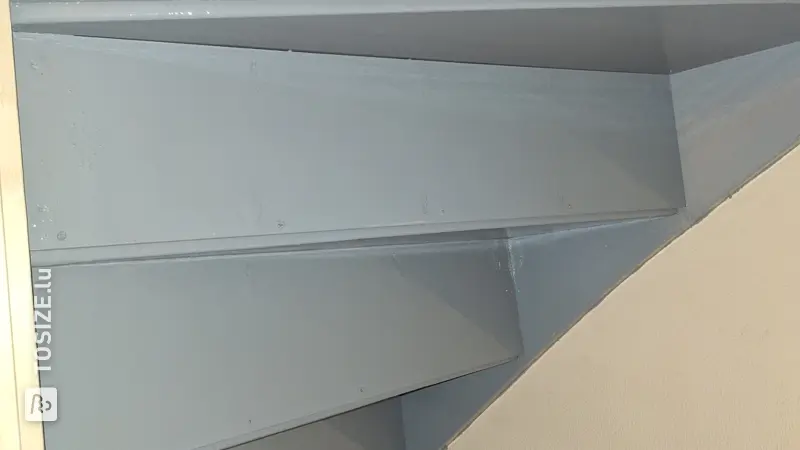
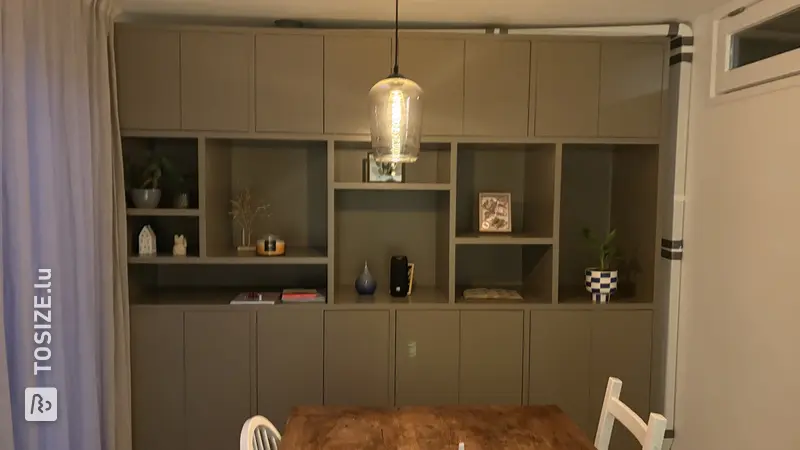
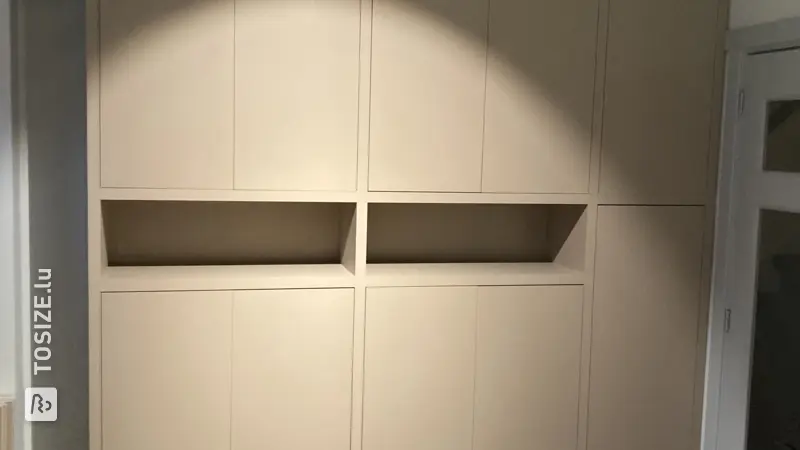
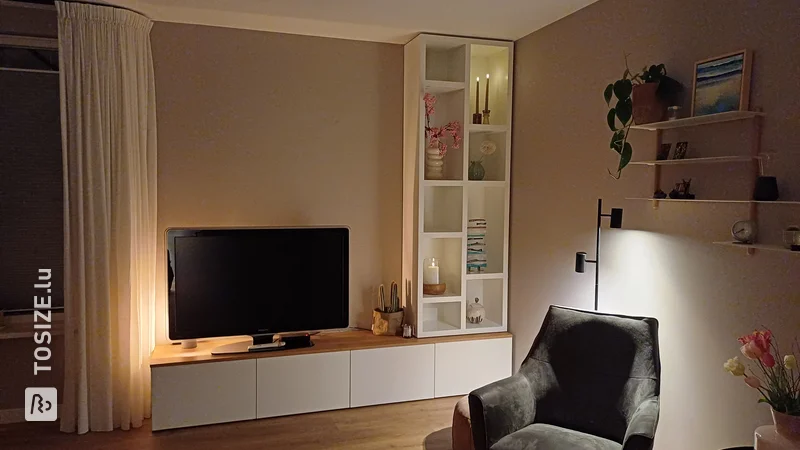
- Preparations for the lighting were made, and I created a skirting board for the top of the wardrobe to give it a neat finish and avoid shadow lines.
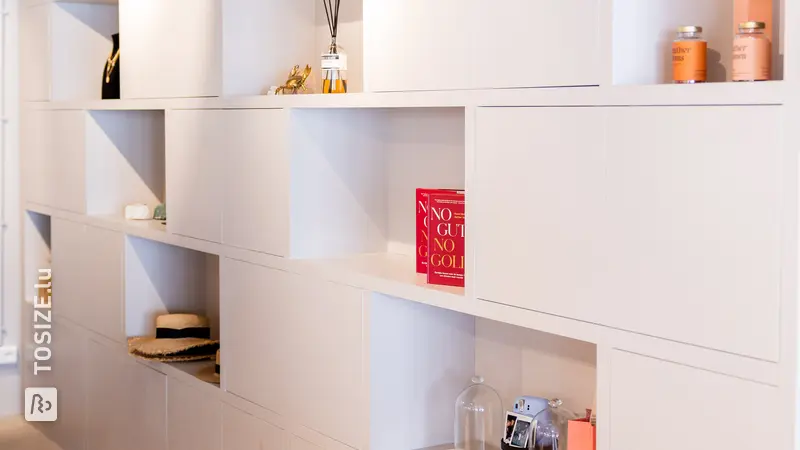
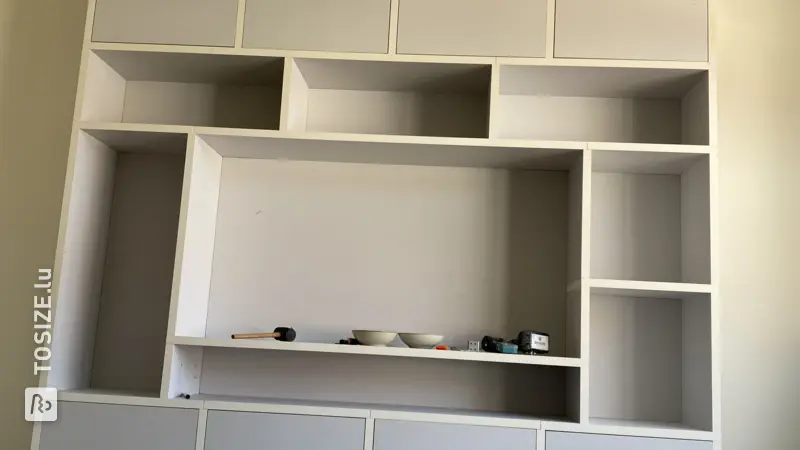
- I then primed the wardrobe and doors twice. After caulking the seams, especially those of the open compartments, I primed some parts a third time since the MDF absorbed a lot of paint.
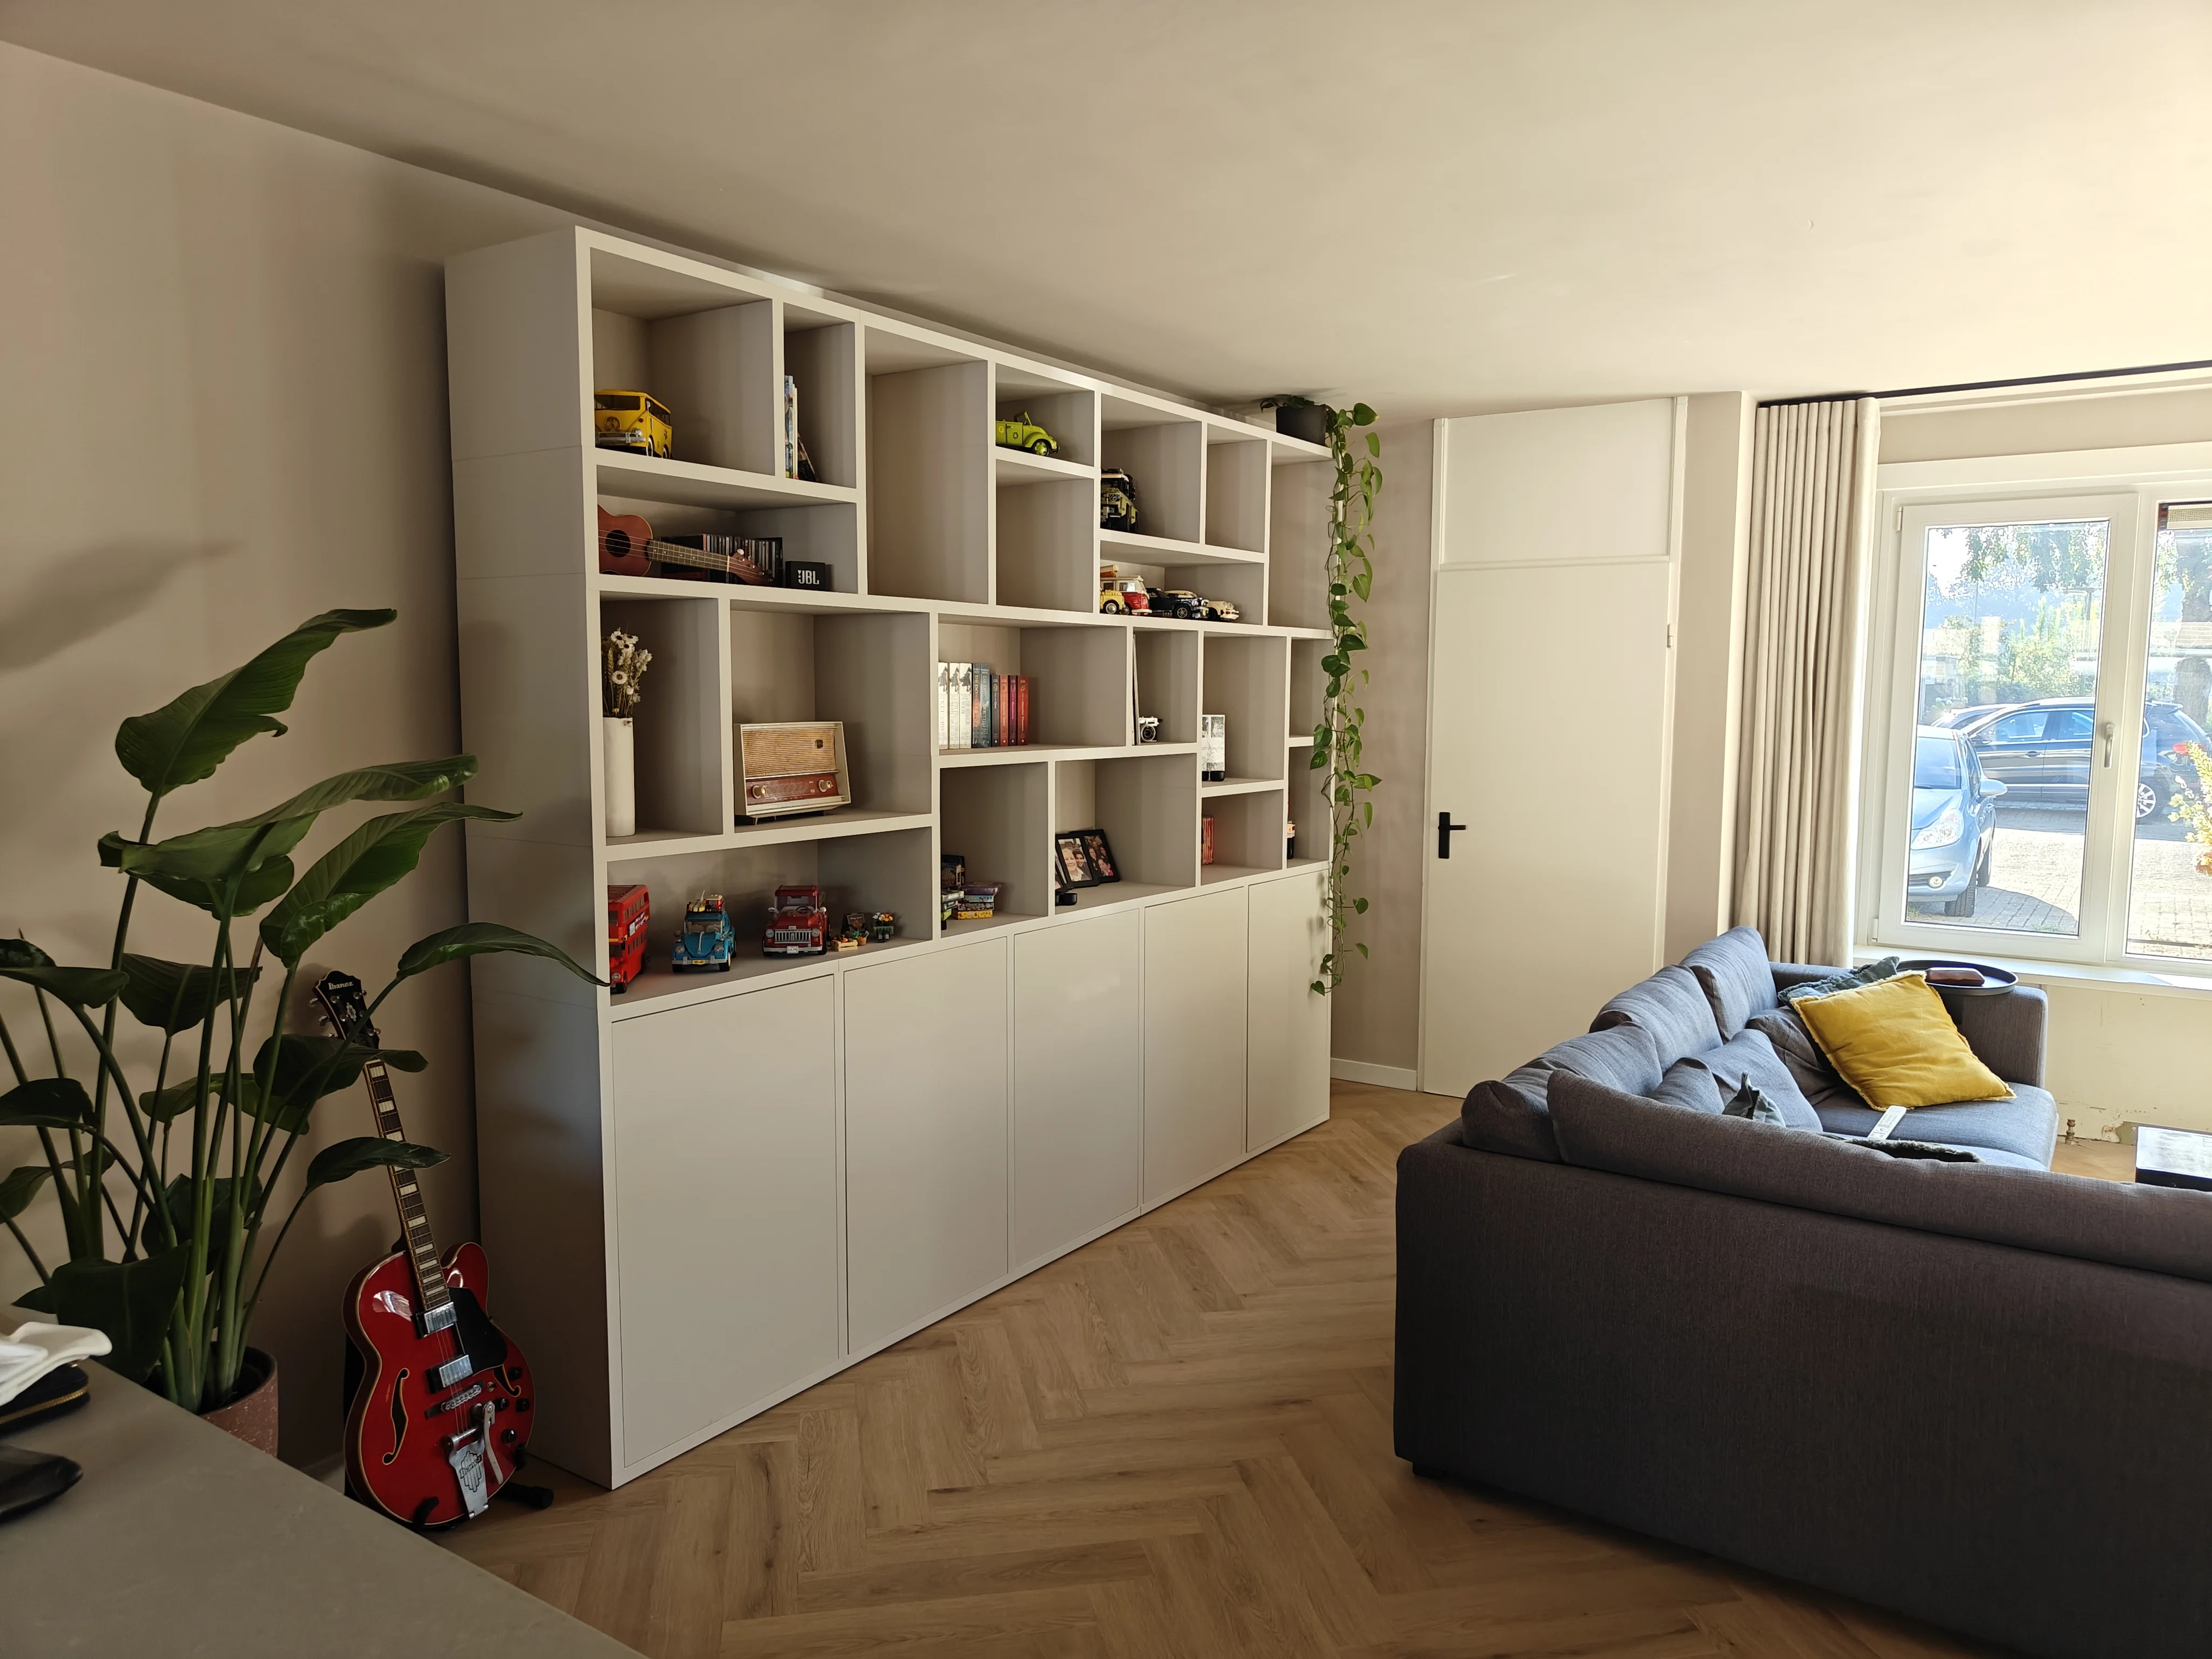
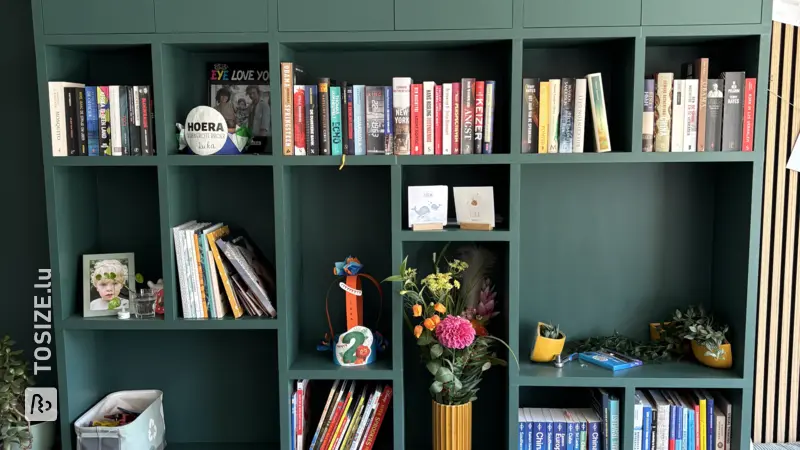
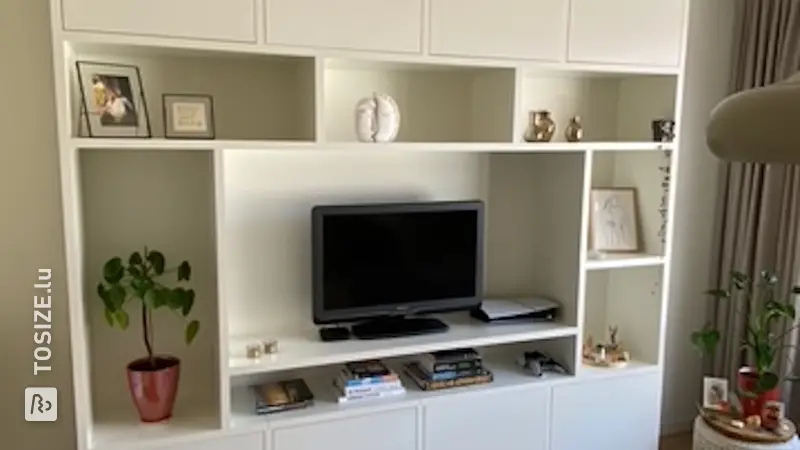
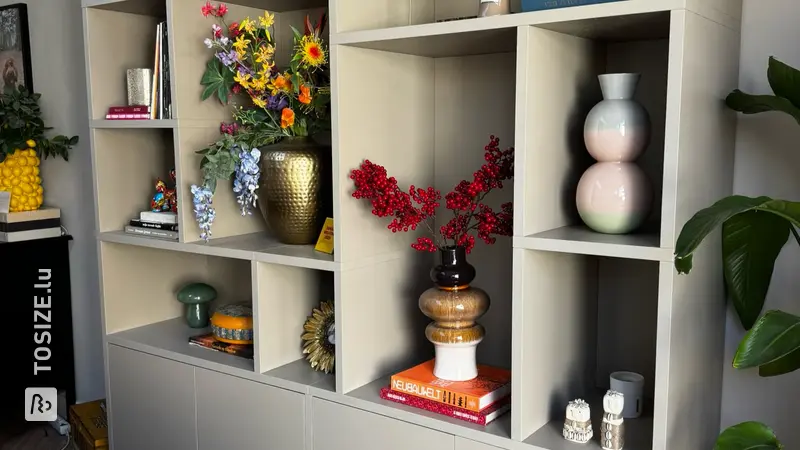
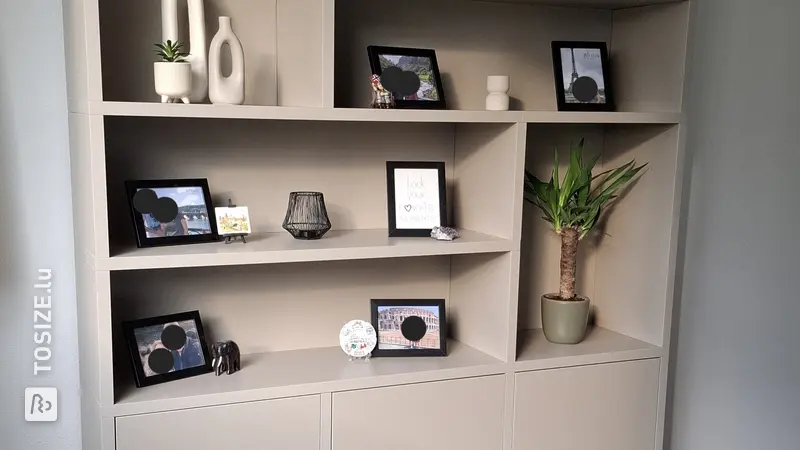
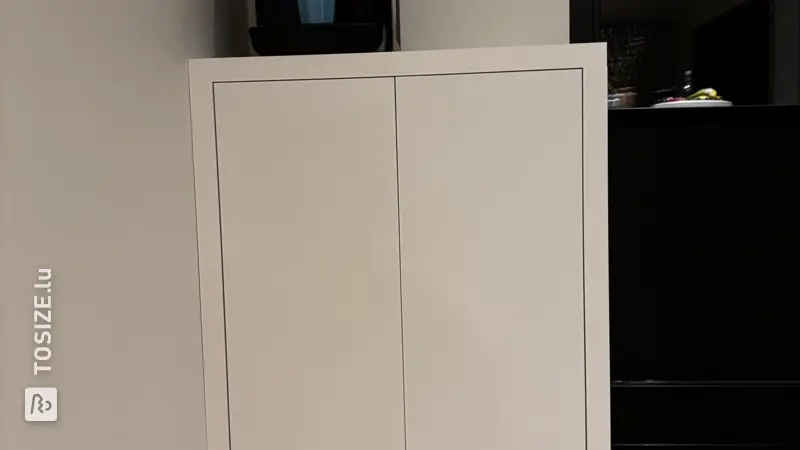
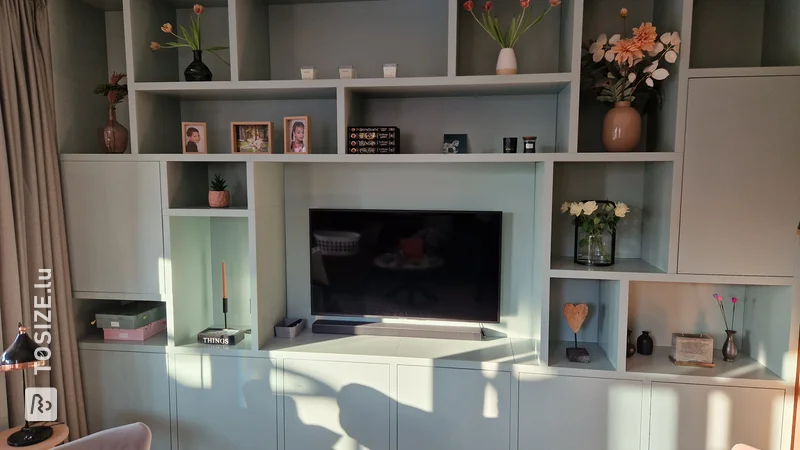
- After the priming, the wardrobe and doors were painted twice with water-based paint in the desired color (the same as the wall). The result looked great after three layers of primer and two layers of topcoat.
- To provide extra protection, I treated the frequently used parts, such as the horizontal shelves and doors, with a 2K matte interior topcoat. This two-component PU-acrylate makes the paint extra strong and resistant to fingerprints, which is useful with greasy little hands around.
- Initially, I had already attached the doors with hinges to the wardrobe before I started painting. However, during the (painting) process, I realized that it was much easier to treat the shelves and doors separately and only assemble them at the very end. This worked much better.
- Fortunately, the weather was nice, so I was able to let all the parts dry outside. Painting took more time than I had expected, but the final result is definitely worth it!
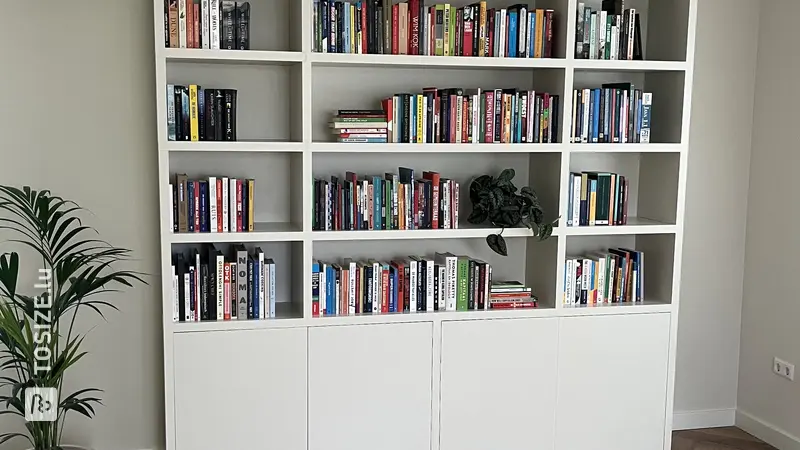
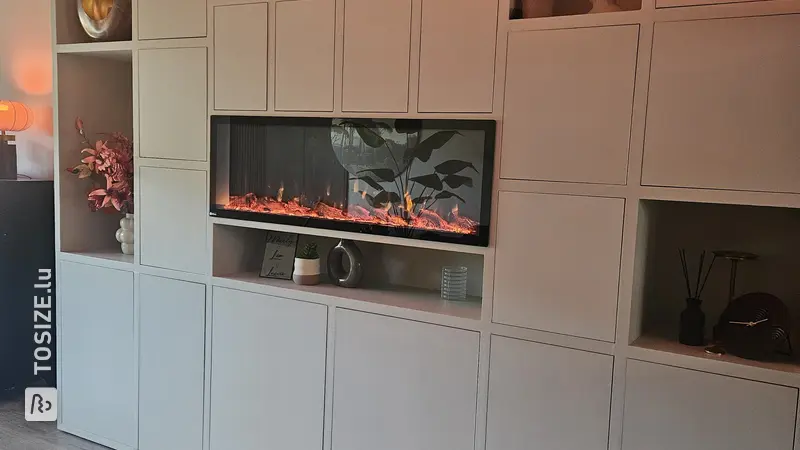
The wardrobe is now finished, and we are extremely happy with it. The service from TOSIZE.lu was fantastic, and we really got great value for our money!
Dimensions of my DIY project
250.0 x 258.0 x 40.0 cm
Tip! Also check out our handy DIY tips!
What now?
Do you want to create this DIY project? This piece of furniture is part of our TOSIZE Furniture collection. Design your personalized, custom-made furniture using our 3D configurator! Want more information? Learn more about available colors, assembly, or browse all frequently asked questions. You’ll receive a TOSIZE Furniture package, including an installation kit.
2.519,00€
All materials used
View all furniture
085 888 29 55