- TOSIZE.lu
- Do it yourself
- DIY Projects
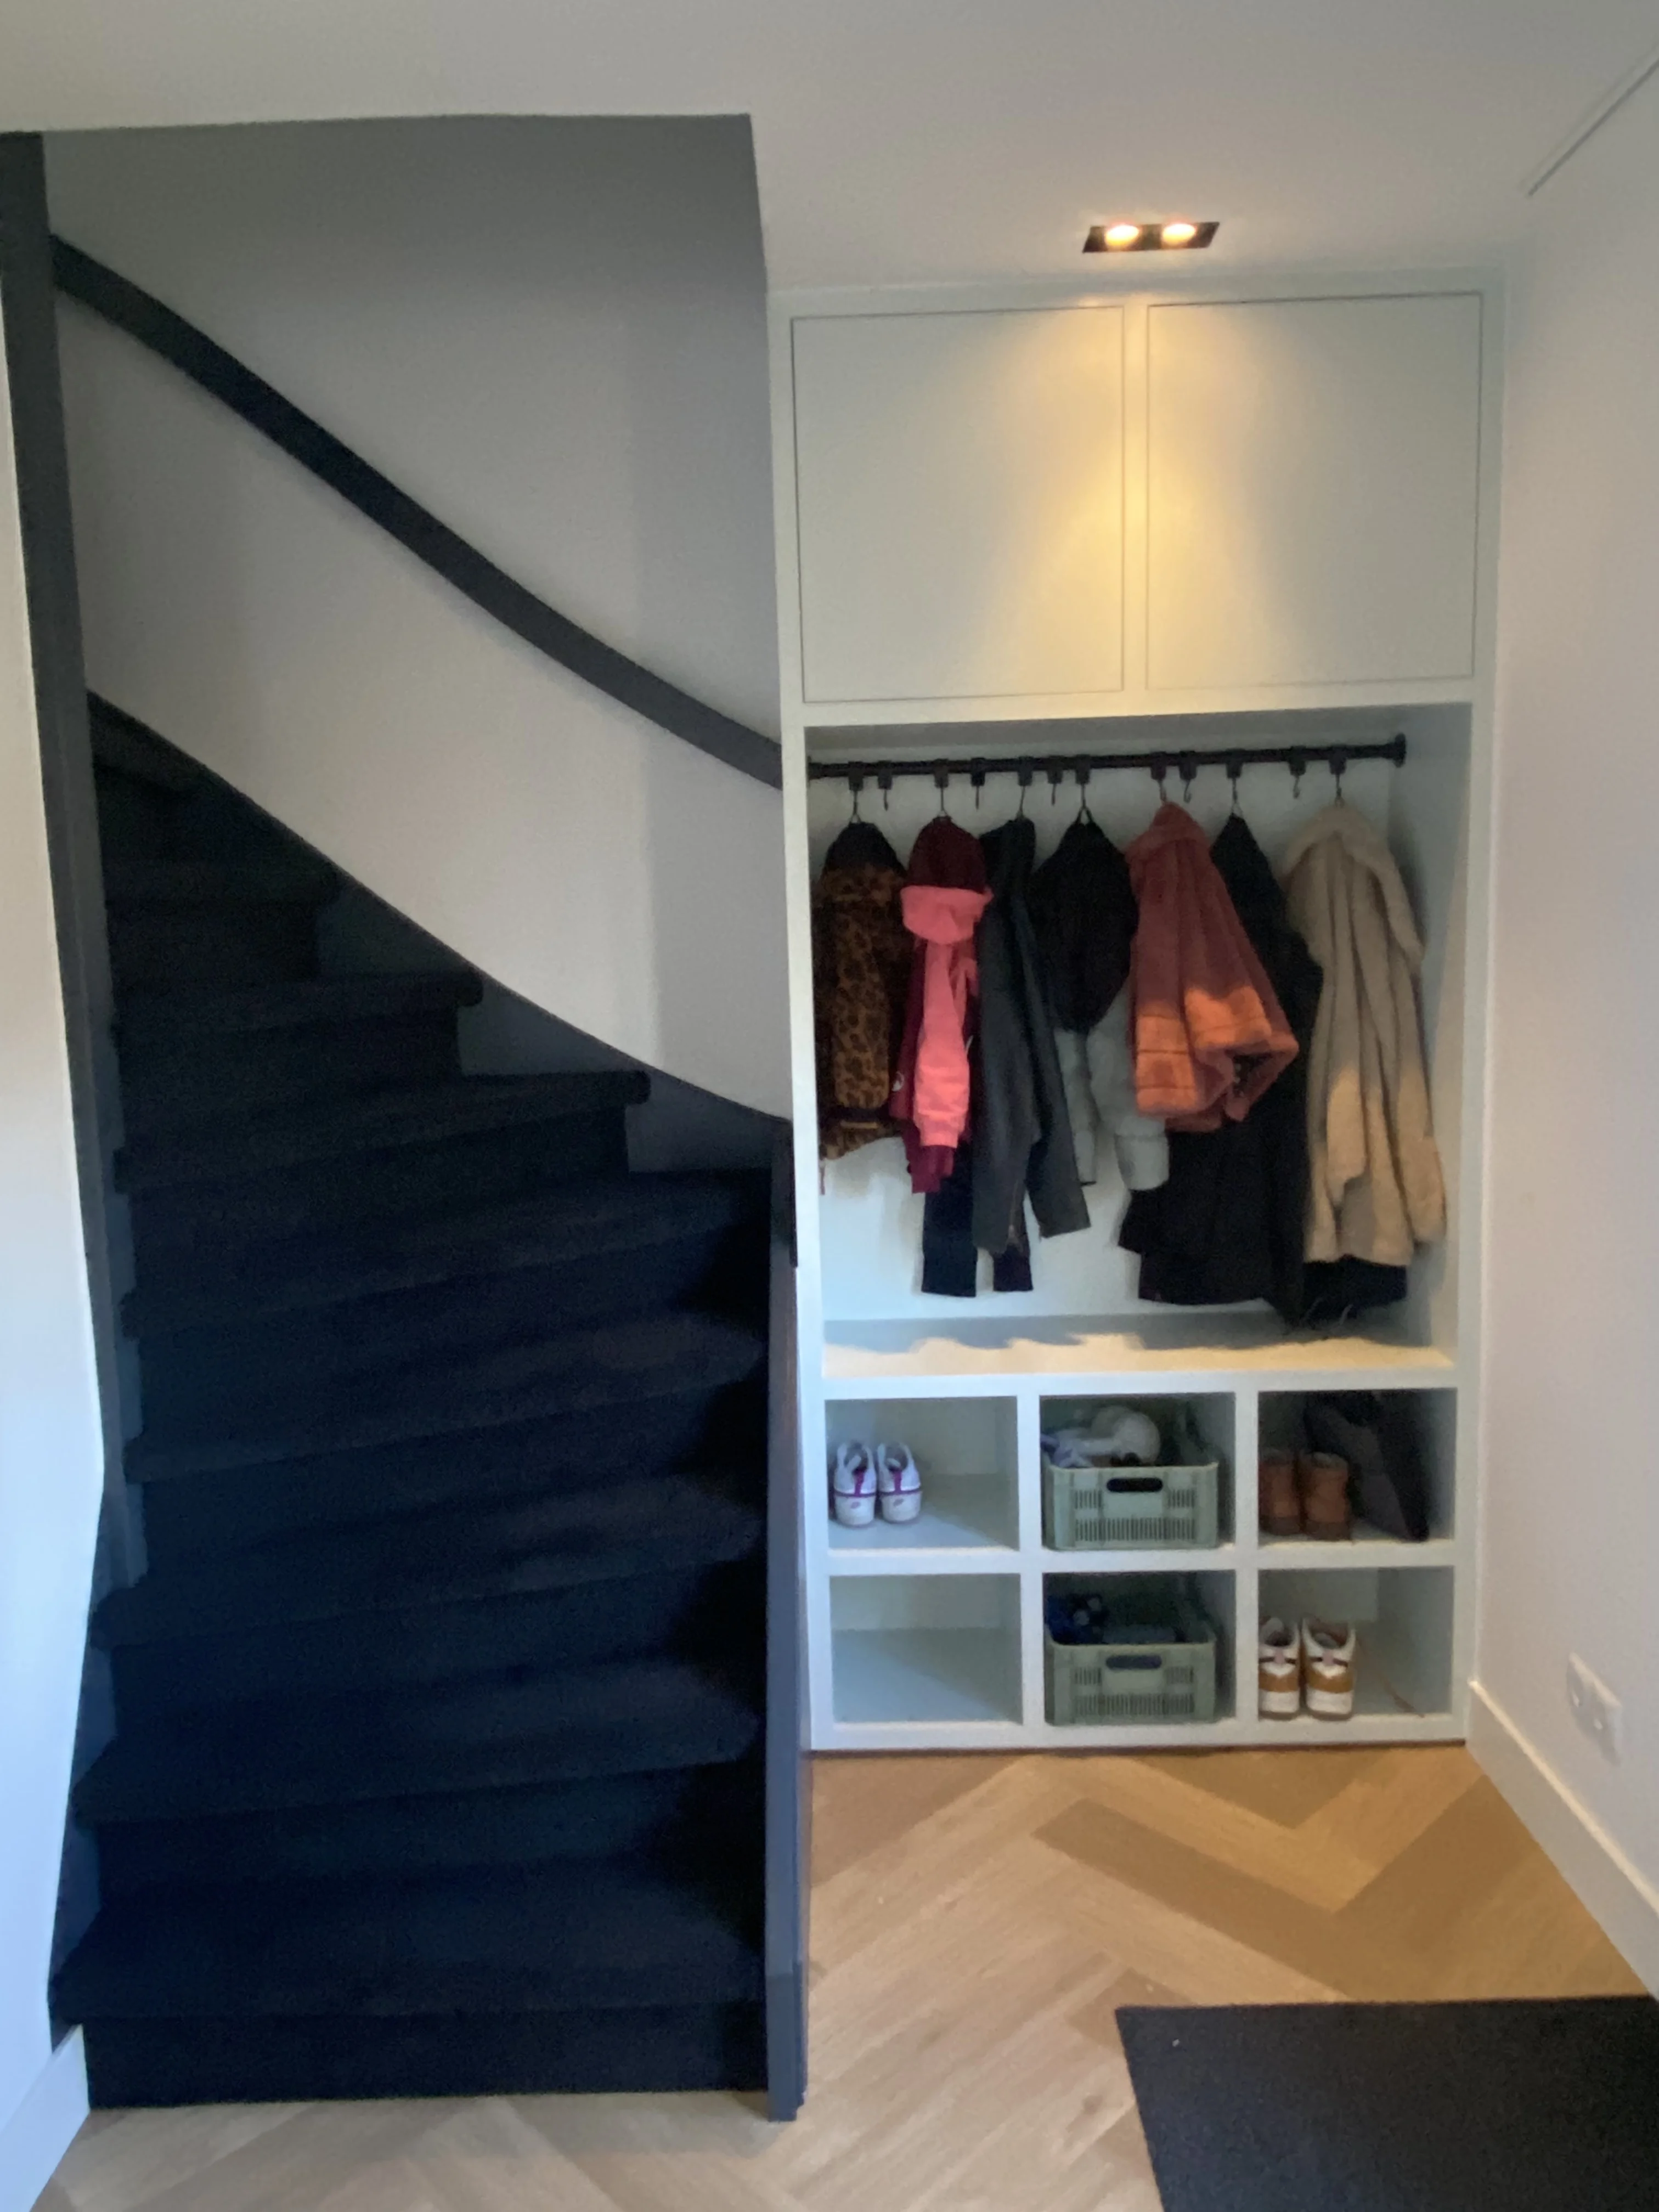
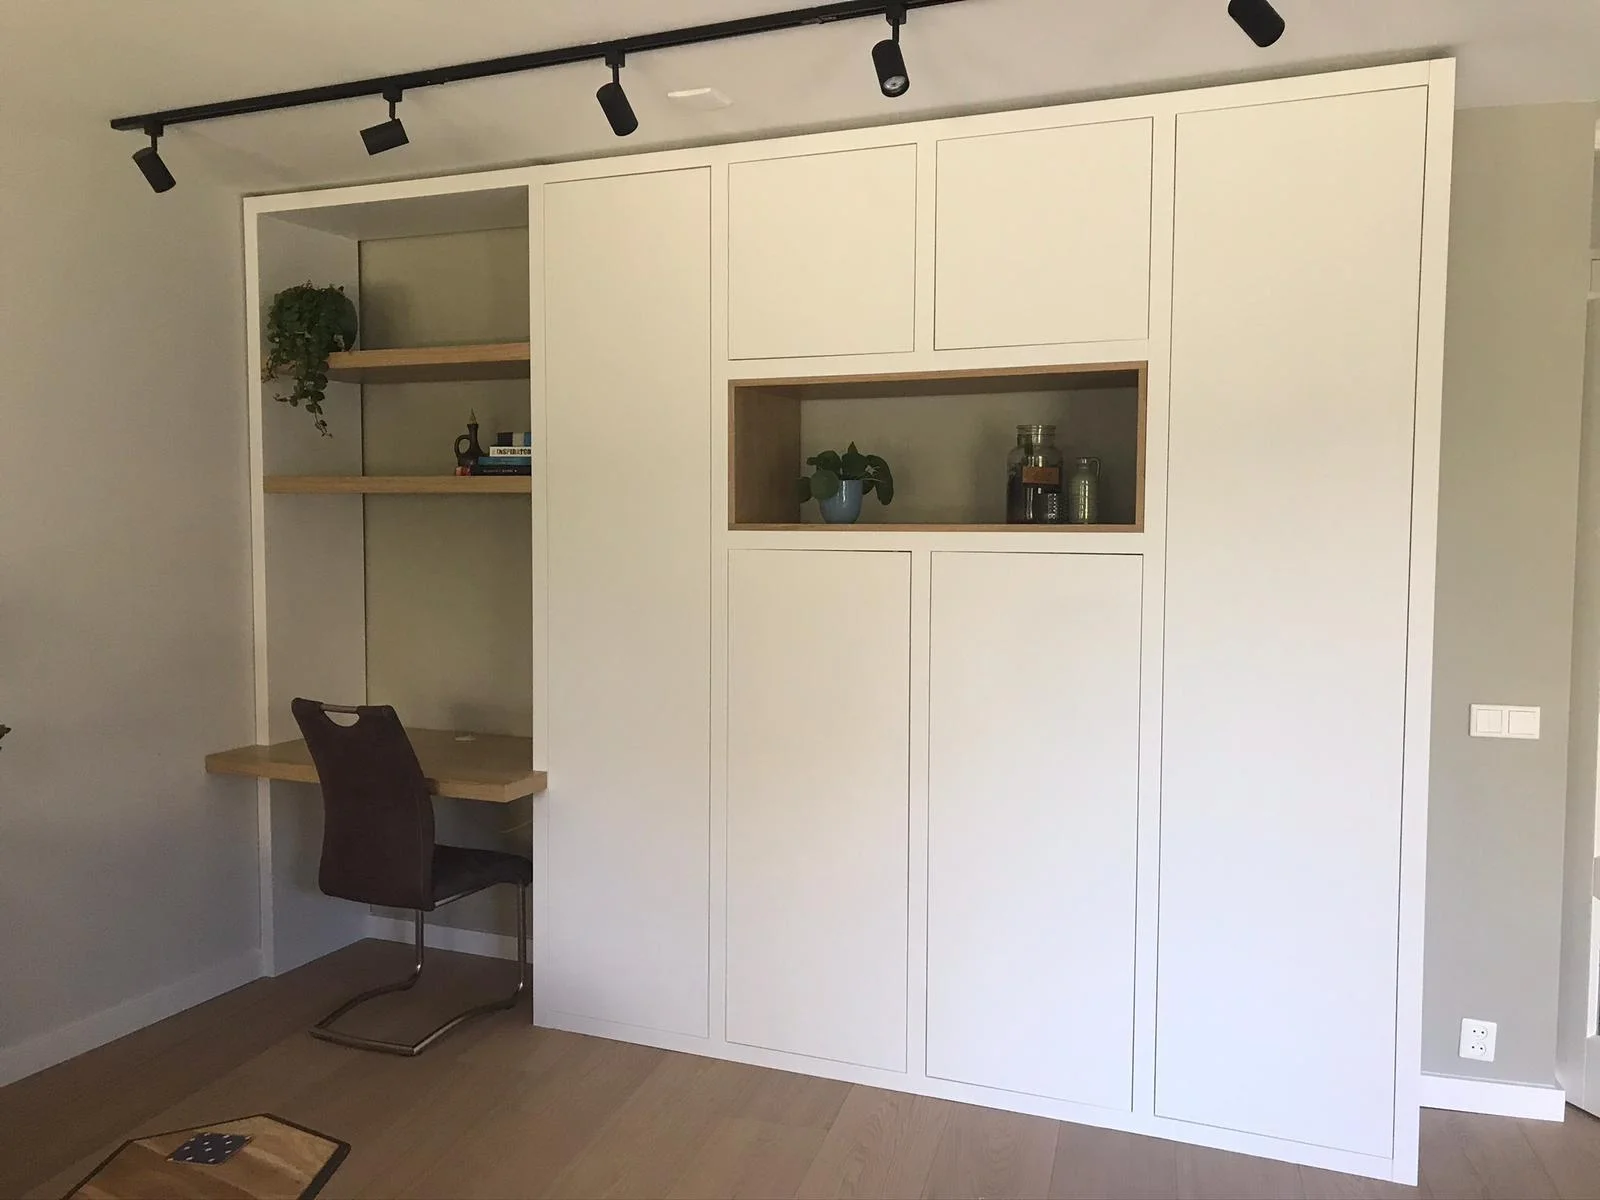
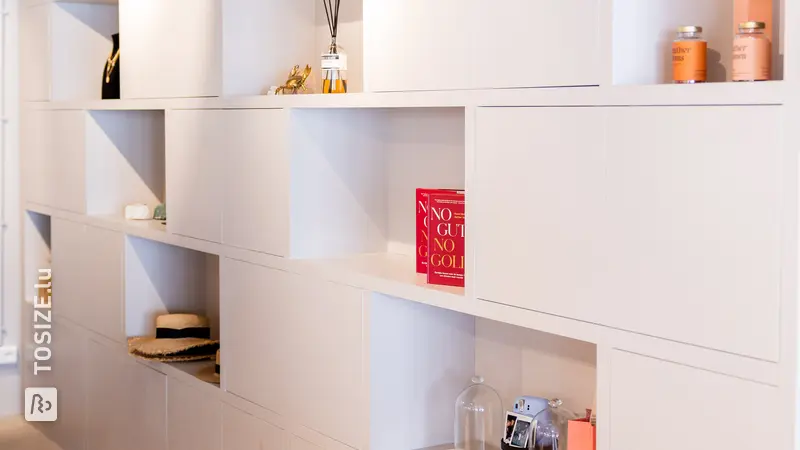
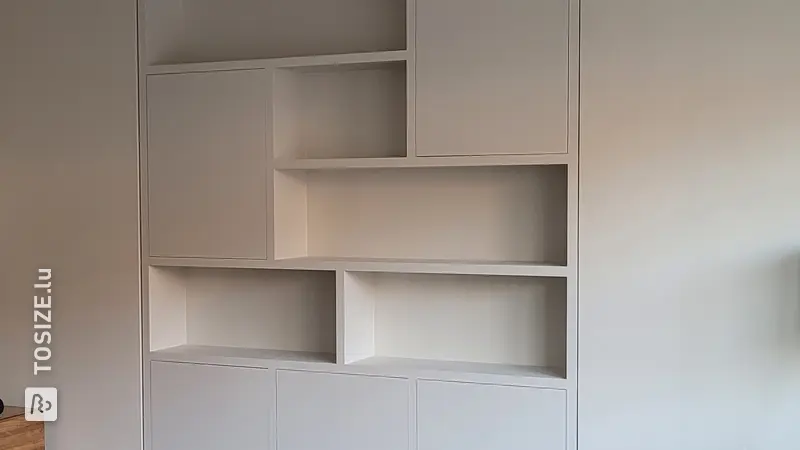
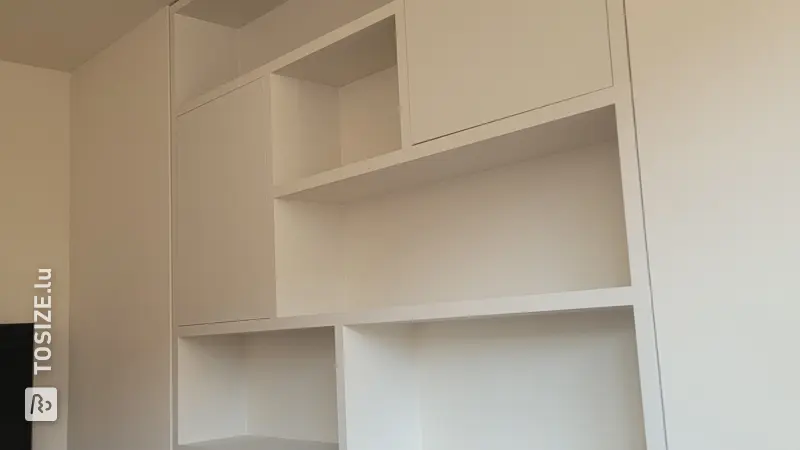
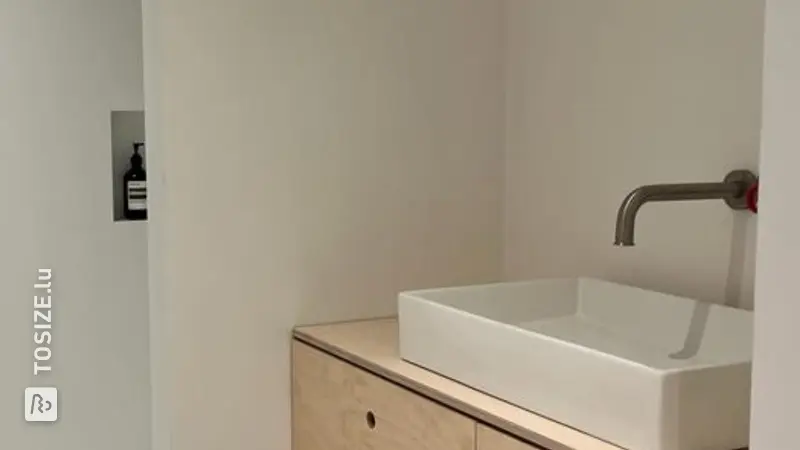
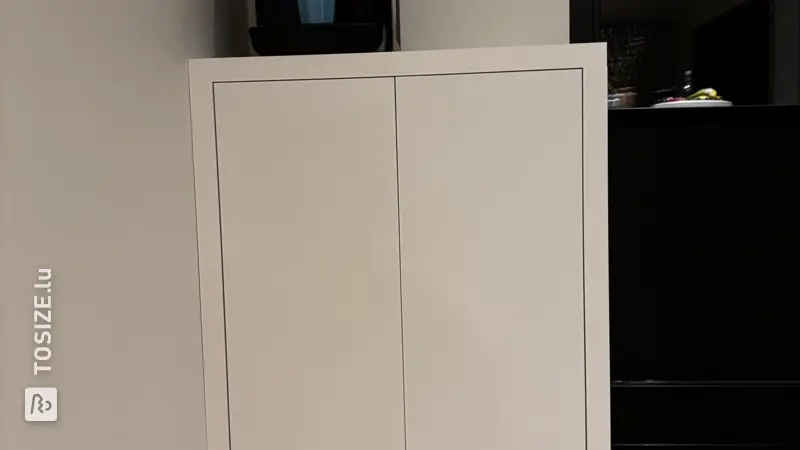
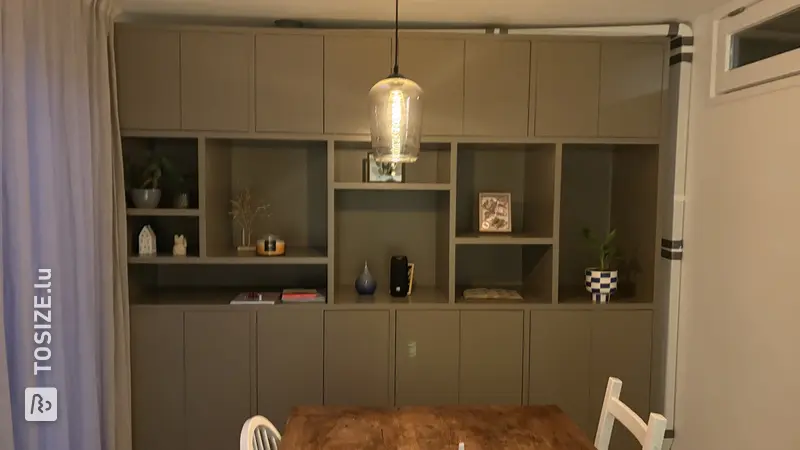
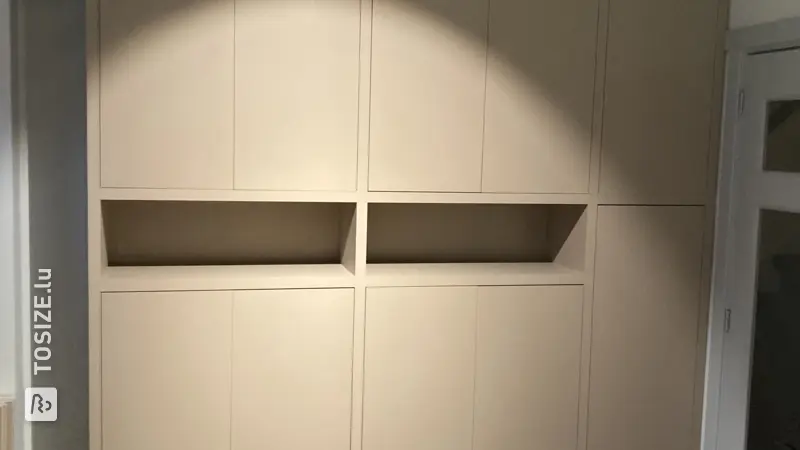
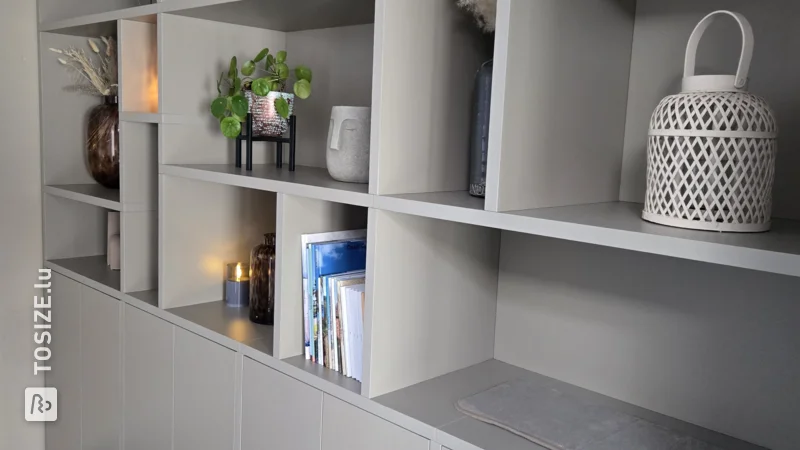
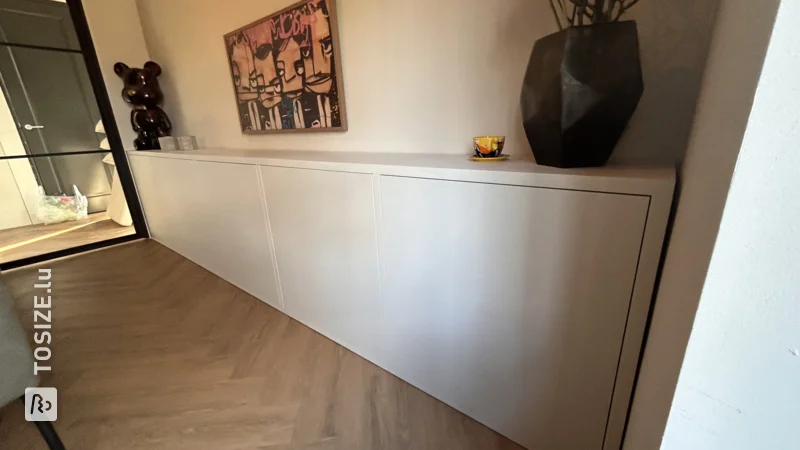
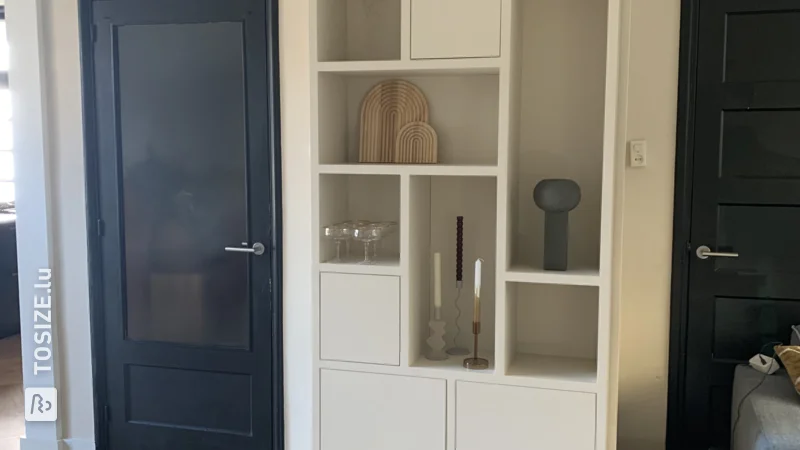
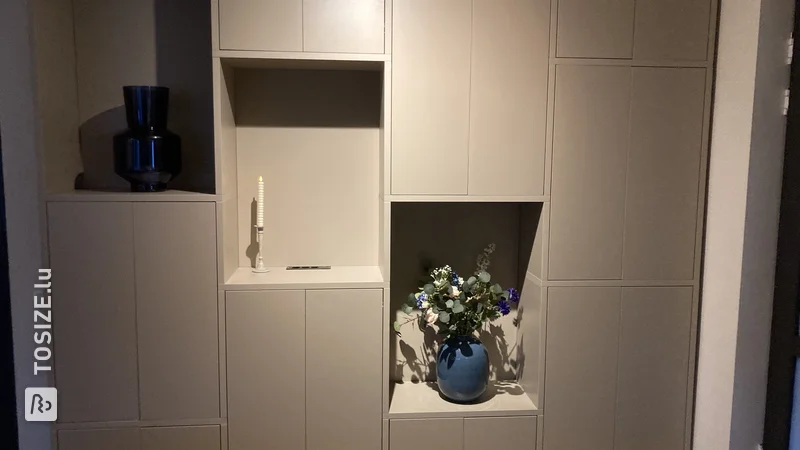
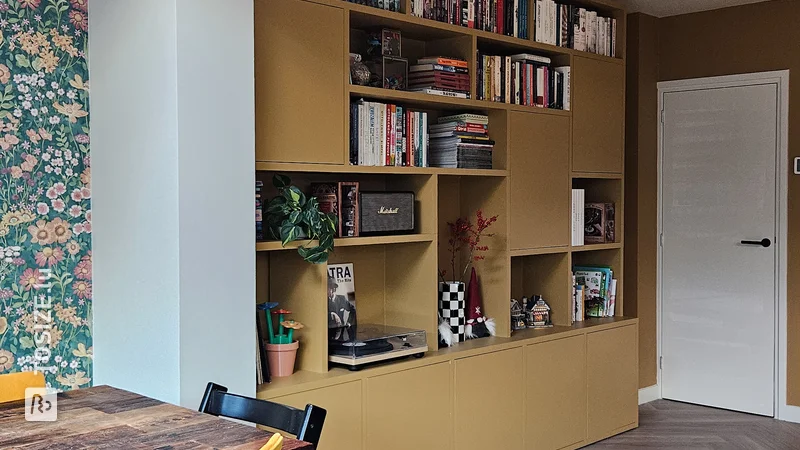
Built-in cupboard in a niche, for the hallway, by Zoltan
Built-in cupboard in a niche, for the hallway, by Zoltan

Create this project yourself with sheet material cut to size by TOSIZE.lu!
Zoltan
Average
3 minutes
Description
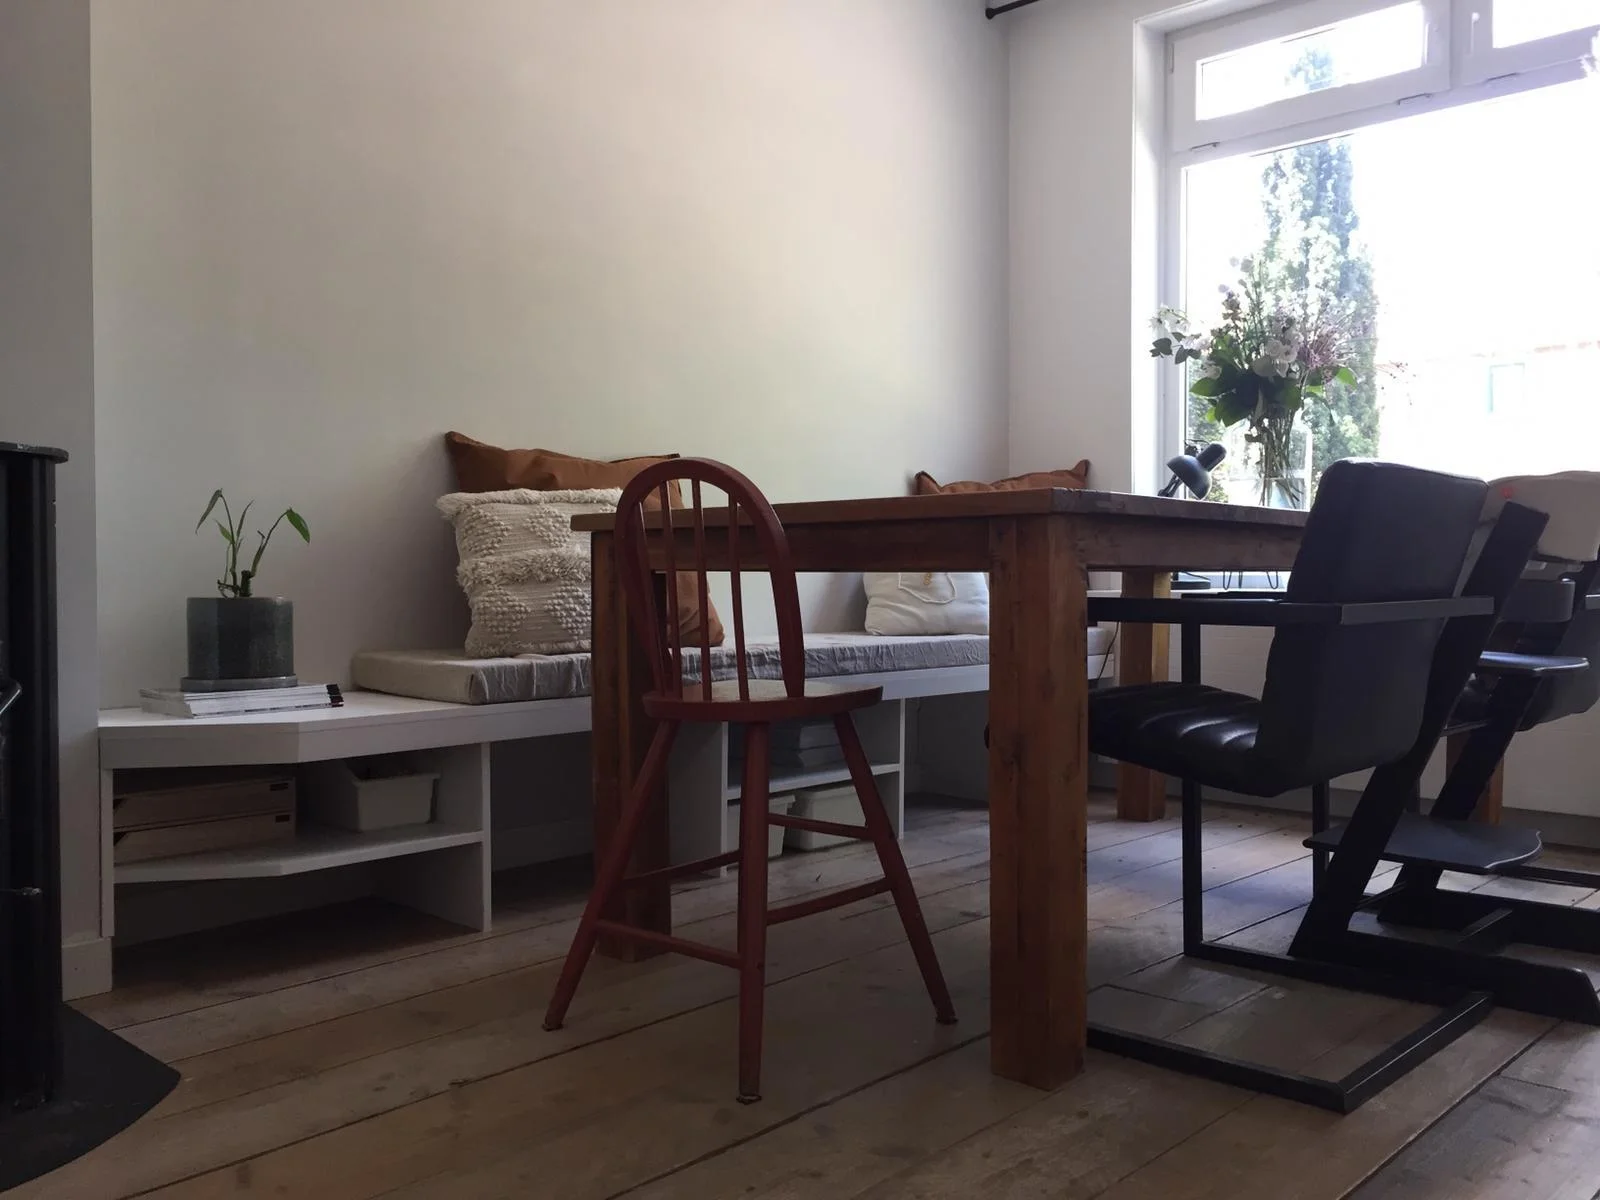
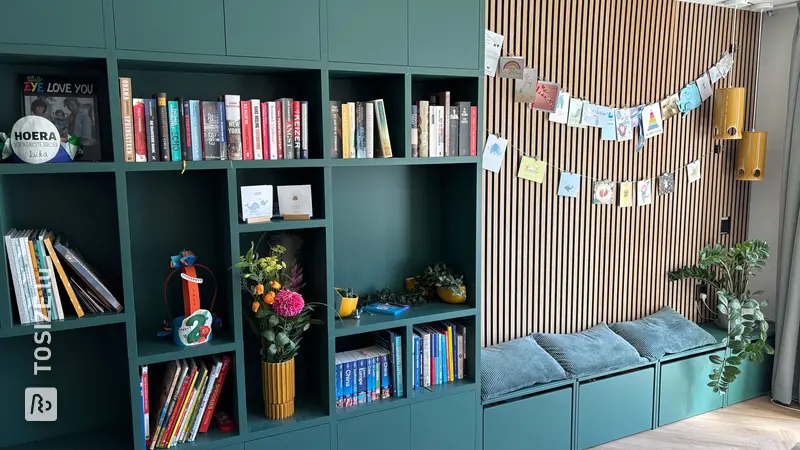
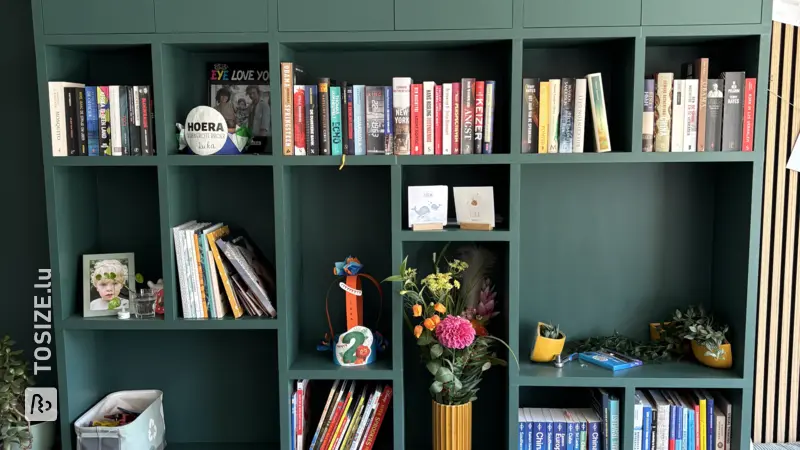
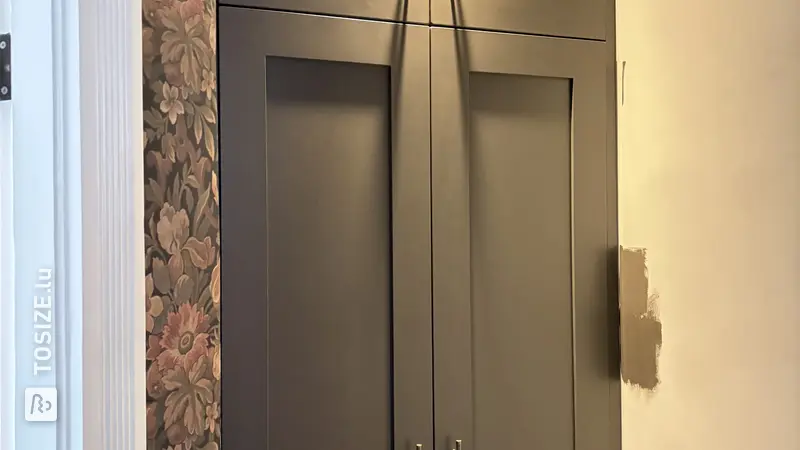
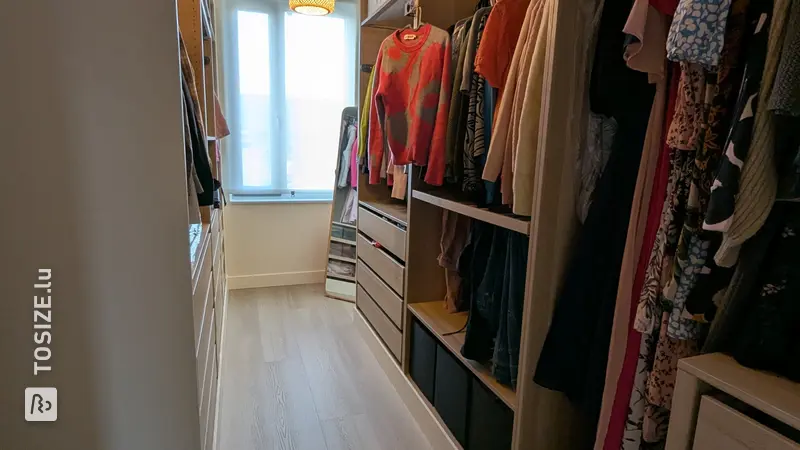
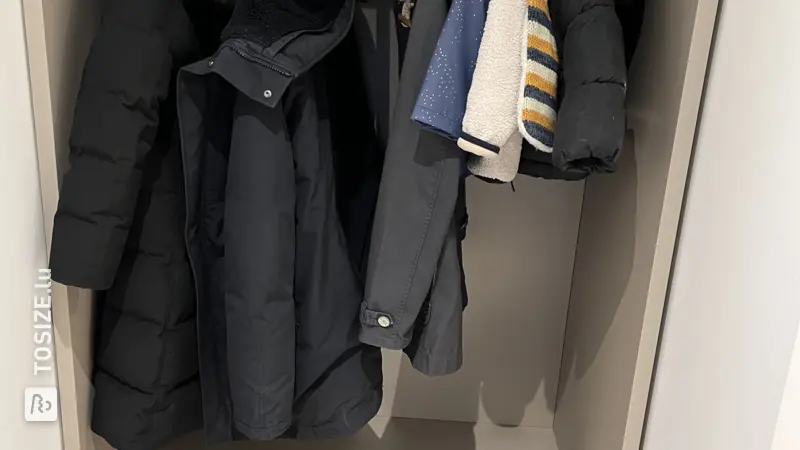
In the hall, between the meter cupboard and the toilet, a built-in cupboard instead of the coat rack and shoe bench. (now a flat coat rack opposite).
This allows us to store many more shoes, bags, scarves and mittens! :-)
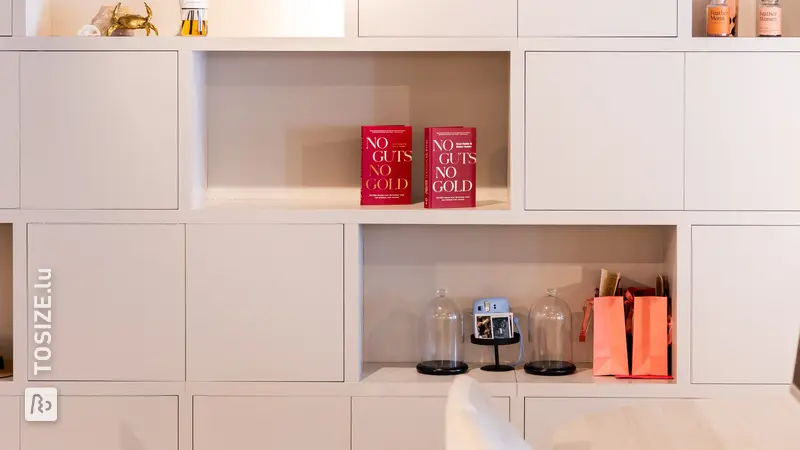
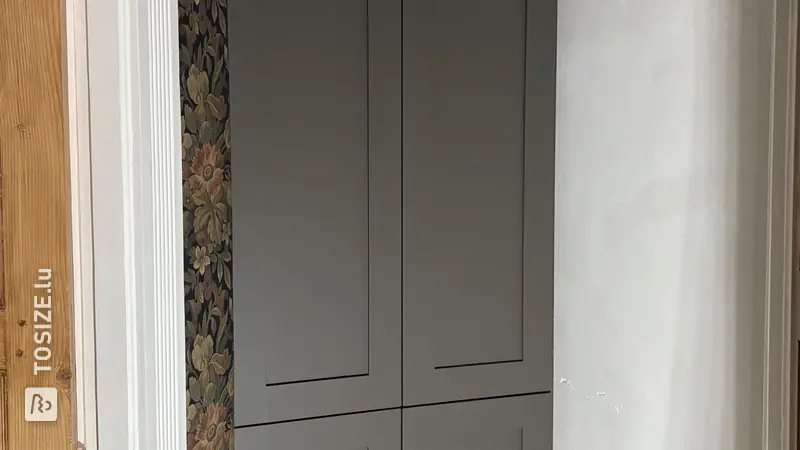
Custom built-in cupboard
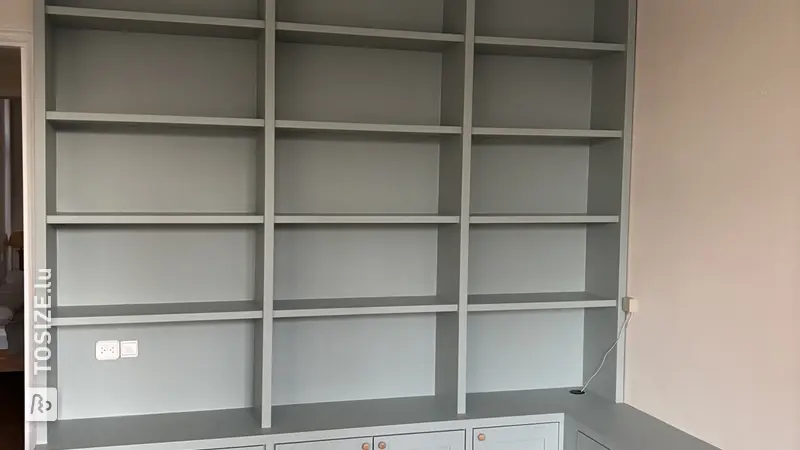
It will be a cupboard between two existing walls, from floor to ceiling
1: Measure how large your cupboard can be LxWxH. Measure the skirting board for the neat continuation of lines. My skirting board is 7cm, I use it above and below.
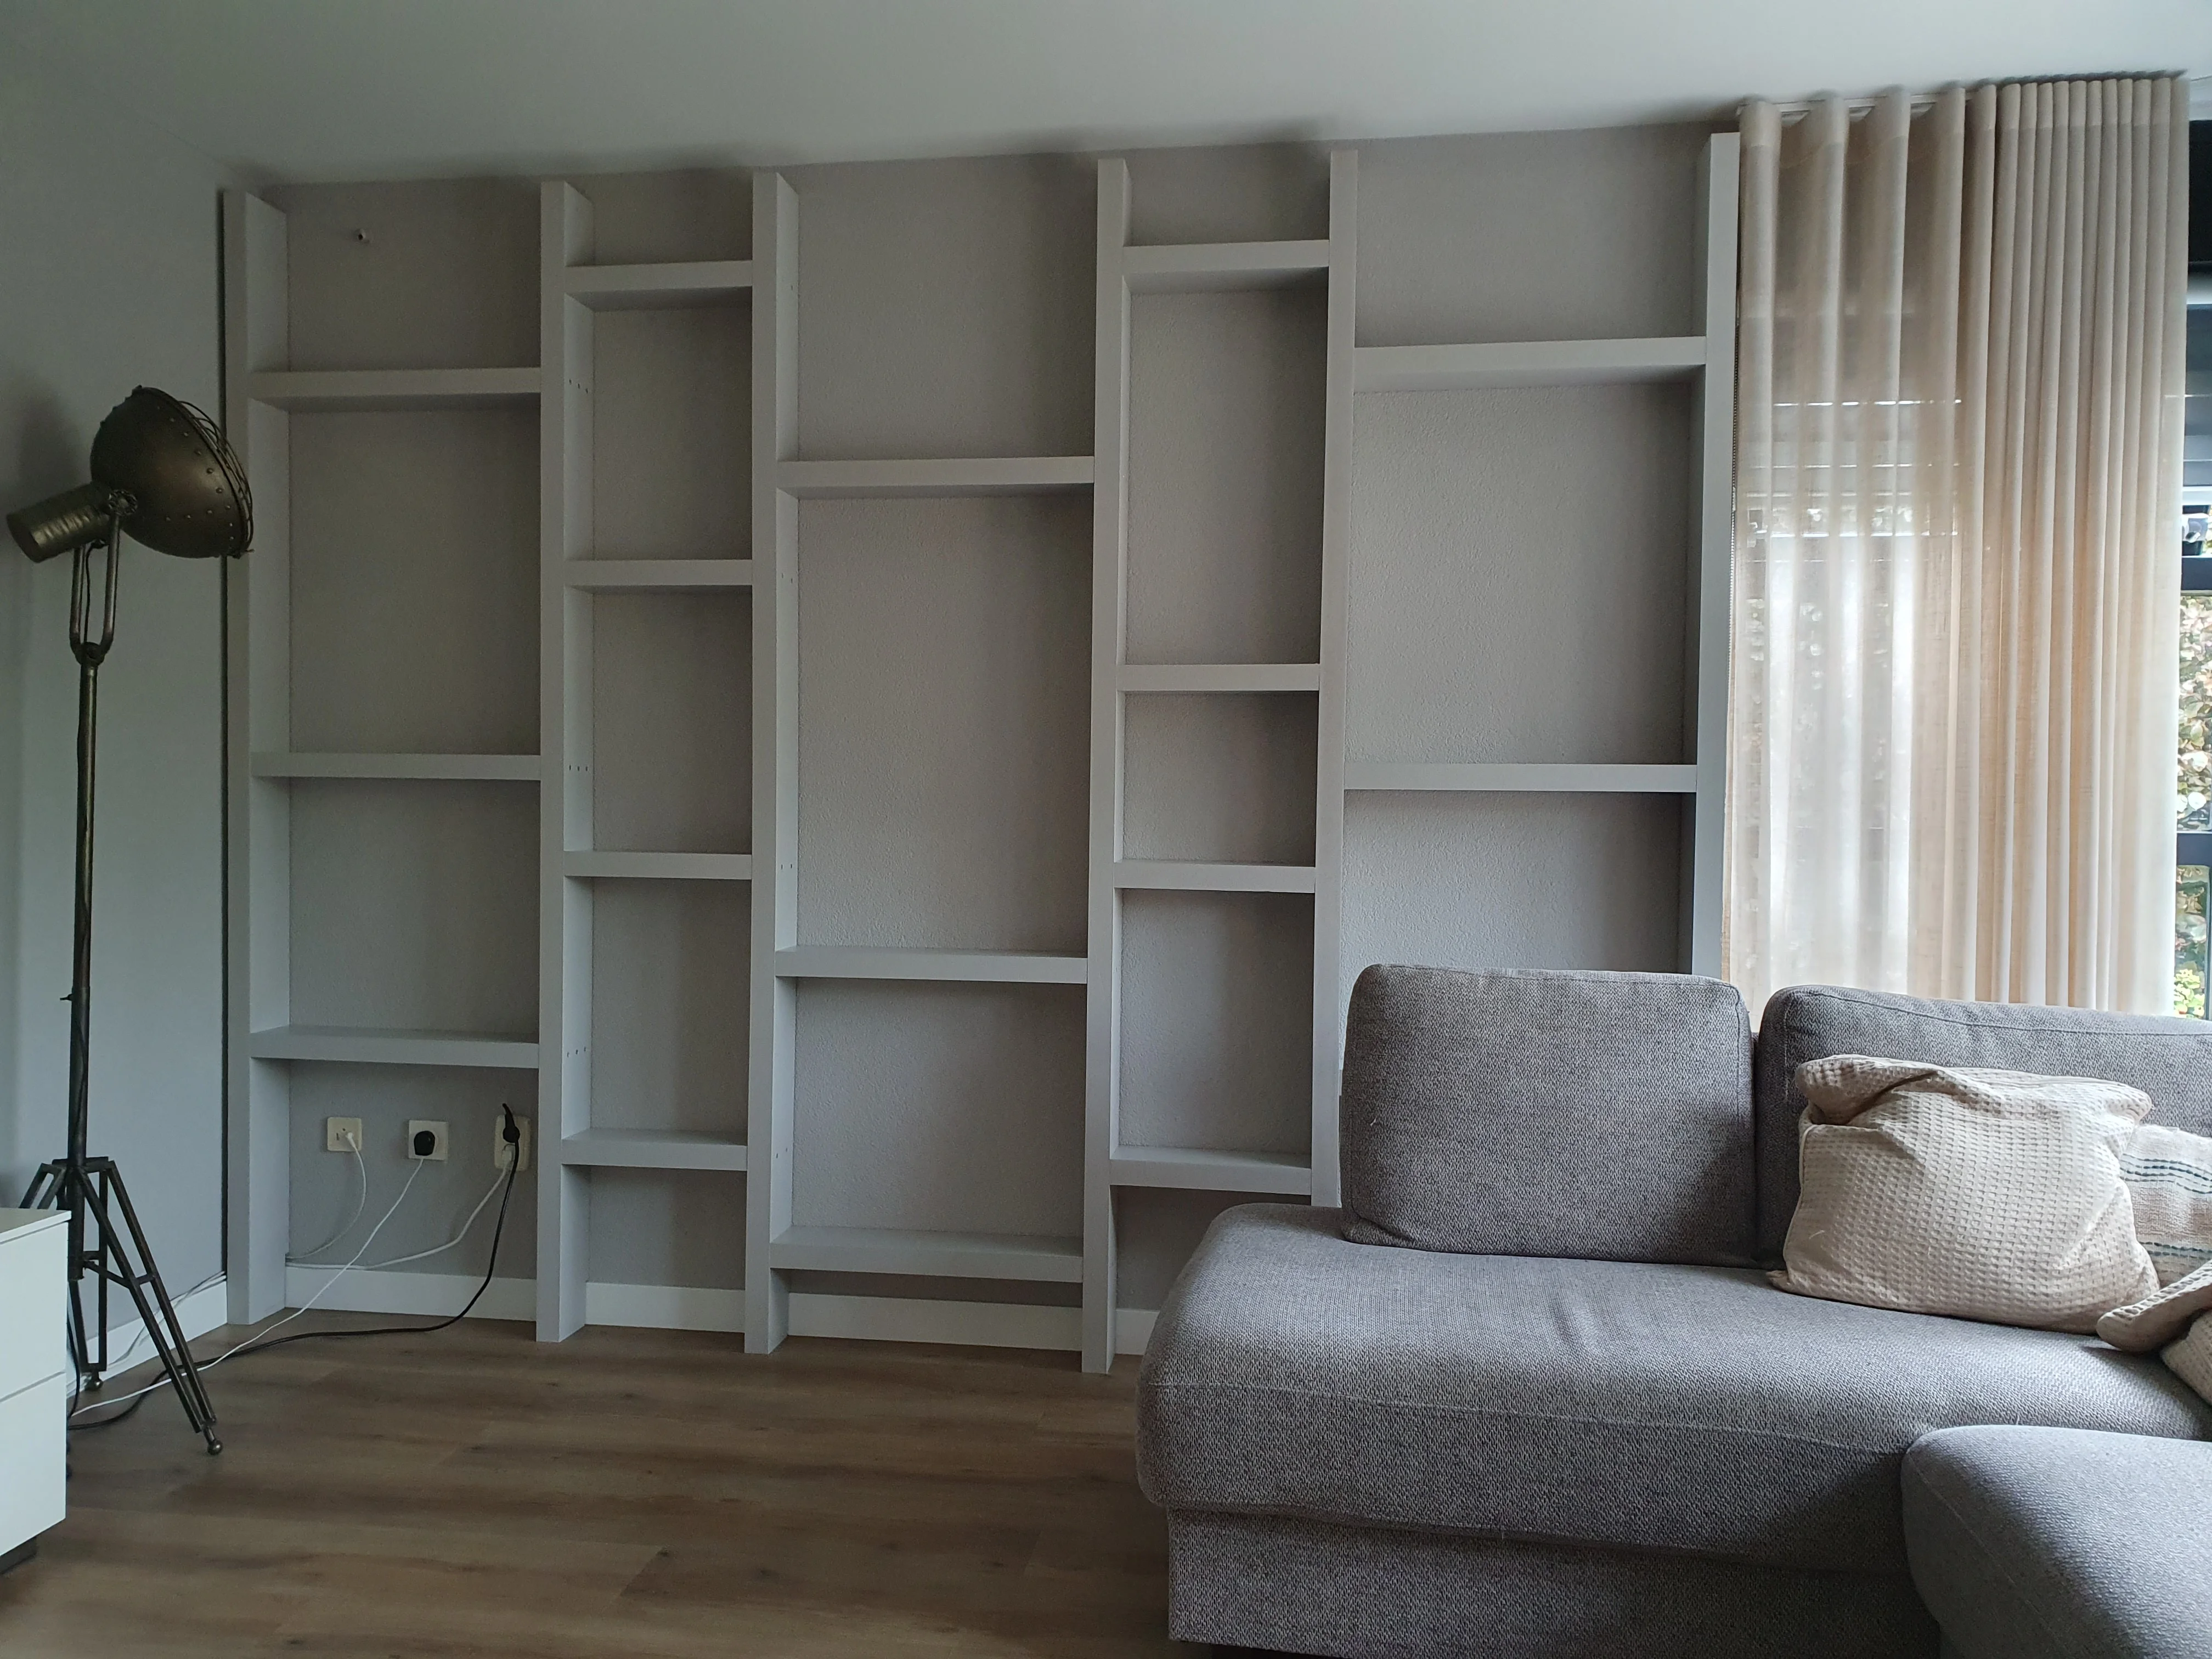
2: Determine the number of planks; Order size 5mm smaller than the hole.
3: Determine number of doors and height in combination with shelf height. For 2 doors I take (cabinet width -16mm)/2. Two times 5mm clearance on the outside of the door. and 6mm gap between the doors.
4: Determine the length of required shelf supports (w: 5.0cm) and door hinge supports (w: 7.0cm)
(NB: with narrow pieces like this, cut them at home myself, a piece of 25.0cm is the same price as a piece of 165.0cm! And I limited myself to 165.0cm because of the shipping costs!)
5: Order wood! Order 2 hinges per door (longer doors 3 or 4), and tools, screws, sealant, paint, etc.
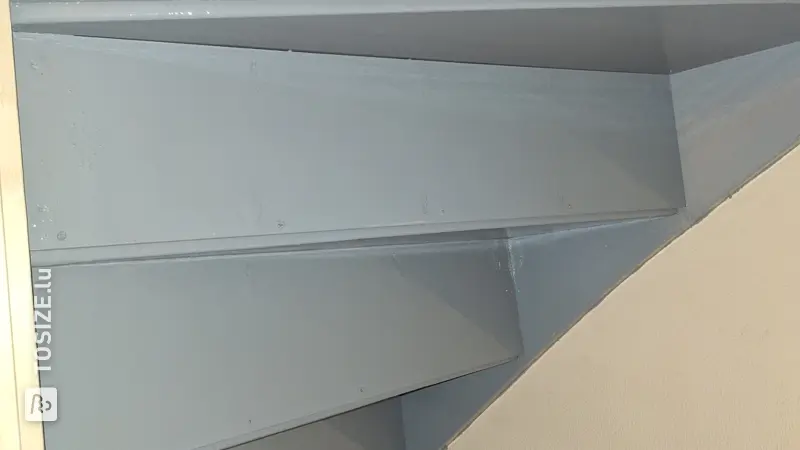
6: Start building with the bottom and top plinth. Cut the 7cm door hinge supports to length in between. (this instead of a real cupboard wall, after all, there is already a wall!) Preferably perpendicularly above each other, a string with a weight or a spirit level will help you here!
7: Saw the corner from the planks where the hinge supports are located, saw the shelf supports to length.
8: Using the drilling template and appropriate drills (5mm, 35mm), make the hinge holes for the bottom door; this at the same height as the hinge support. Align the top door with a 6mm gap. Use something 6mm thick for this, for example a dowel (I used curtain rings from Ikea in the photo)
9: The hinge supports can now be attached to the wall, then the shelf supports and the shelves. NB: Make sure that the hinges and shelves do not overlap!!!
10: Now it is ready for finishing to taste. Edge sealer on the edges. Sealants, paints, etc., holes for the doorknobs
11: Everything in color and dry? Then the hinges can be put into place and you can hang the doors!! (use 4x16mm screws for the hinge on the door!)
The dimensions of the cabinet
Wide 81.0 cm
High 215.0 cm
Deep 37, 0 cm
Tip! Also check out our handy DIY tips!
What now?
Want to make this DIY project? Check out Zoltan's saw list and complete your order easily.
224,99€
All materials used
View all sheet materials