- TOSIZE.lu
- Do it yourself
- DIY Projects
DIY: Oak play table with chalk/magnetic board for toddlers, by Bram
DIY: Oak play table with chalk/magnetic board for toddlers, by Bram
Create this project yourself with sheet material cut to size by TOSIZE.lu!
Bram
Easy
2 minutes
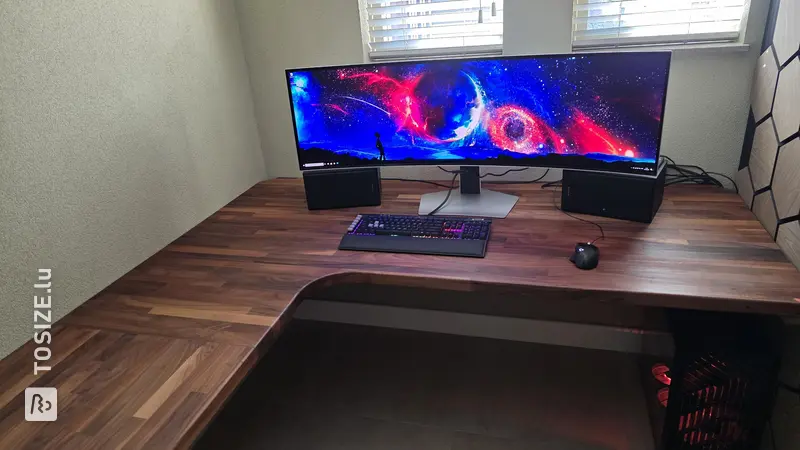
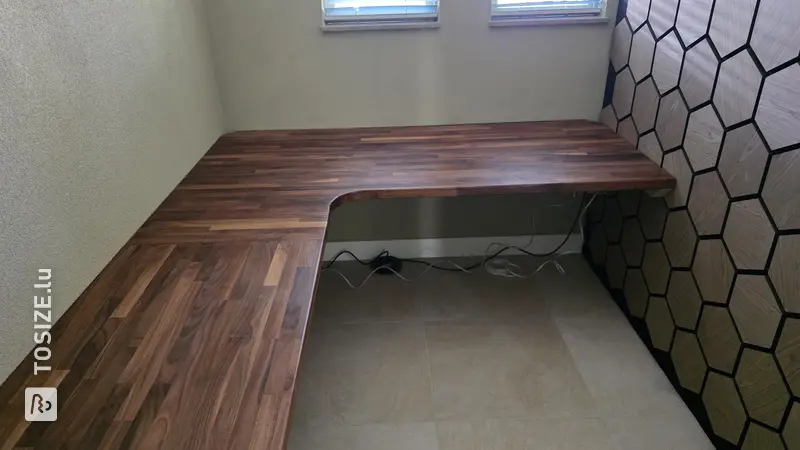
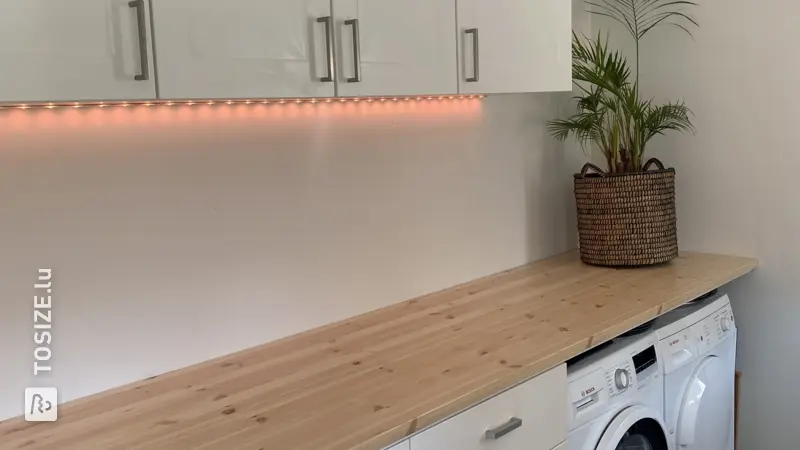
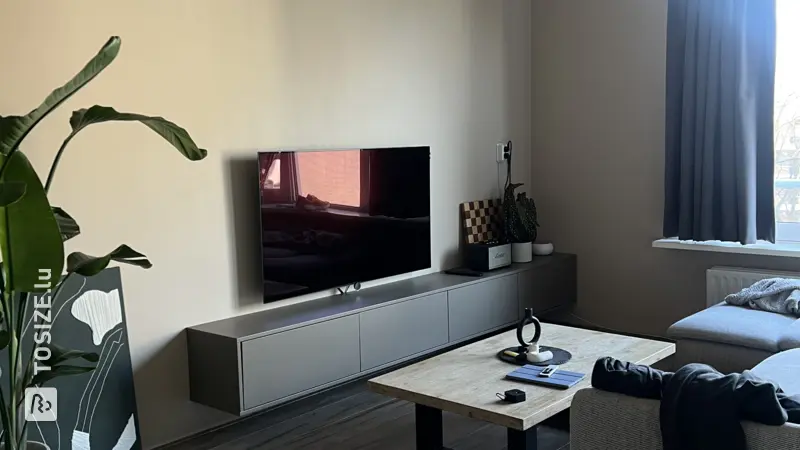
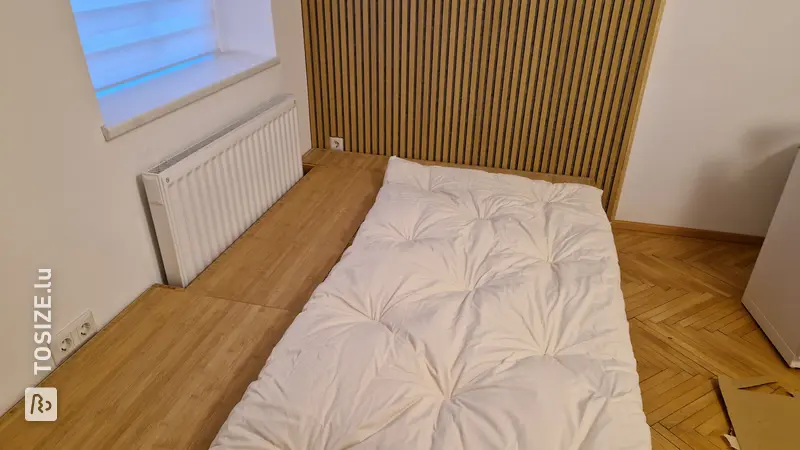
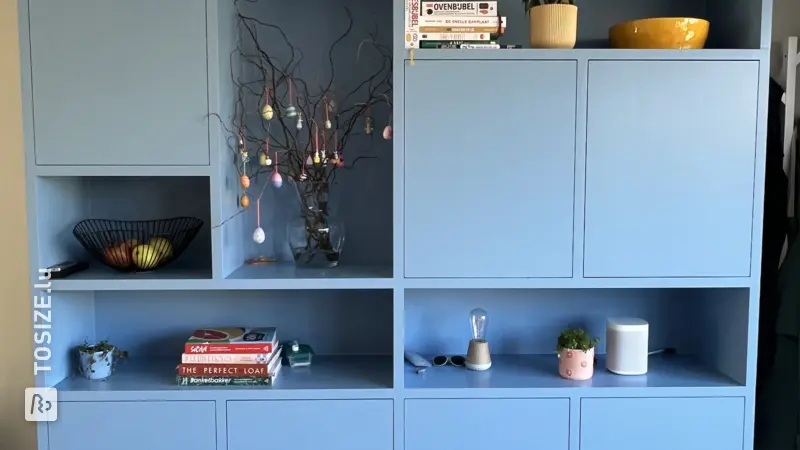
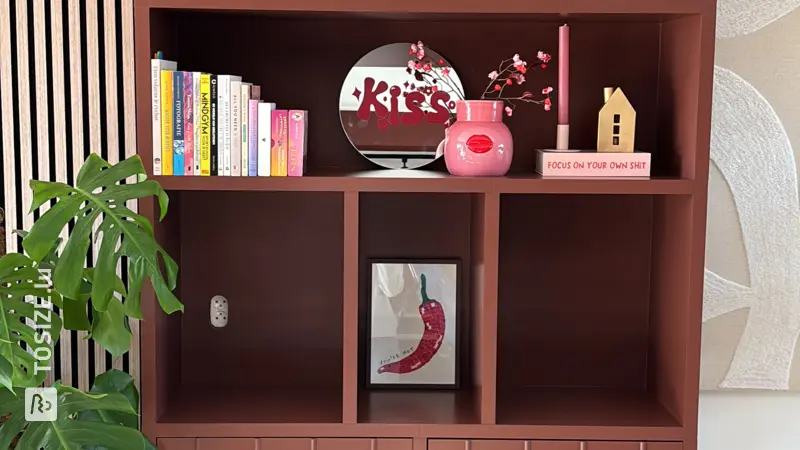
Bram wanted to create a play area for his son that also had space to store his toys. By adding a magnetic and chalkboard, his son has plenty of options for play. Do you also want to create a play area for your child, but where there is storage space for their toys? Read here how Bram tackled his project!
Description of Bram
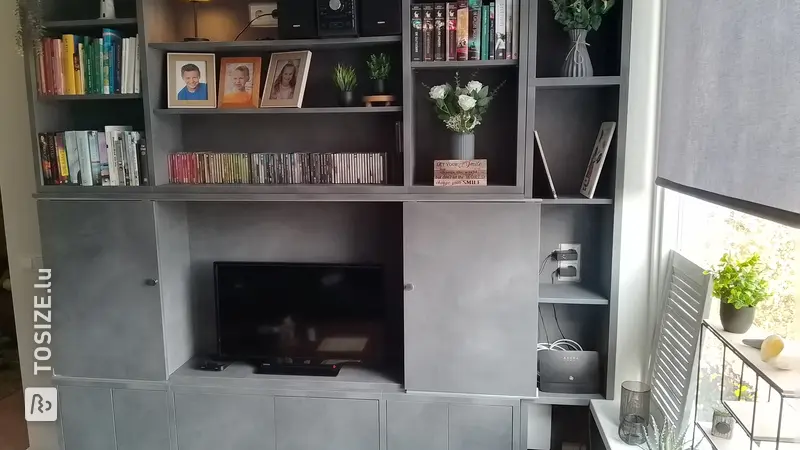
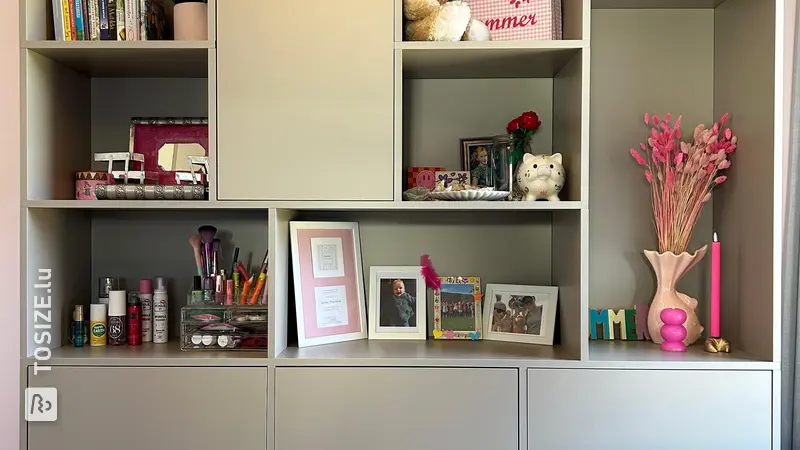
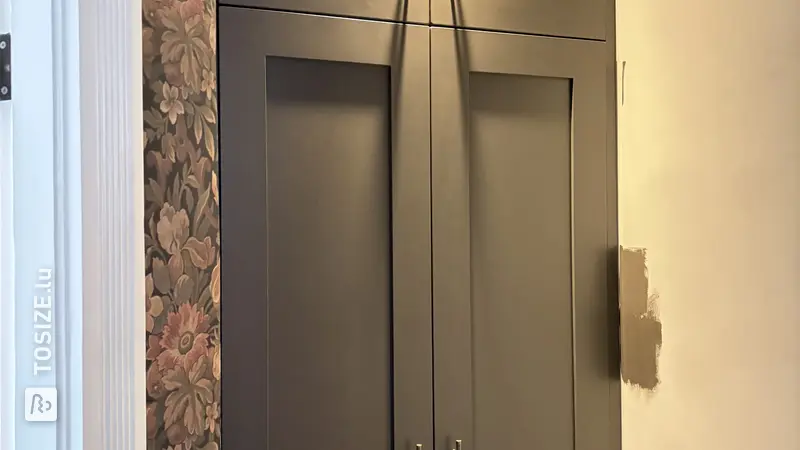
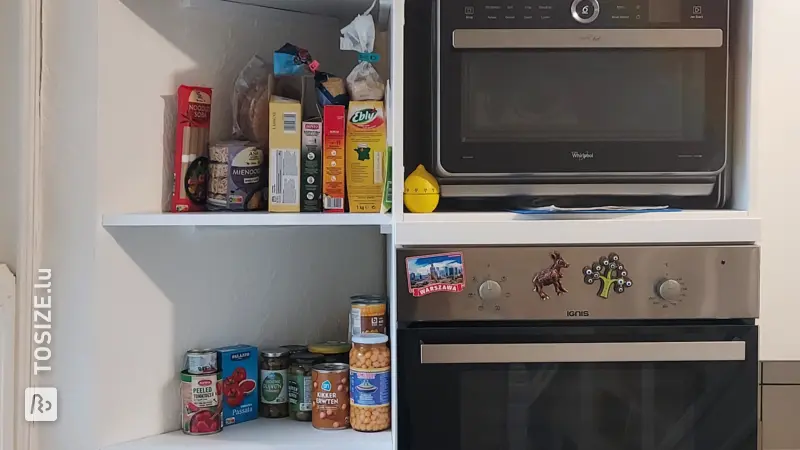
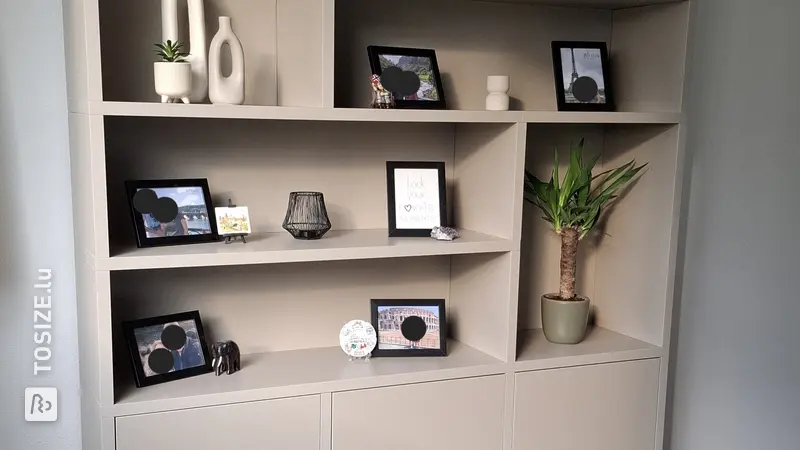
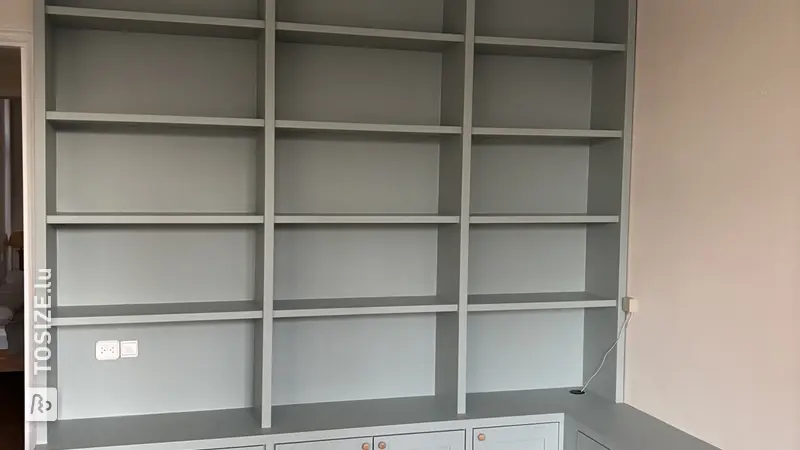
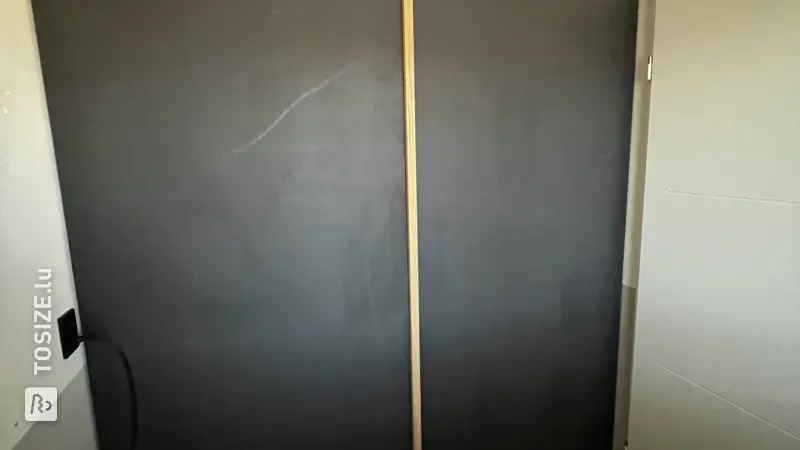
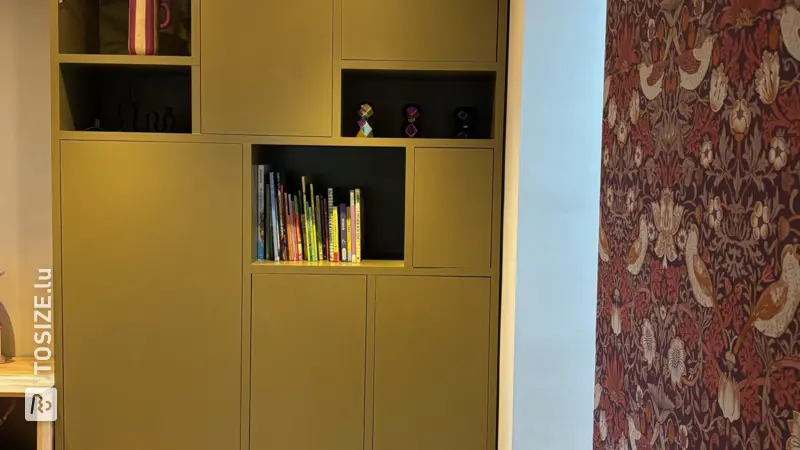
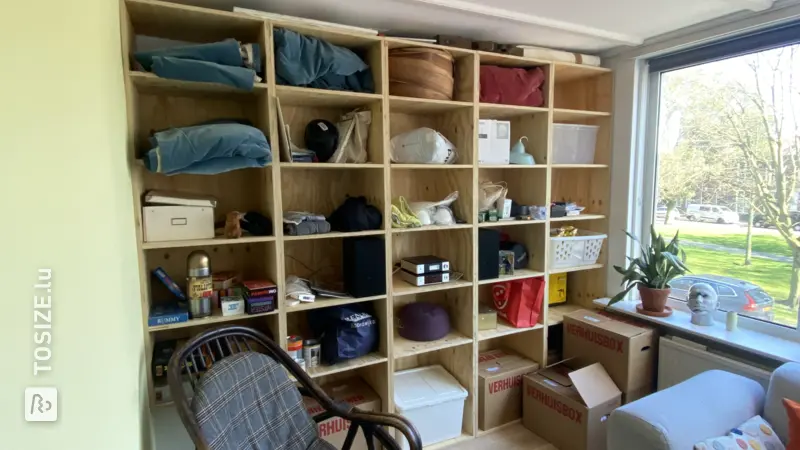
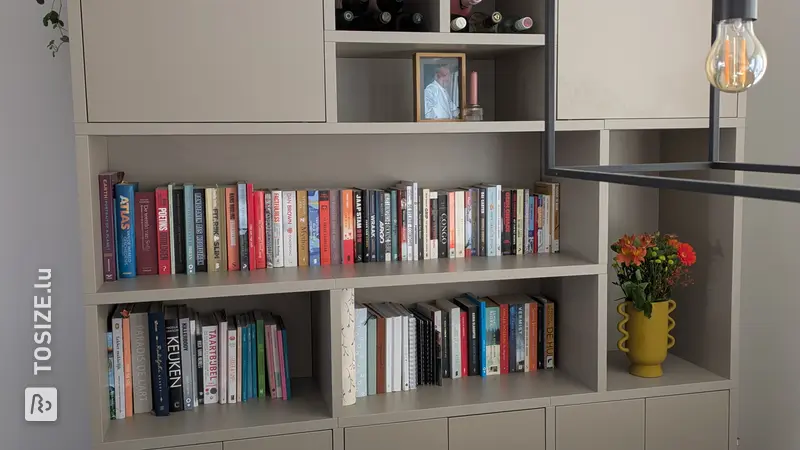
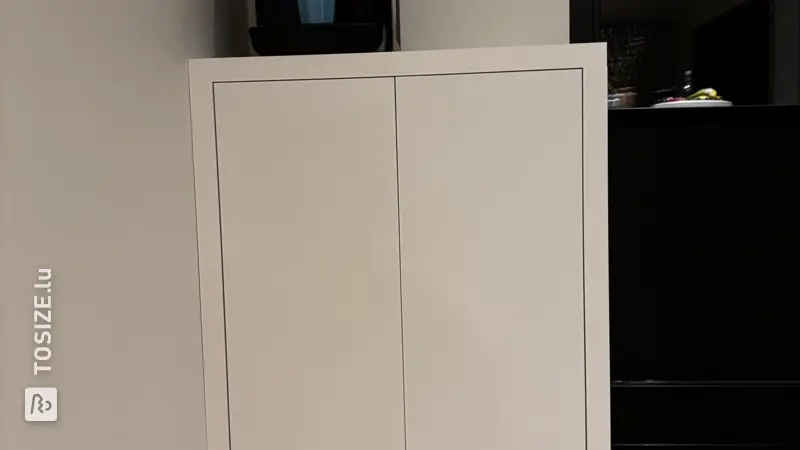
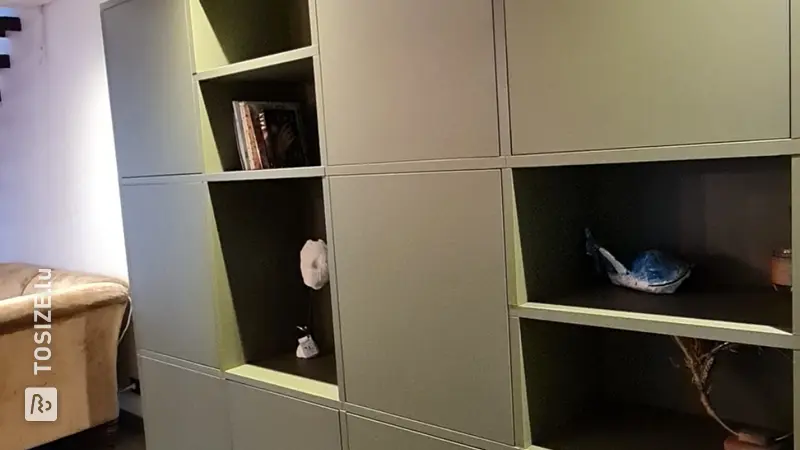
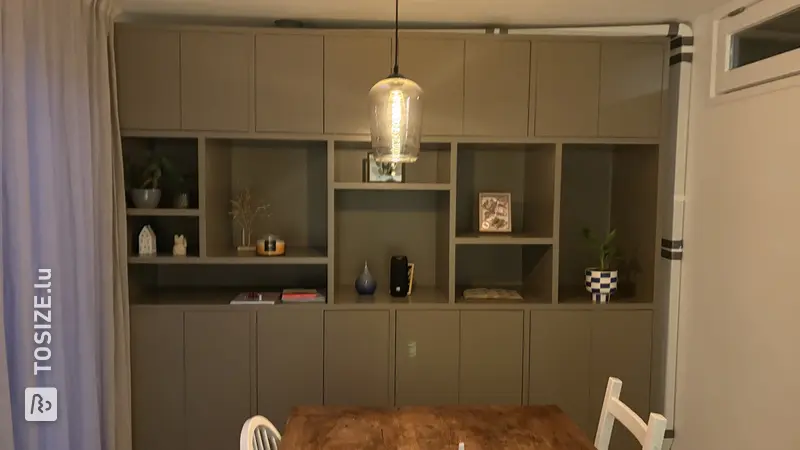
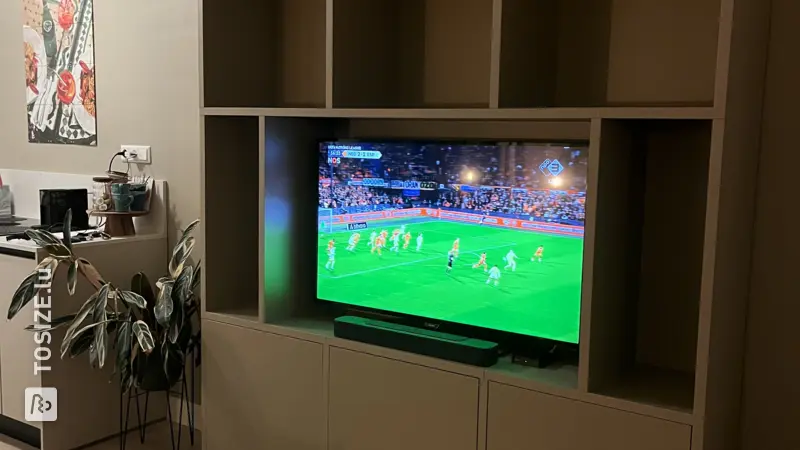
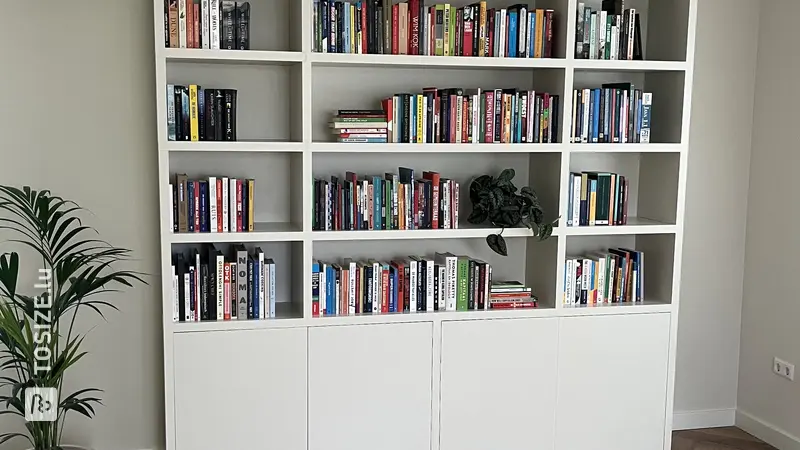
We wanted to create a play area for our 1-year-old son with storage space for the toys. In the left side there are shelves for storage bins, in our case storage bins from IKEA. A magnet/chalkboard has been made on the back on which you can draw and stick magnets on. There is room under the table to place 2 children's chairs.
How I made this project
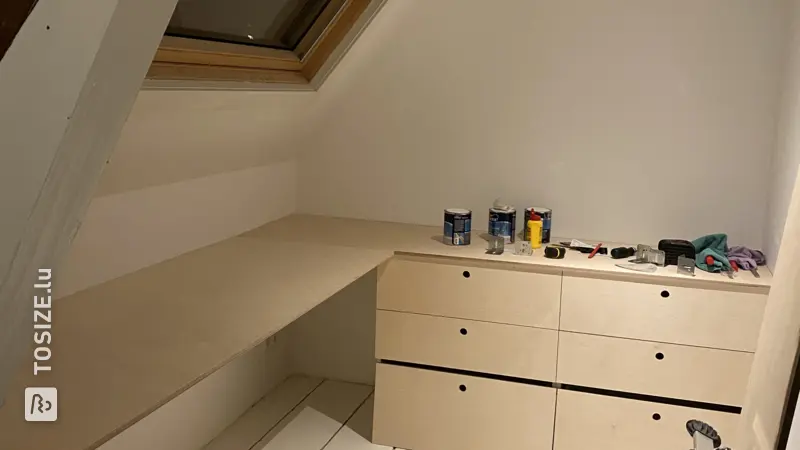
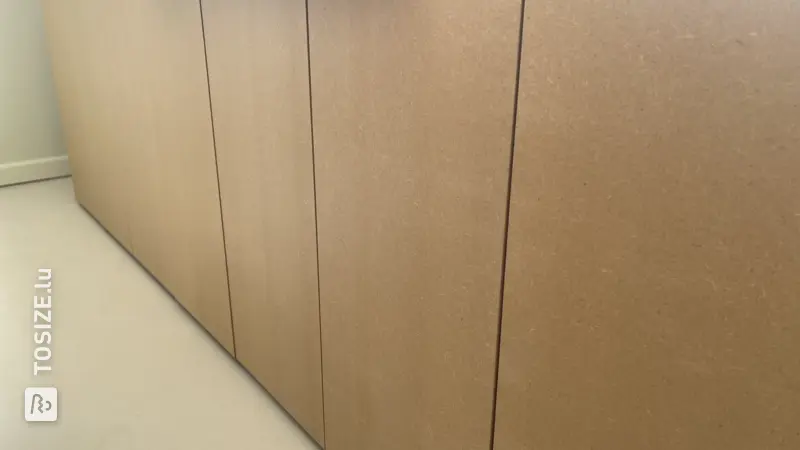
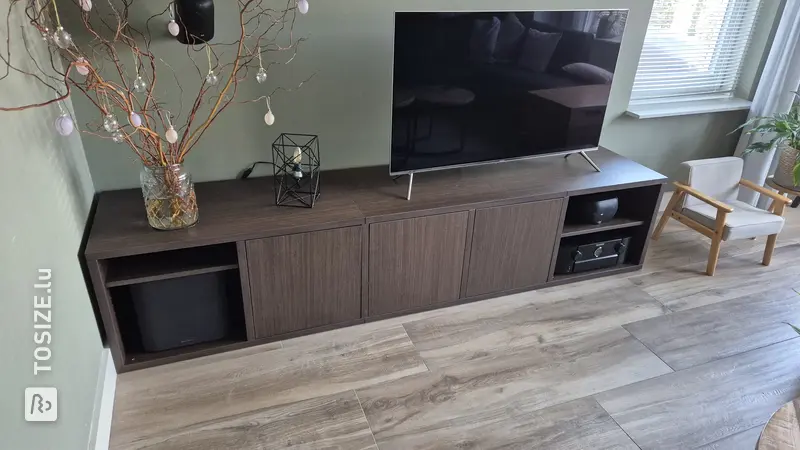
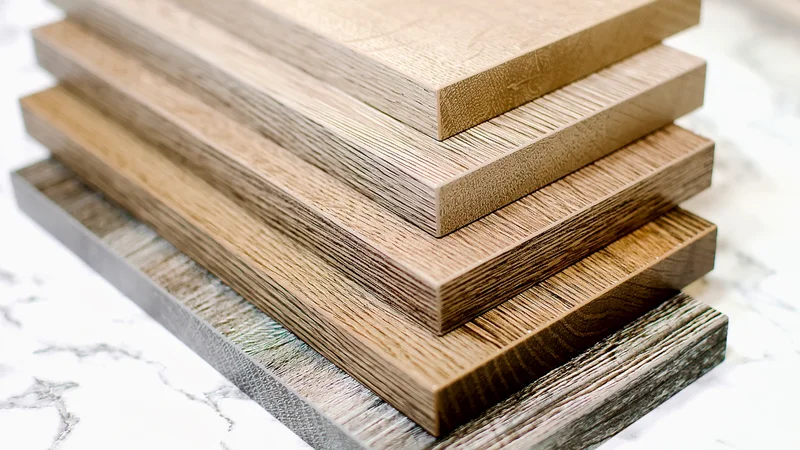
The oak panels were custom ordered from TOSIZE.lu. We opted for oak so that scratches and the like are not easily visible. The plates are attached with 4.5+5 screws to give the furniture extra strength. Screw holes are pre-drilled with a 4mm wood drill and a countersink drill is used to hide the screw heads. Felt is attached to the underside of the plates to prevent scratches. The shelves on the left can be arranged yourself, depending on the type of storage bins used.
Dimensions of my DIY project
LxWxH 160.0 X 40.0 0 cm
Tip! Also check out our handy DIY tips!
What now?
Want to make this DIY project? Check out Bram's saw list and complete your order easily.
610,17€
All materials used
View all sheet materials