- TOSIZE.lu
- Do it yourself
- DIY Projects
DIY workplace with beech carpentry panel, by Margot
DIY workplace with beech carpentry panel, by Margot
Create this project yourself with sheet material cut to size by TOSIZE.lu!
Margot
Easy
4 minutes
Margot used the panels from to create a beautiful office in the bedroom that had become available. Read here how she tackled this!
Description of Margot (My Simply Special)
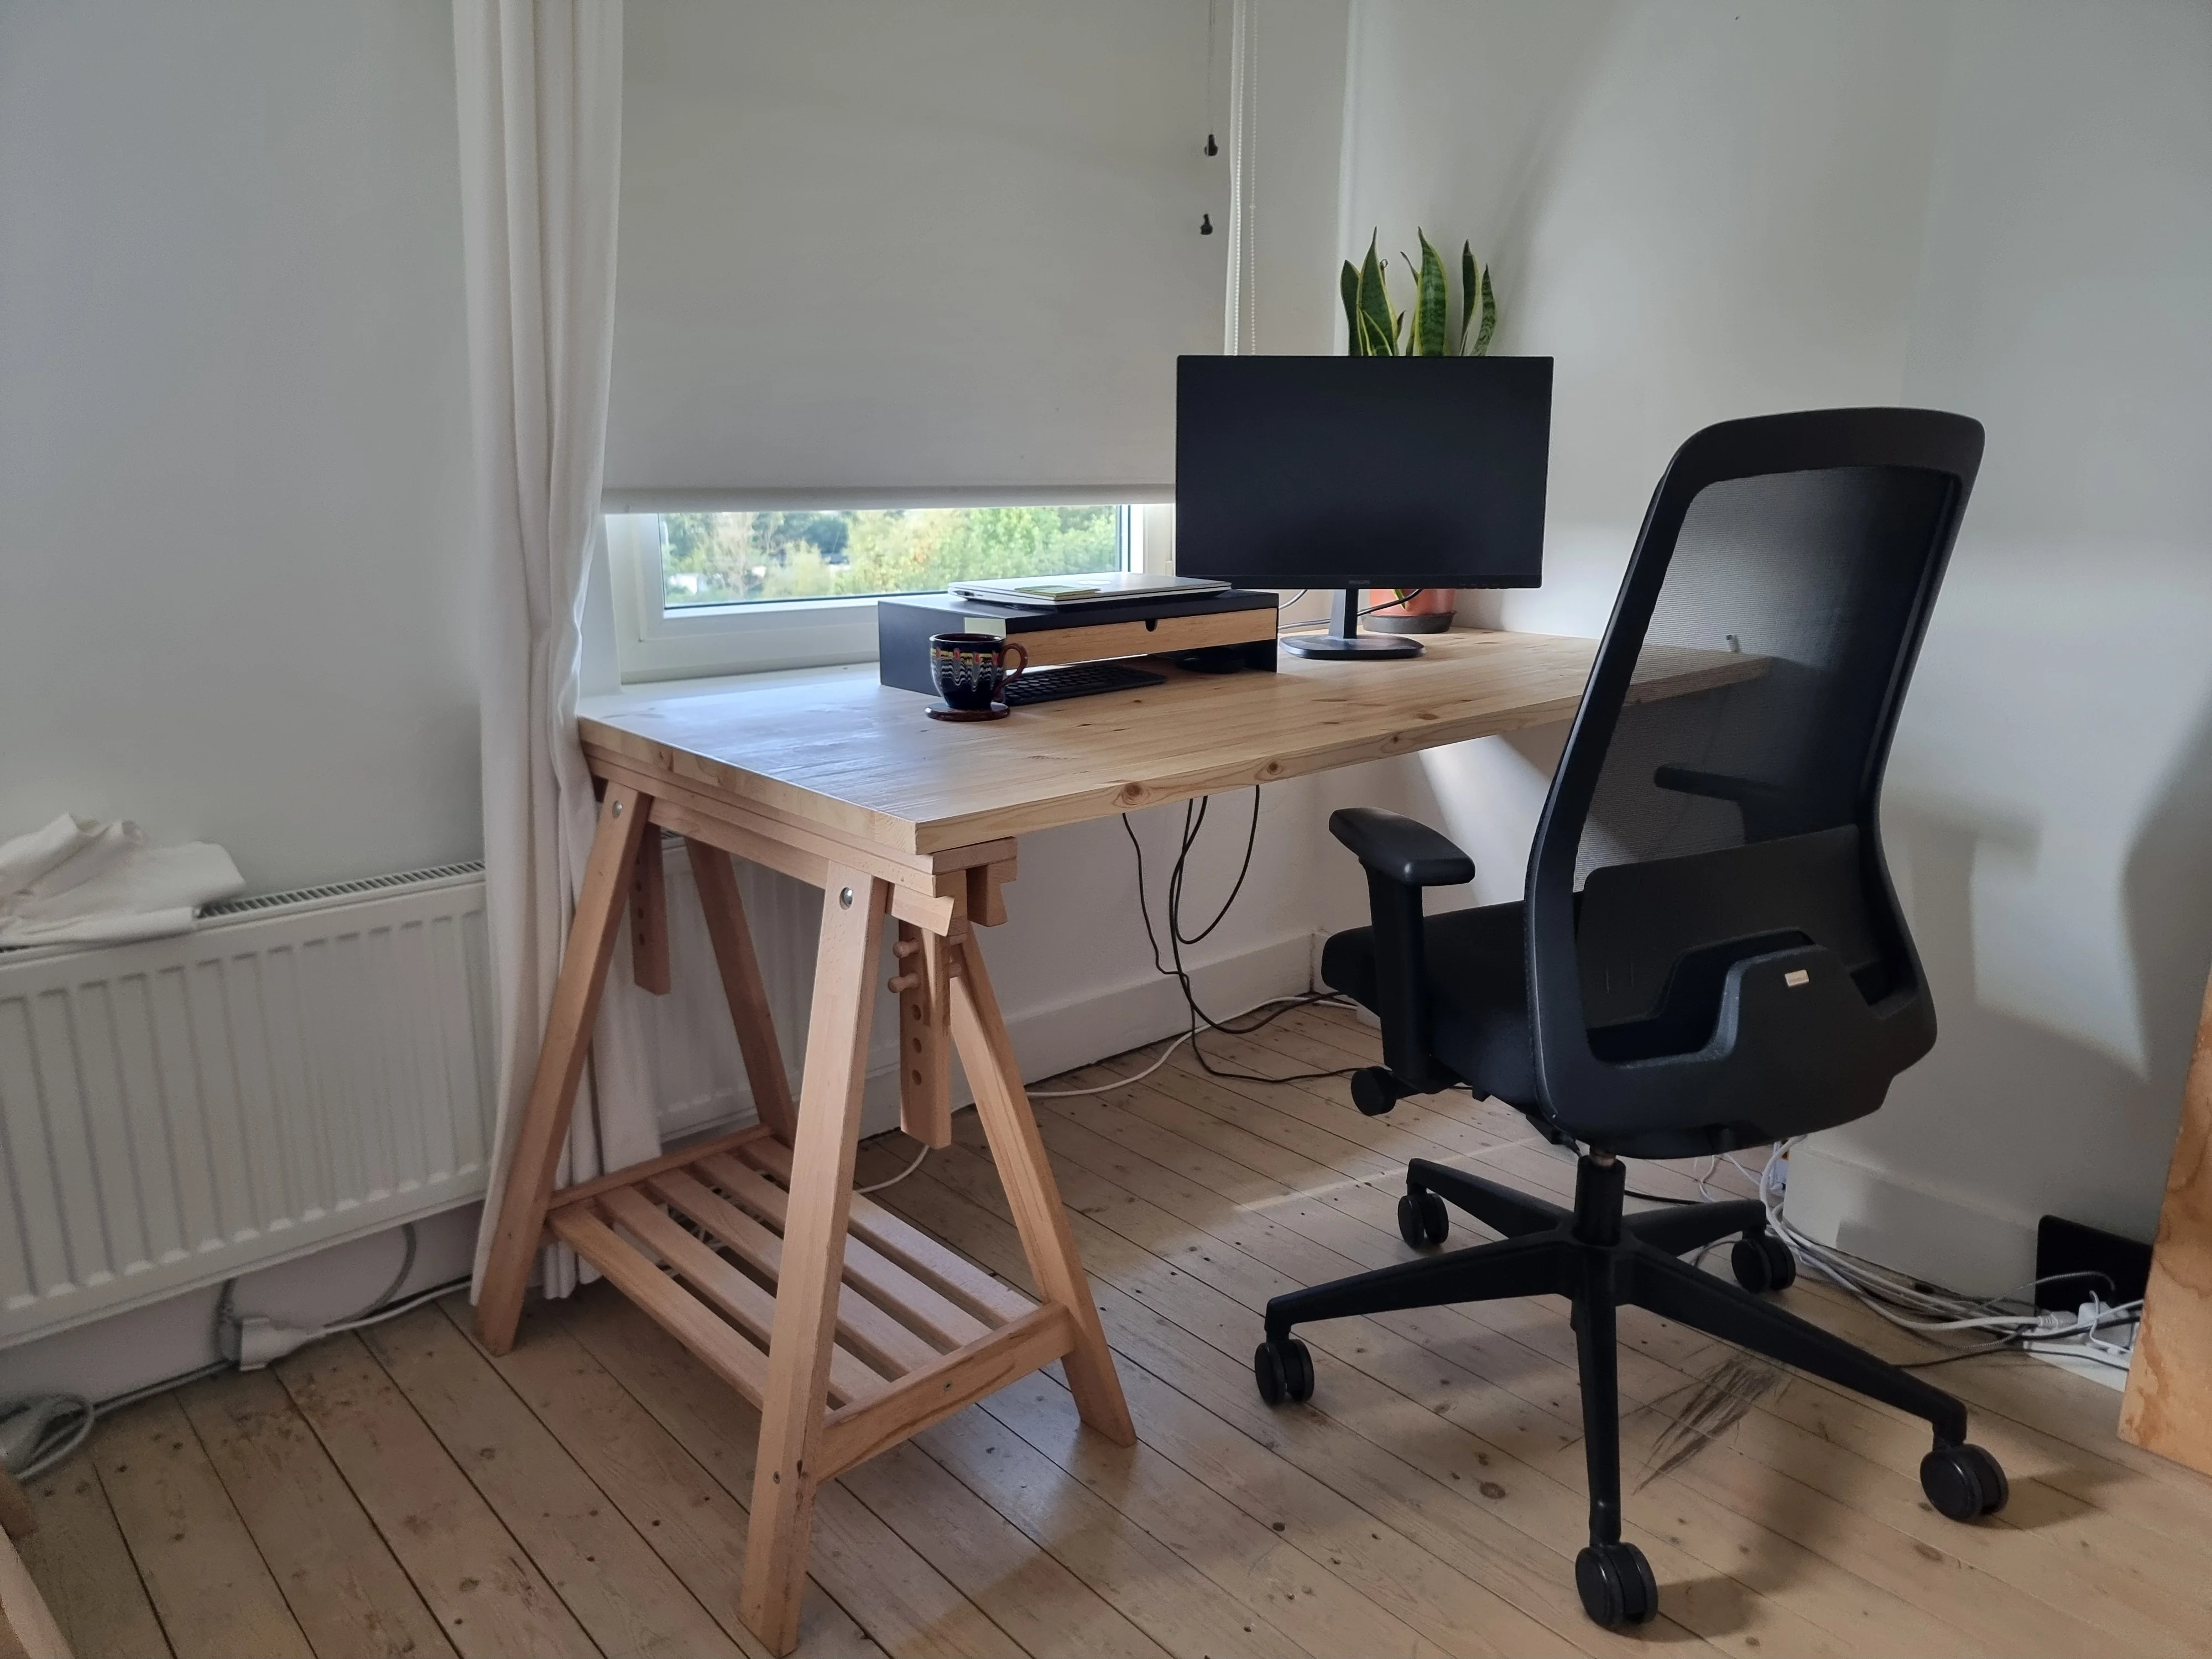
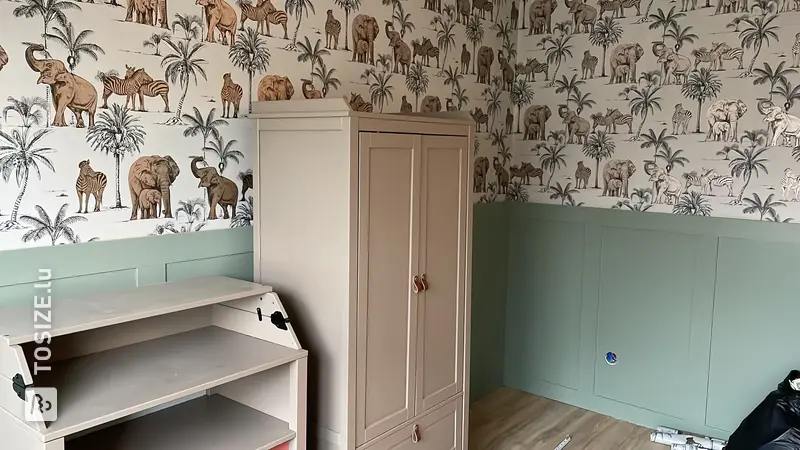
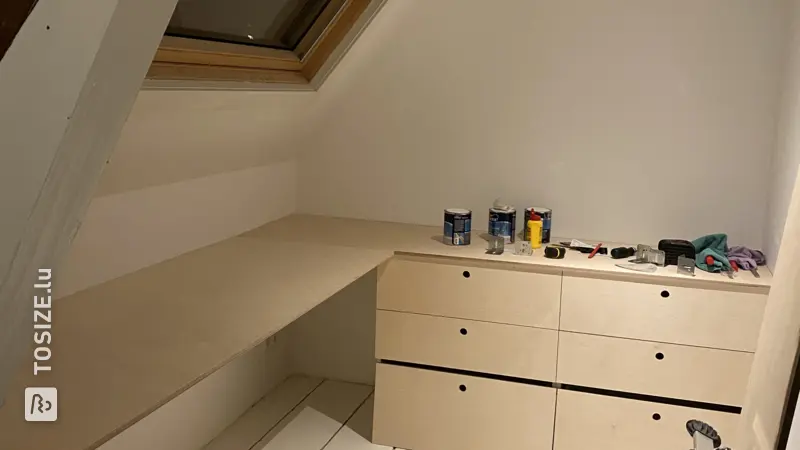
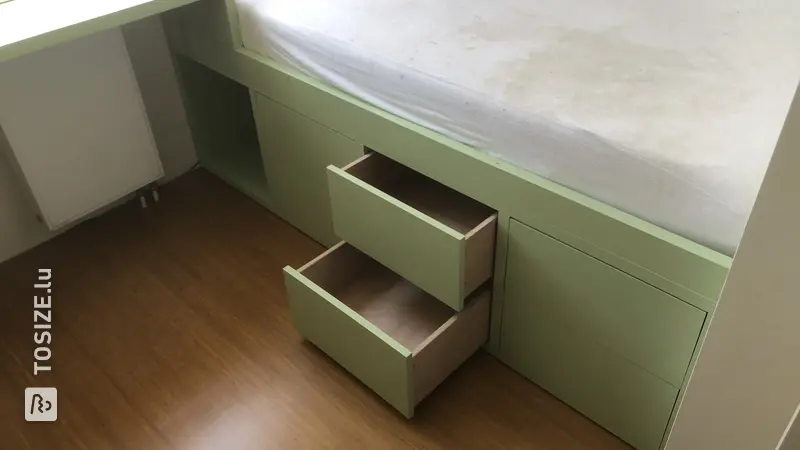
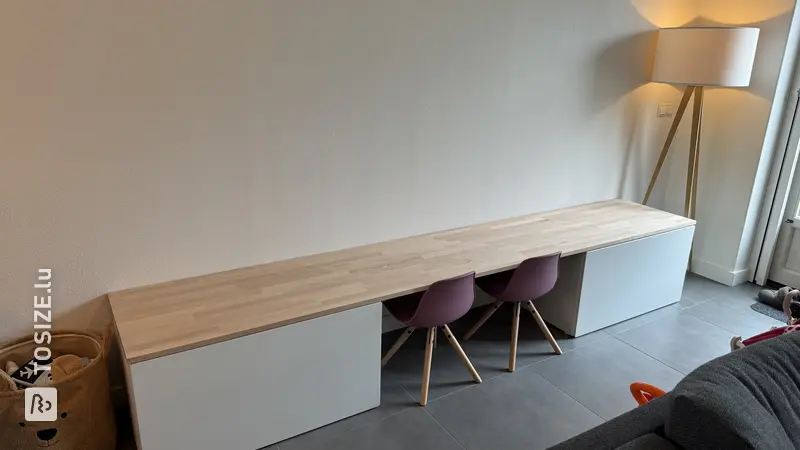
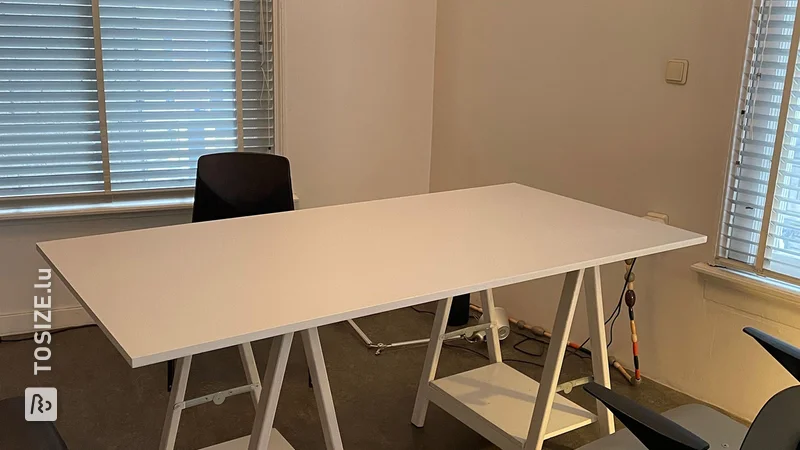
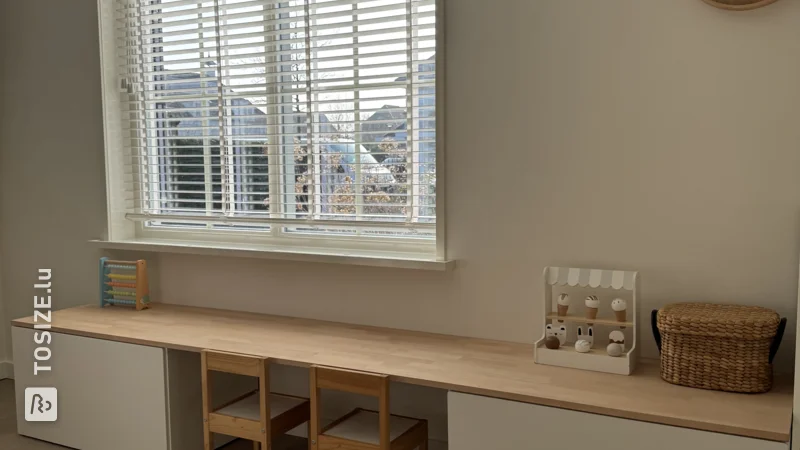
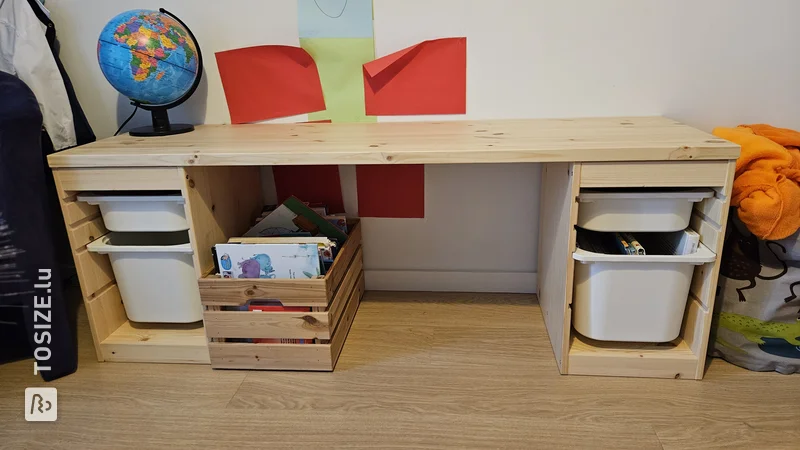
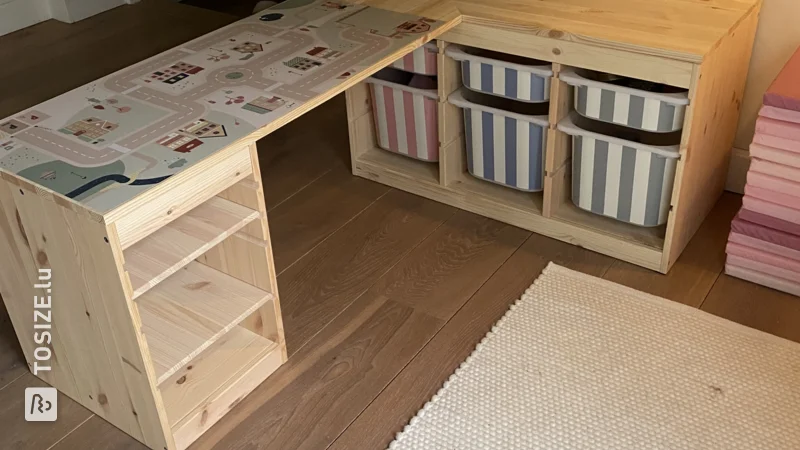
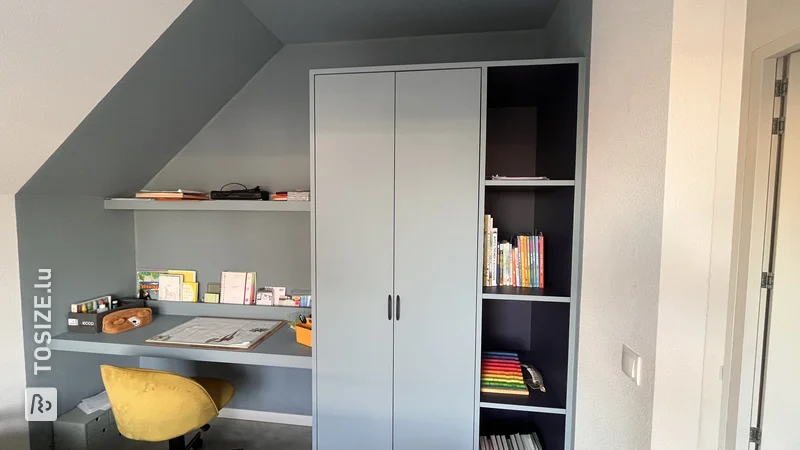
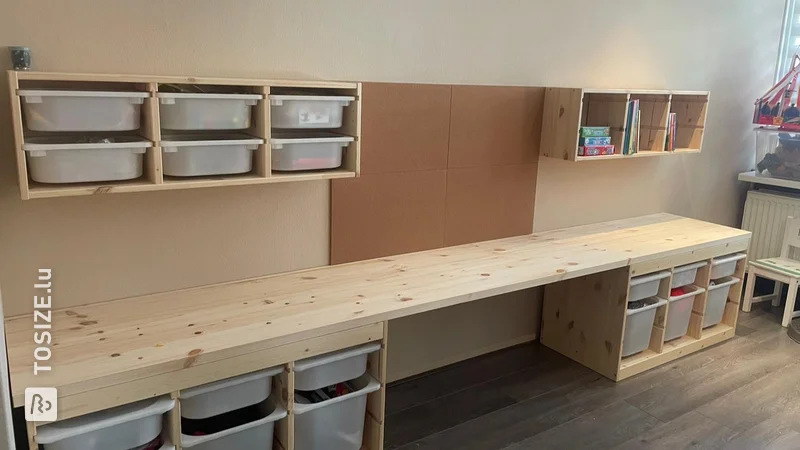
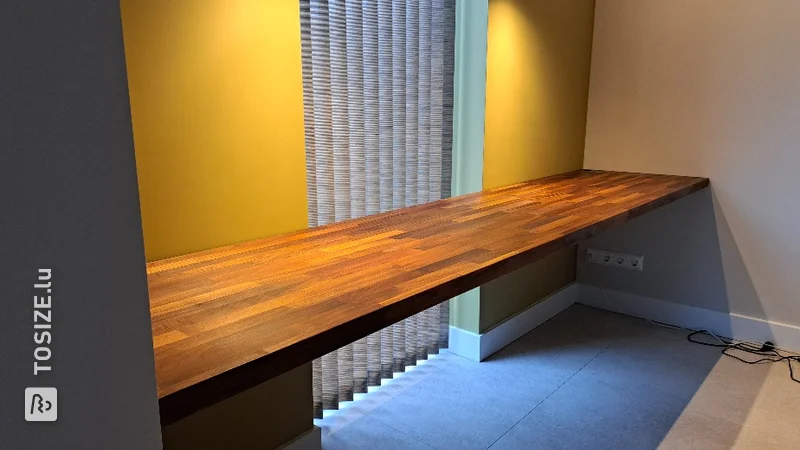
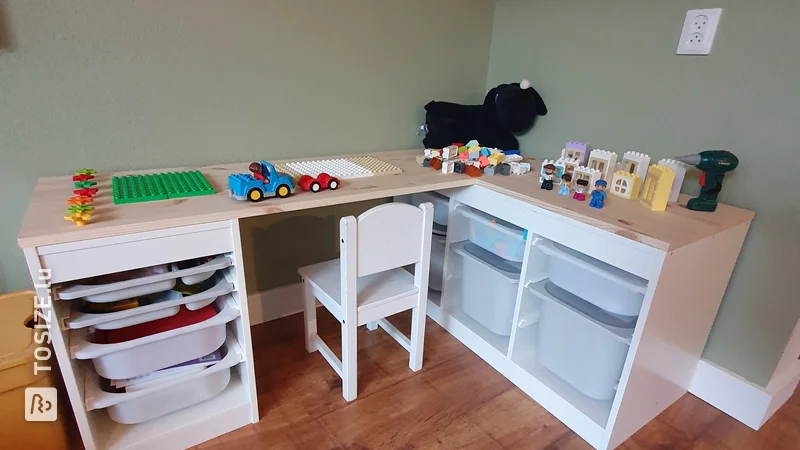
The idea was to create a corner desk, with space for laptops and extra screens for both of us and My sewing and serger machine would be located on the narrow part. Before ordering, we first drew out this plan on the floor using washi tape. That was very useful, because it soon became apparent that the walk-in would be a bit tight due to that angle and that we would be better off just making a long desk.
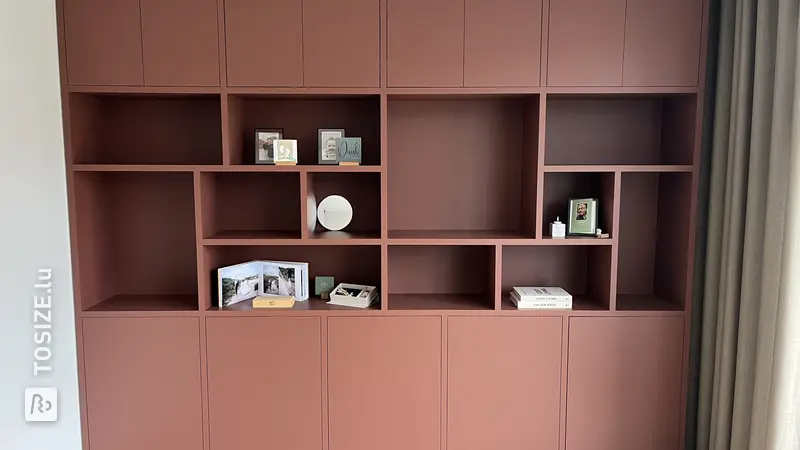
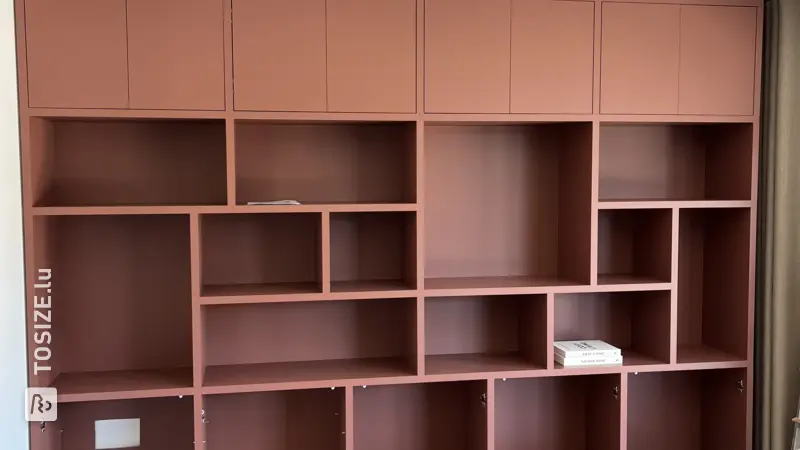
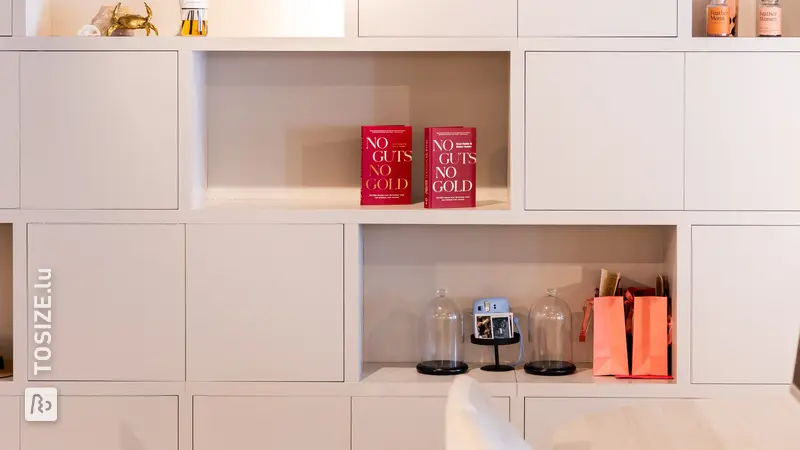
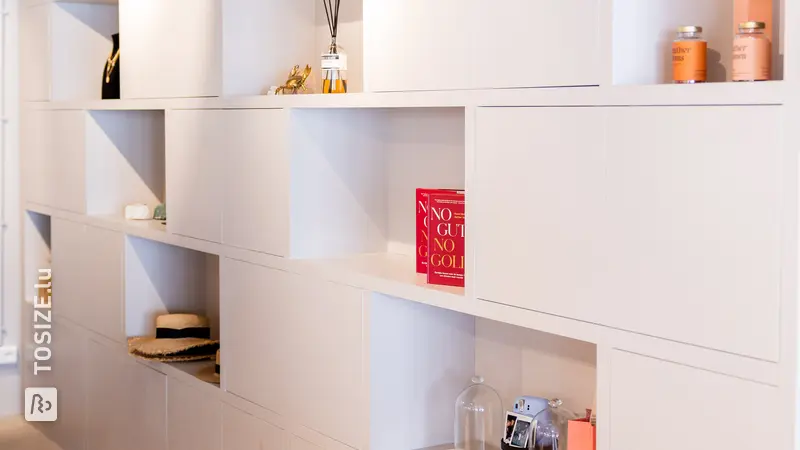
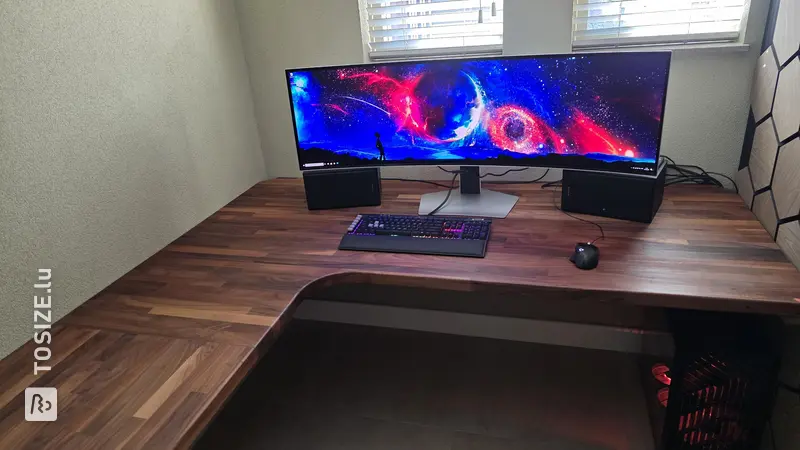
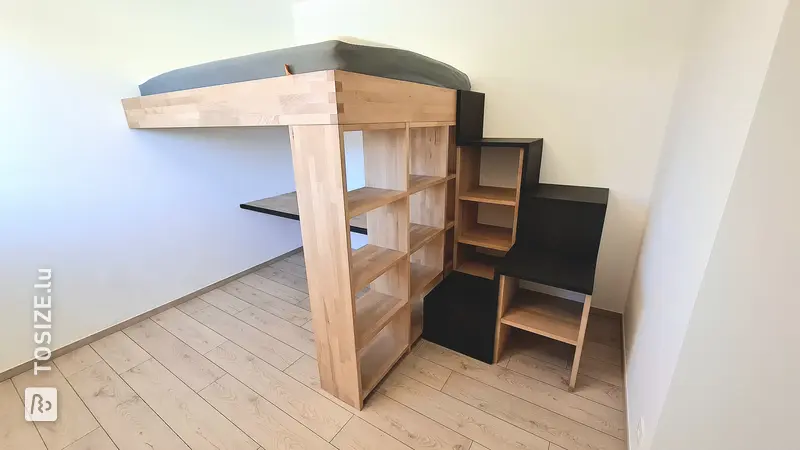
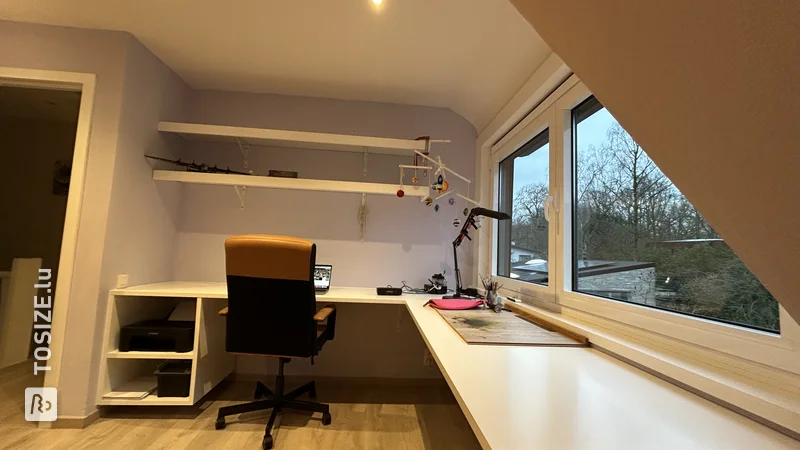
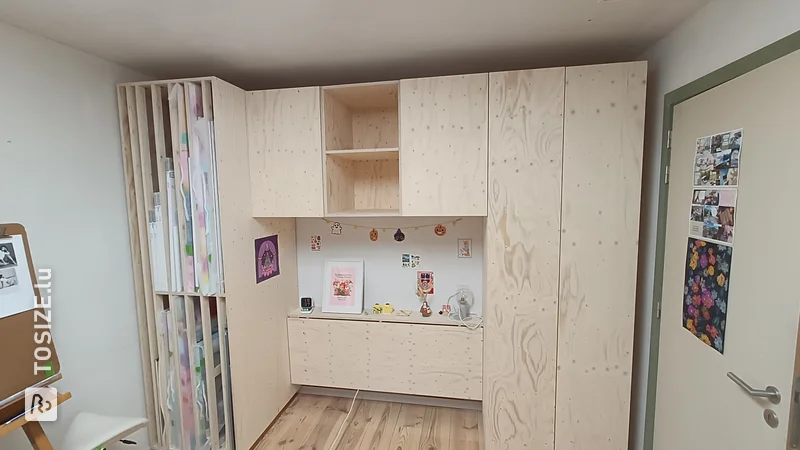
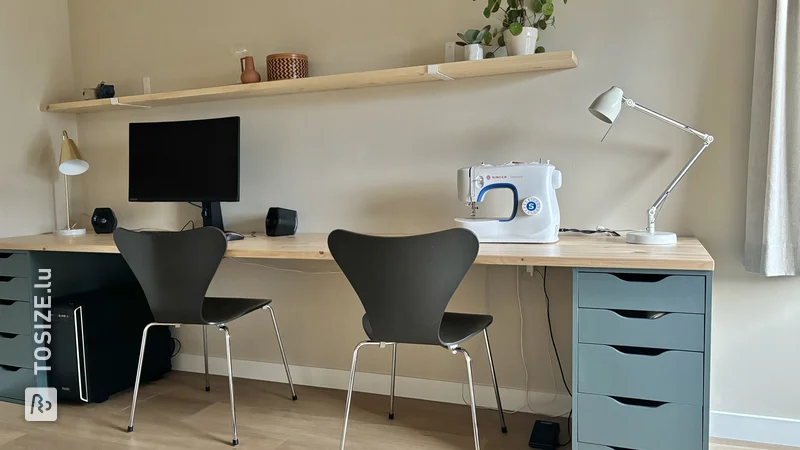
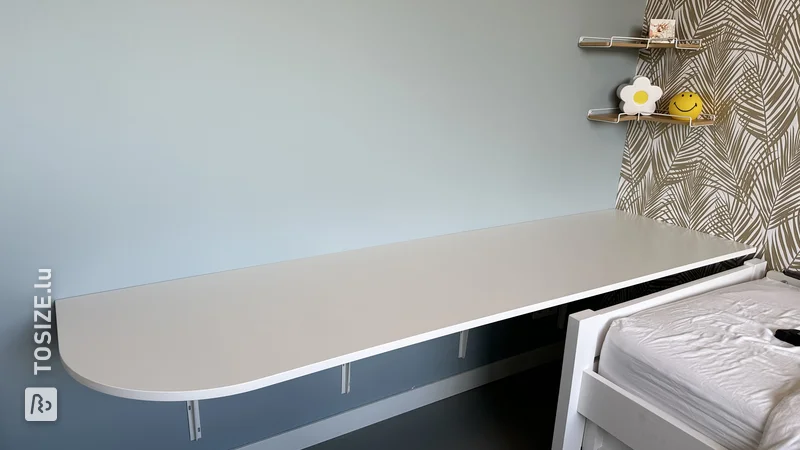
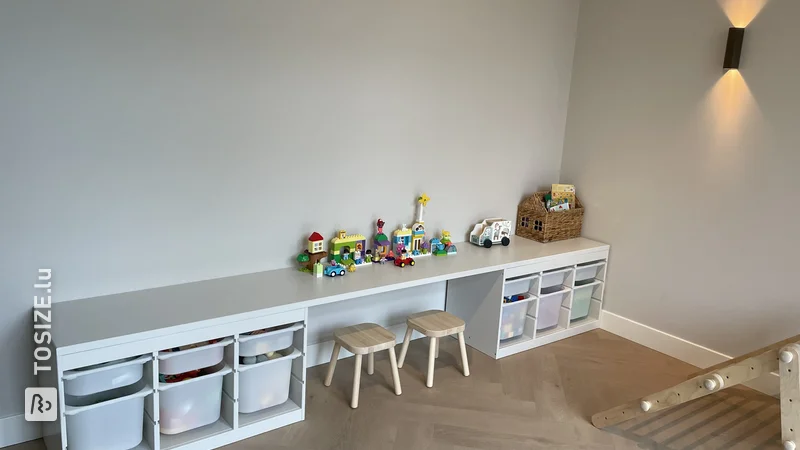
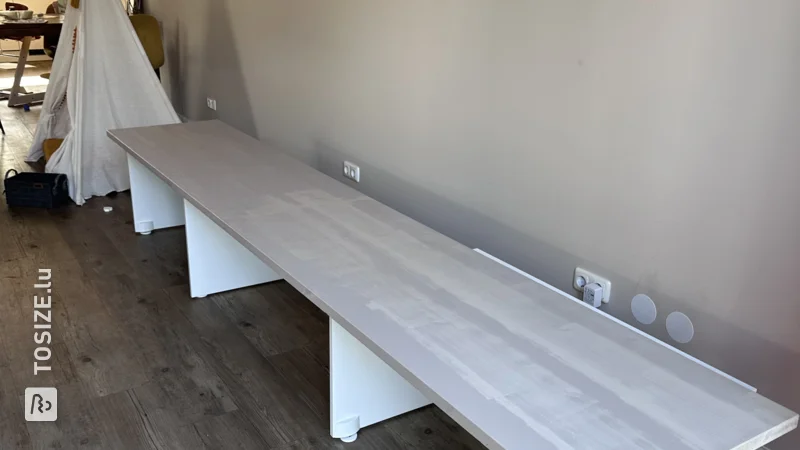
The result
This is it become! On the right we have a part where Romano sits and on the left we have a larger part so that in addition to my laptop and screen there is also room for my sewing supplies.
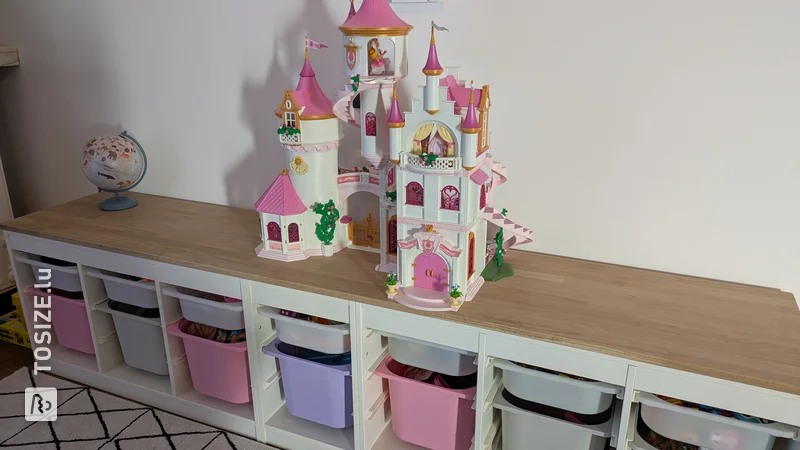
How I created this project
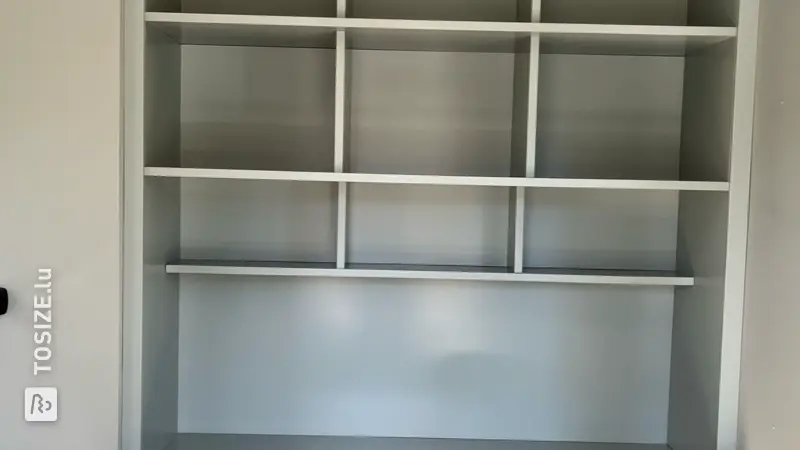
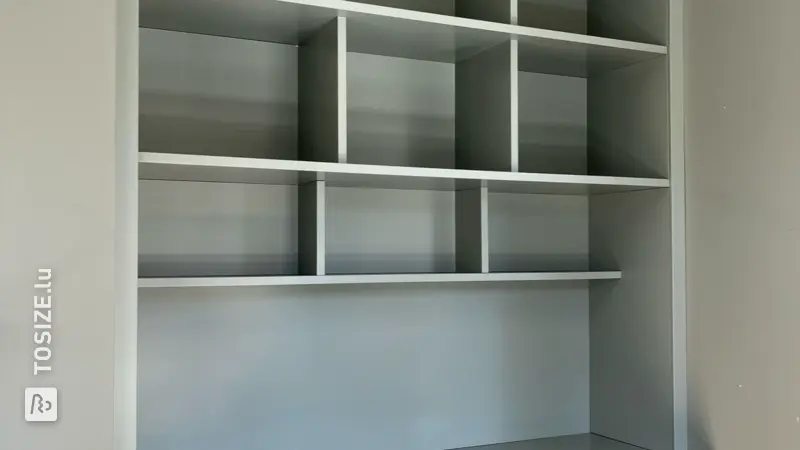
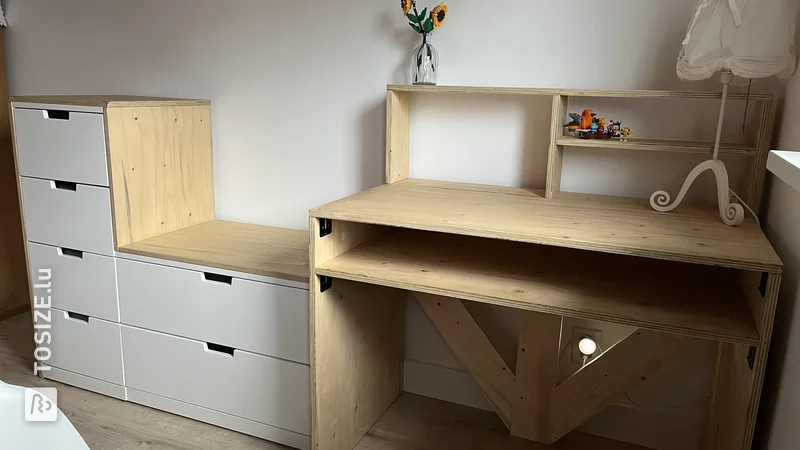
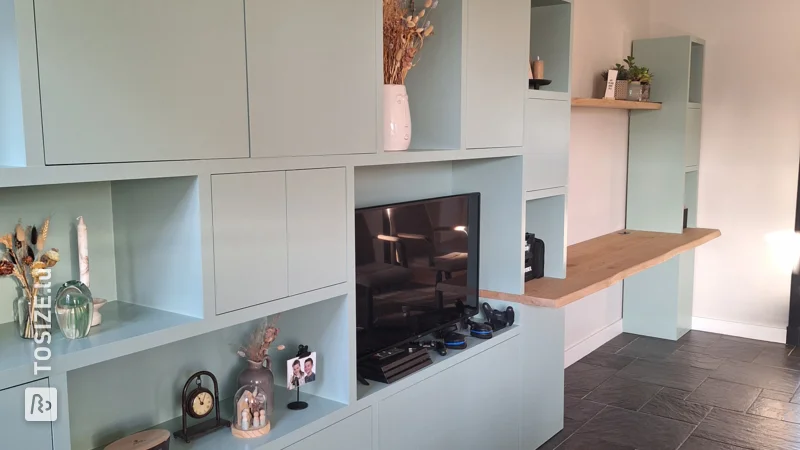
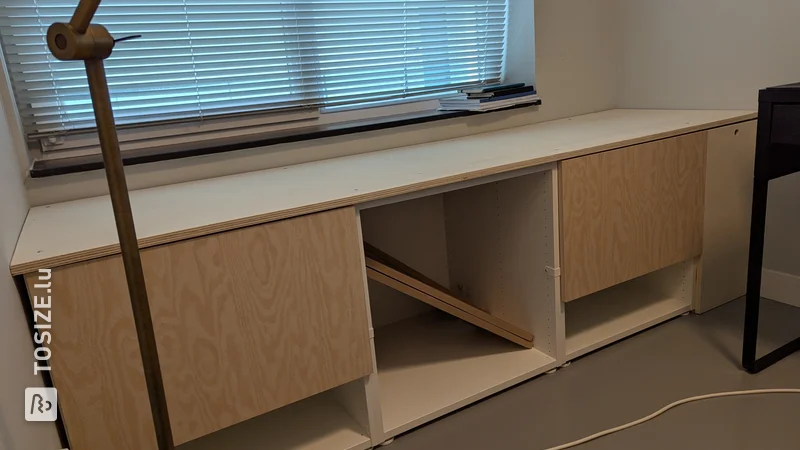
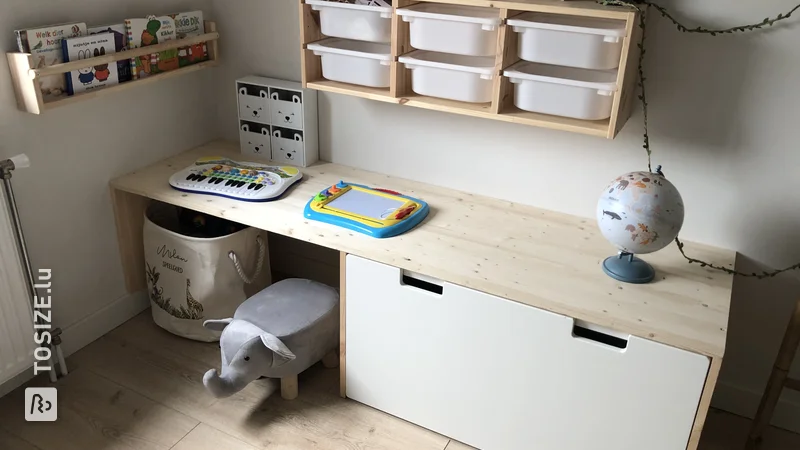
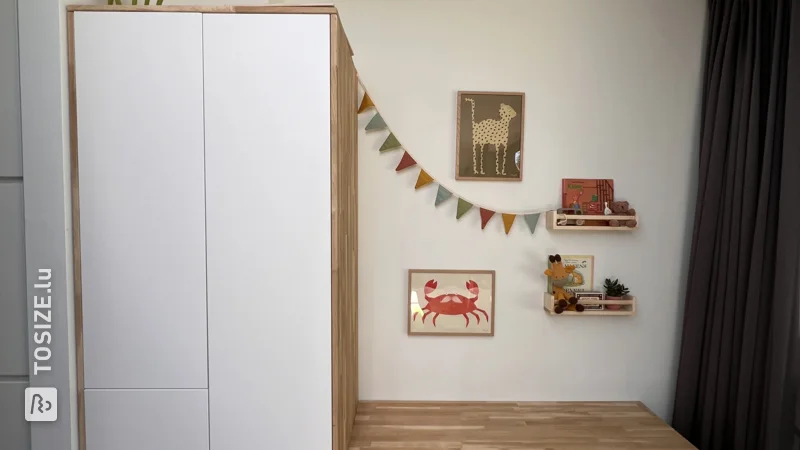
During my search for inspiration I was shelves to to be able to place them on top of those cupboards and raise them a bit.
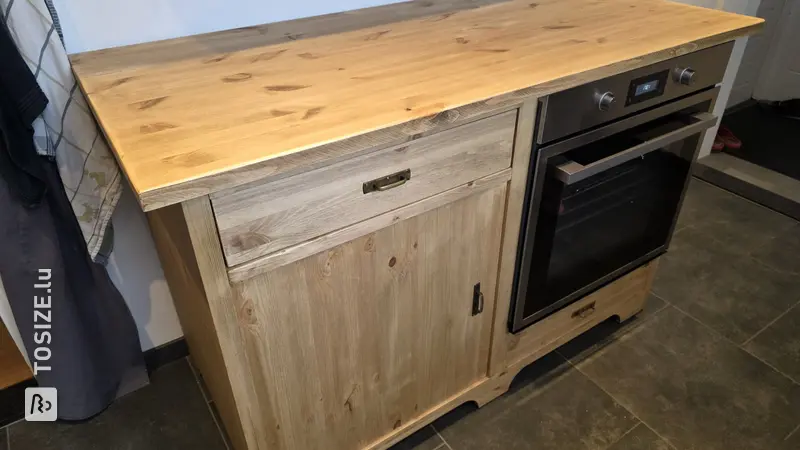
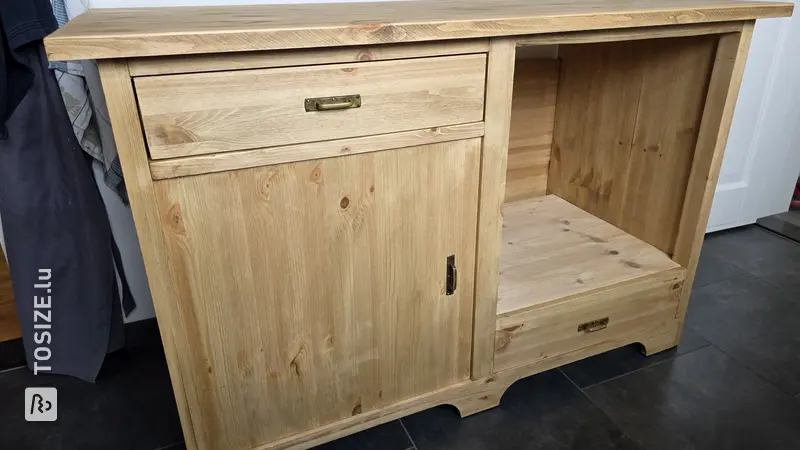
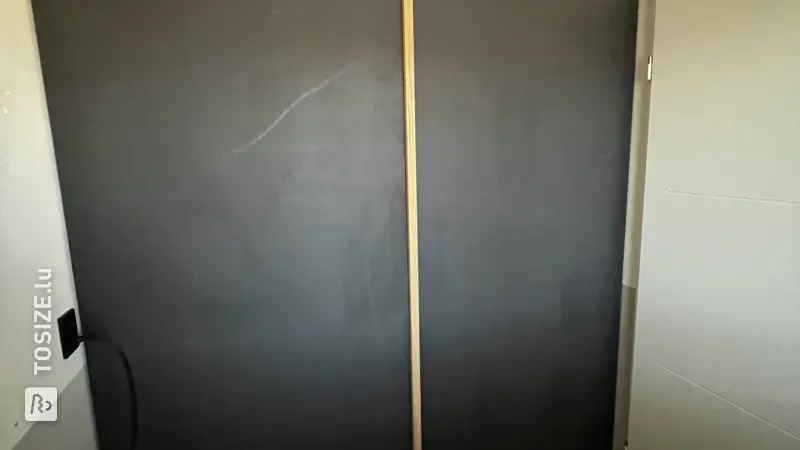
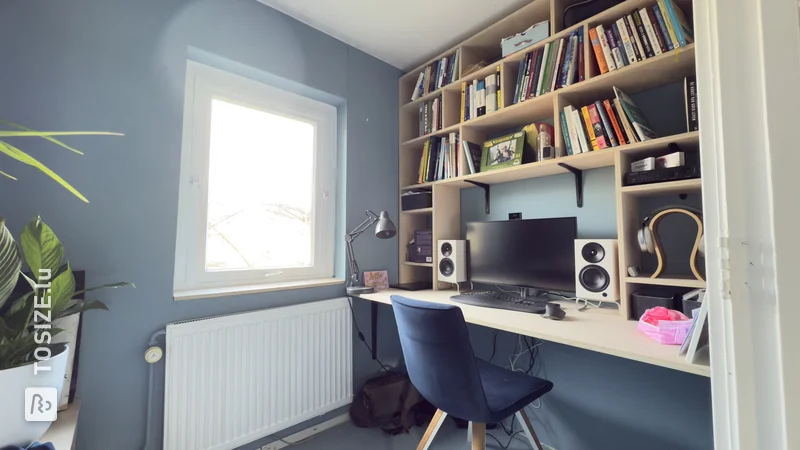
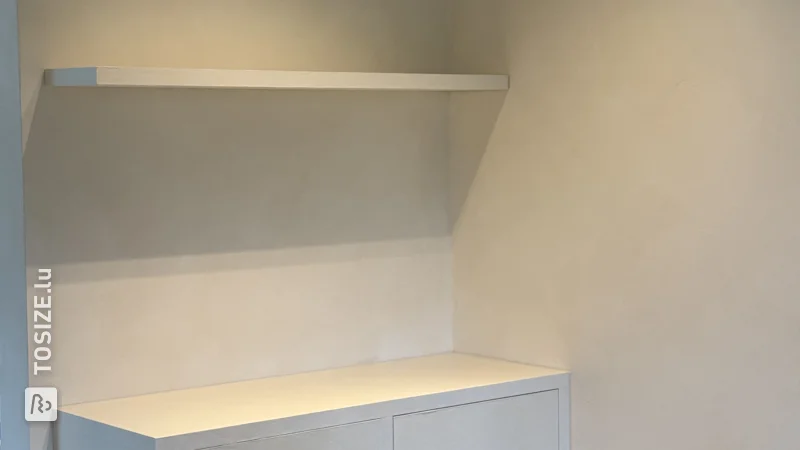
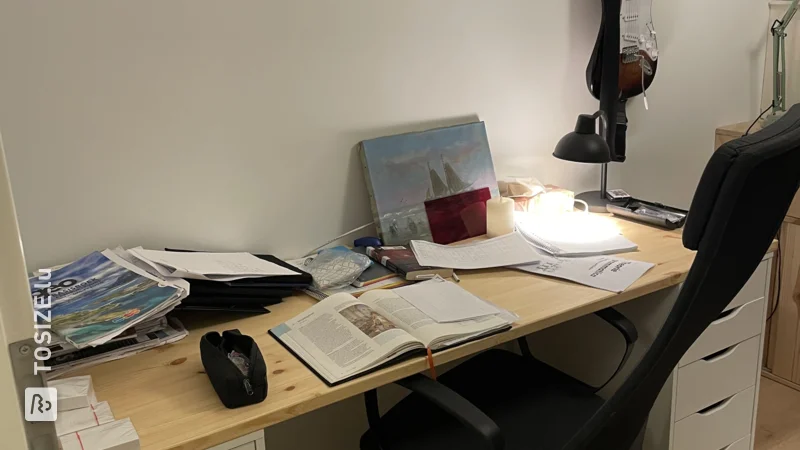
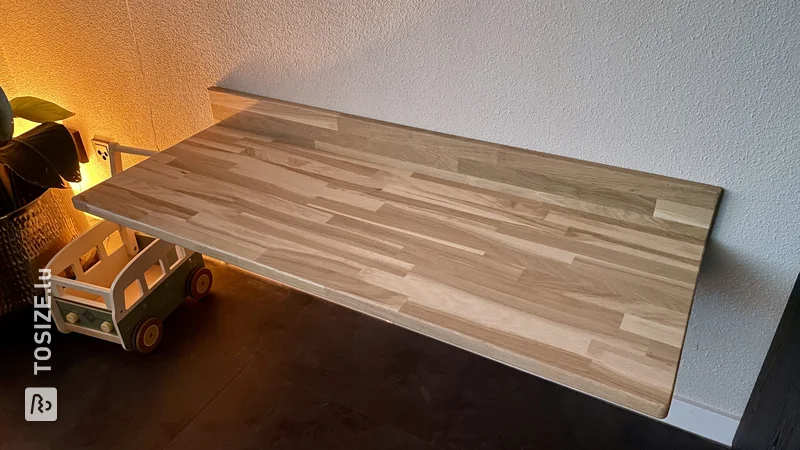
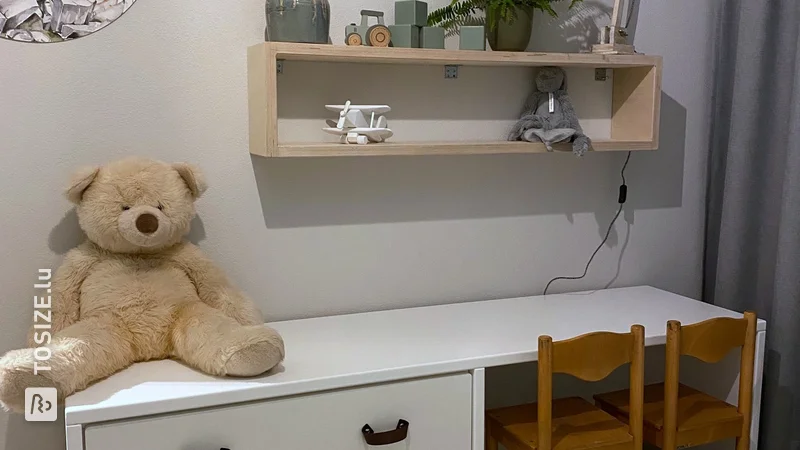
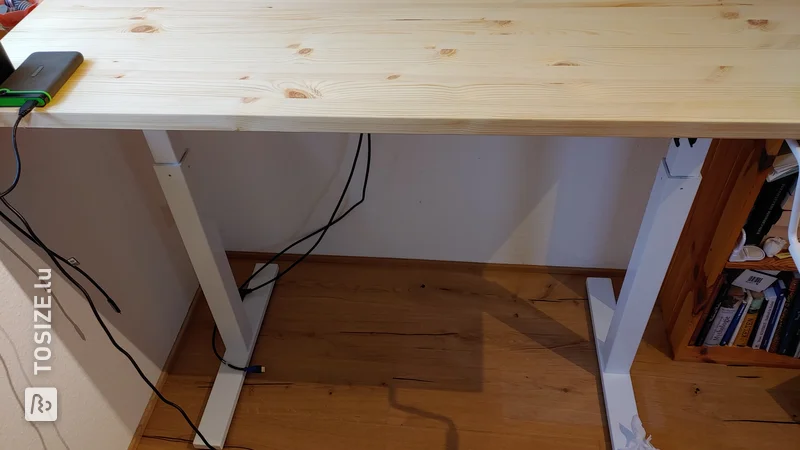
We wanted to hang a shelf above the desk. We had two nice metal shelf brackets lying around, so we selected a which at 18 mm was slightly less thick than the worktop, but fits nicely with it. The advantage of is that they cut everything for you down to the millimeter and deliver it neatly to your home. Super handy!
As soon as we had everything in the house, I sanded everything down and treated it with furniture lacquer to protect the wood. And then came the most exciting part, editing. At the far left and center the panels rest on the raised chests of drawers. We attached beams to the wall at the back and right side. The sheet is just lying there. We placed an extra support beam in the middle under the longest worktop to prevent bending.
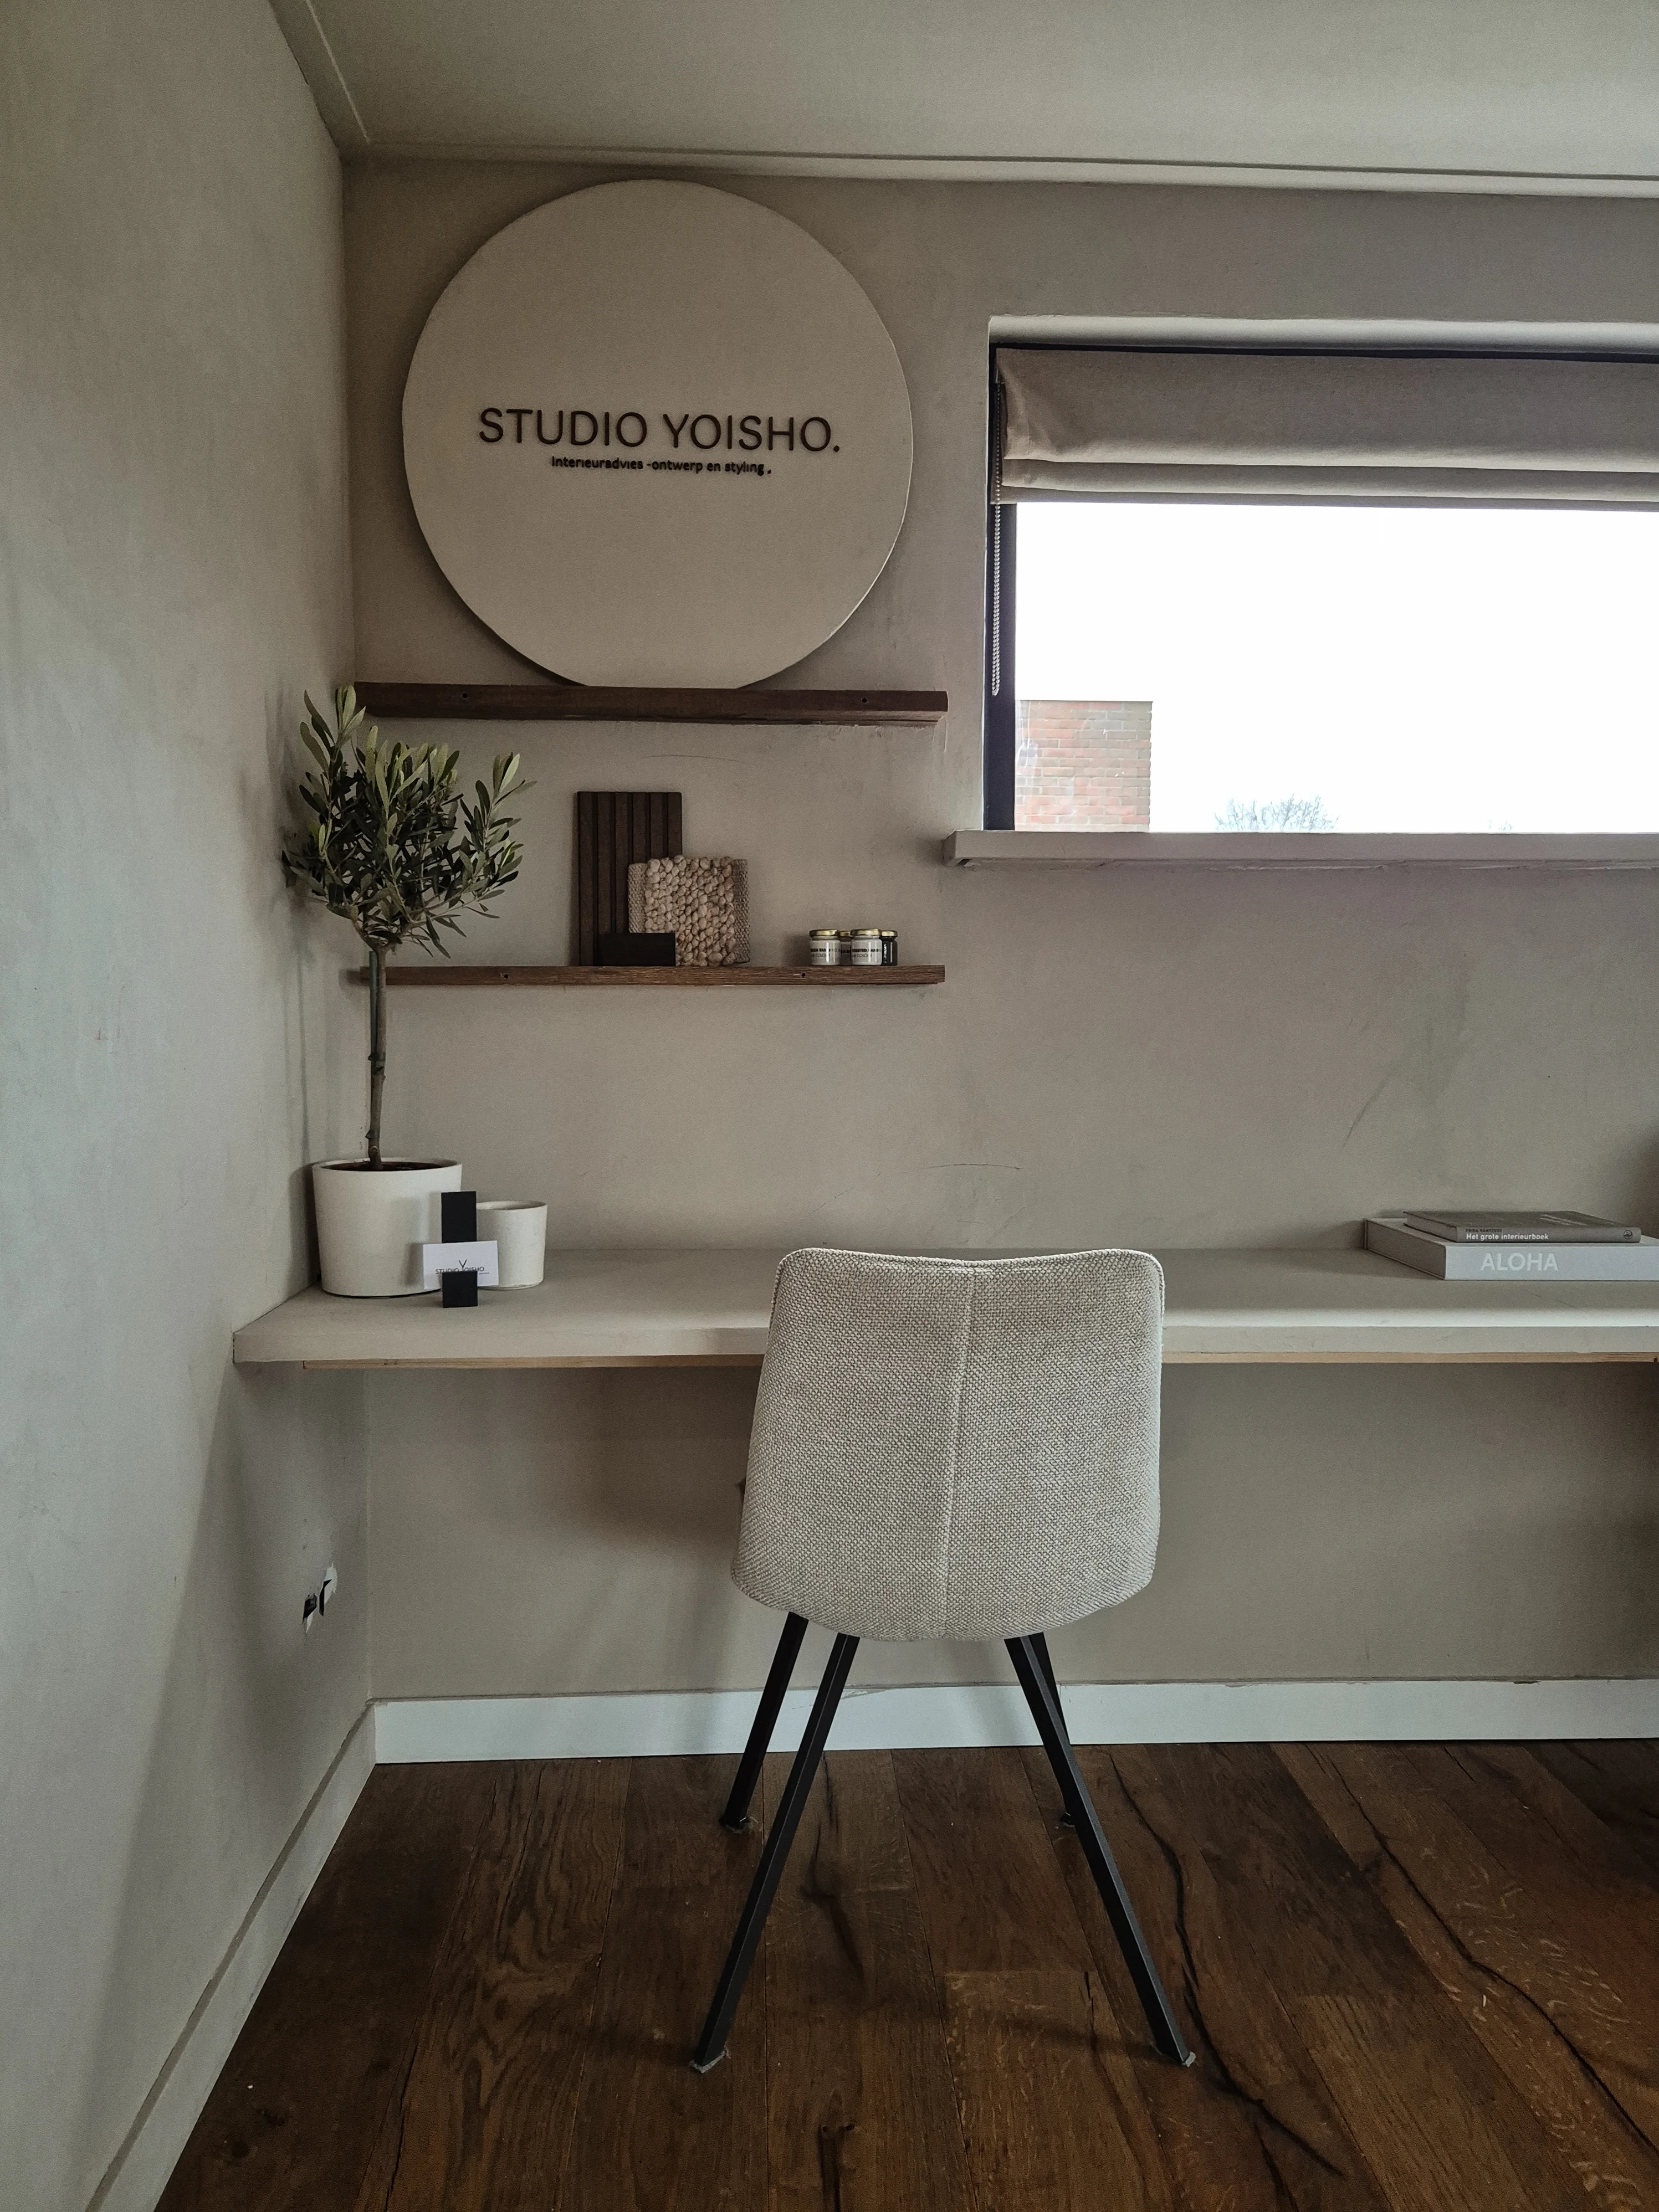
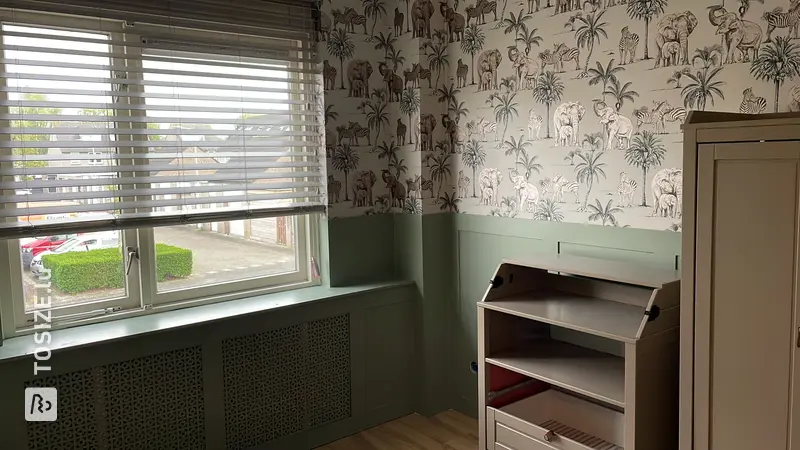
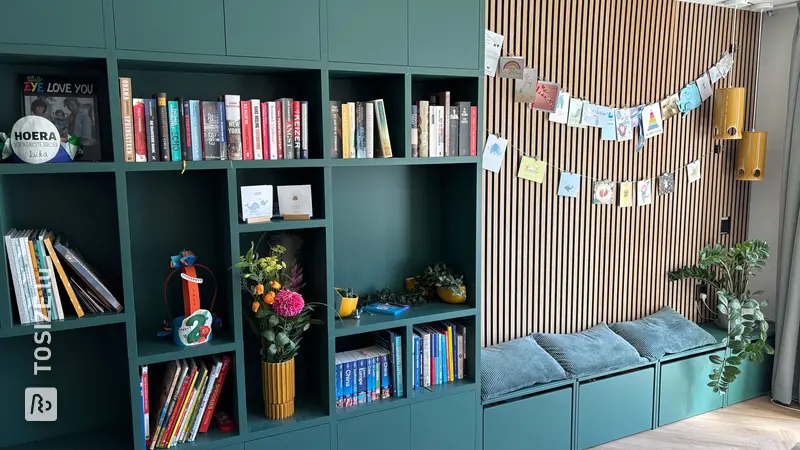
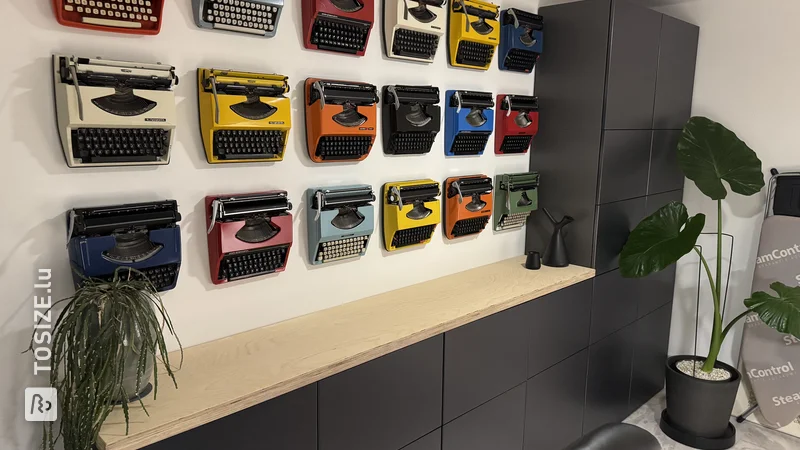
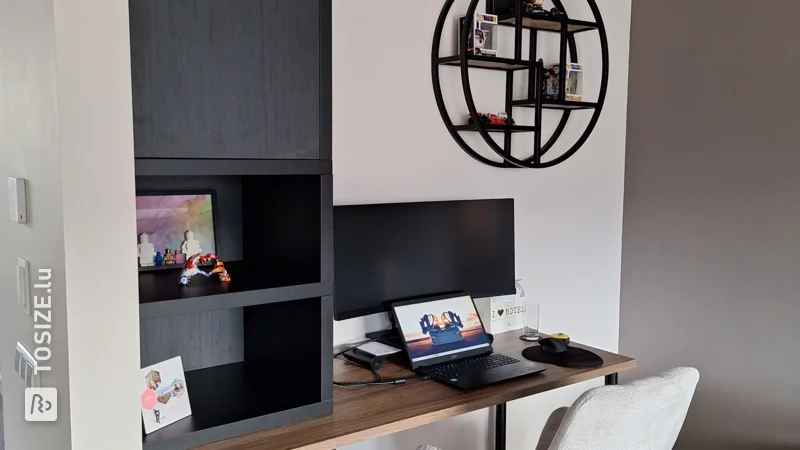
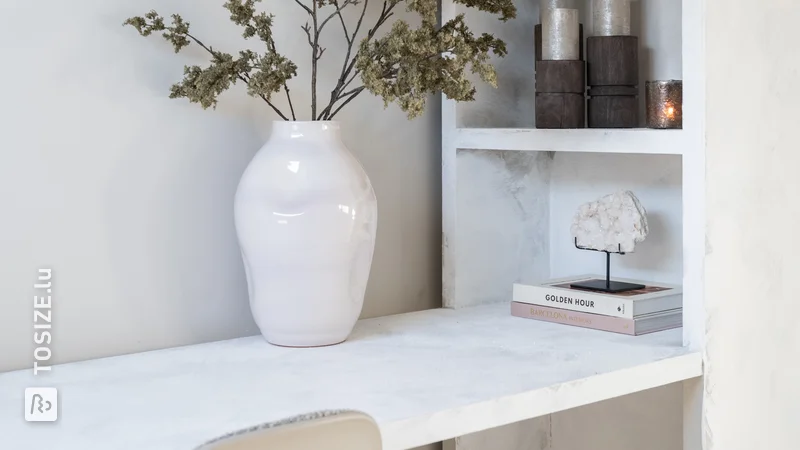
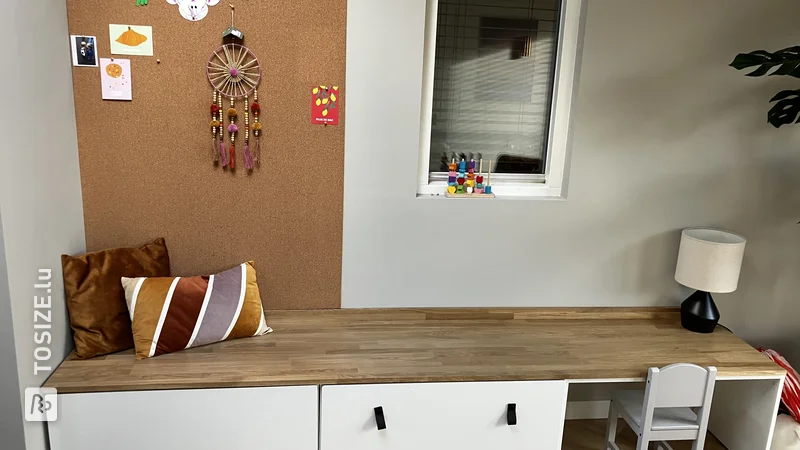
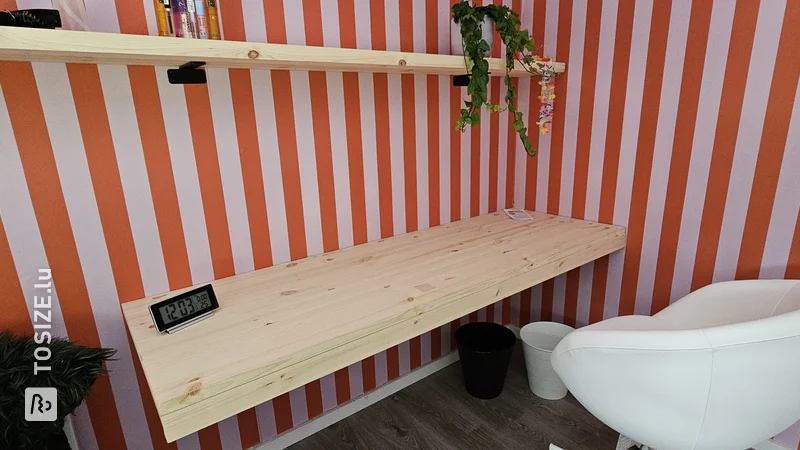
The decoration
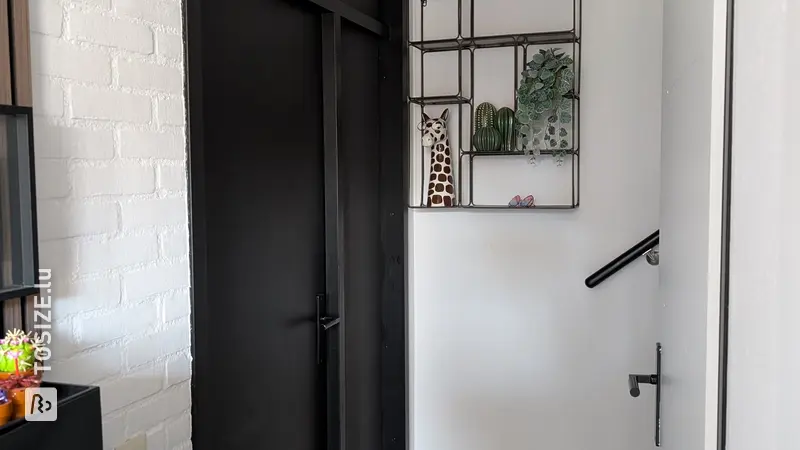
I wanted to bring back the black of the shelf supports, so I opted for two slender , black lights from vibe.nl. The inside of the shade is gold, so they provide cozy warm light. On top of the shelf I returned the black to the Intratuin plant pot and the gold can be seen again in the mirror and the candles (old). I have had the vase for a long time and I gave it a warmer color with some wall paint.
I added some greenery to the windowsill. I always really like these types of hanging plants and the funny thing is that this is an artificial plant. They are not always that good, but these from the brand 'Atmosphere' looks very real.
What still needs to be done?
To complete it all, some finishing touches still need to be completed:
- A lamp with more spotlights still needs to be turned on be hung from the ceiling. Then we also have good light in the evening when I want to get behind the sewing machine, for example.
- There will be two more screens for Romano so that he can connect his laptop to them and work in a good position.
- li>
- Once those screens are up, I want to see if and what we want to hang on the hook that is in the wall on that side.
- To the right of Romano's workplace we have a white piece of wall. I'm considering hanging a large poster or something there, but I still have to look into that.
- I like to keep all cables out of sight as much as possible, so we need a second cable duct for under the desk and I would like a new monitor stand.
Romano and I both work mainly from home, so it's nice to finally have a good place to work for both of us. We are very happy with it!
Dimensions of my DIY project
366.5 x 90.0 cm
Tip! Also check out our handy DIY tips!
What now?
Want to make this DIY project? Check out Margot's saw list and complete your order easily.
516,01€
View all sheet materials