- TOSIZE.lu
- Do it yourself
- DIY Projects
Floating bed made of glued wood panels by Markus
Floating bed made of glued wood panels by Markus
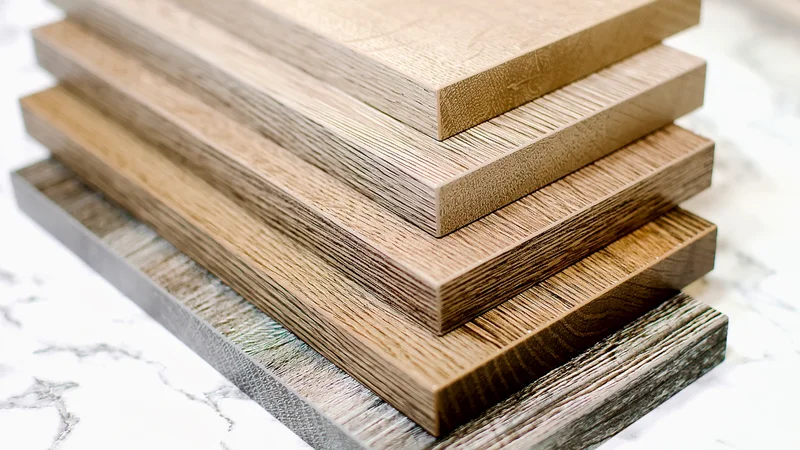
Create this project yourself with sheet material cut to size by TOSIZE.lu!
Markus
Average
3 minutes
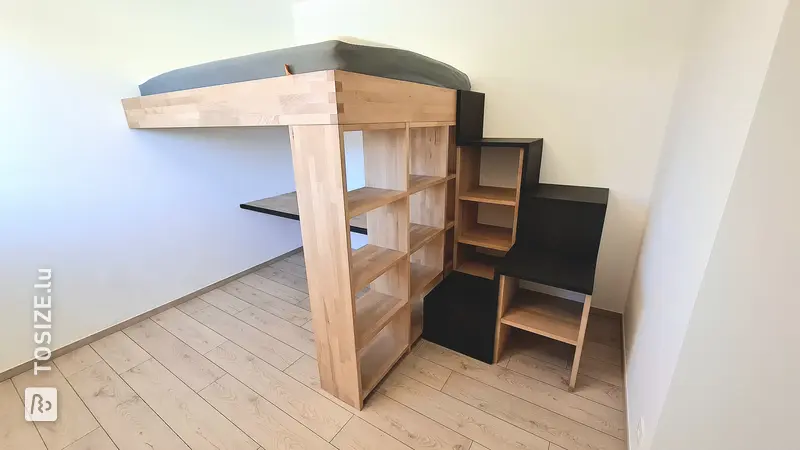
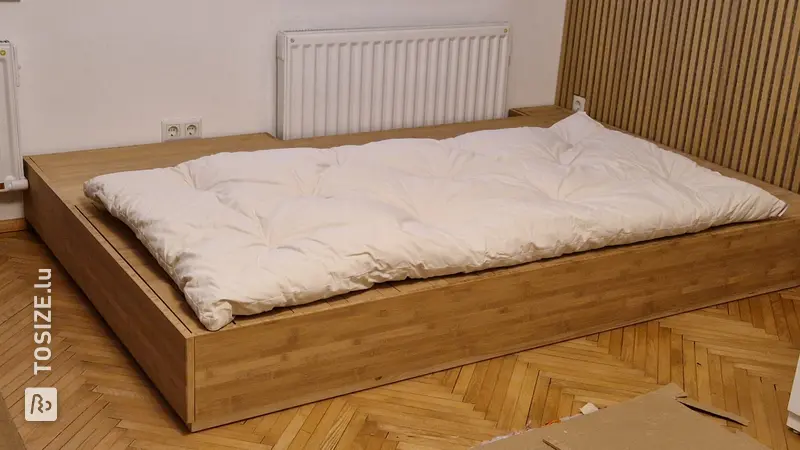
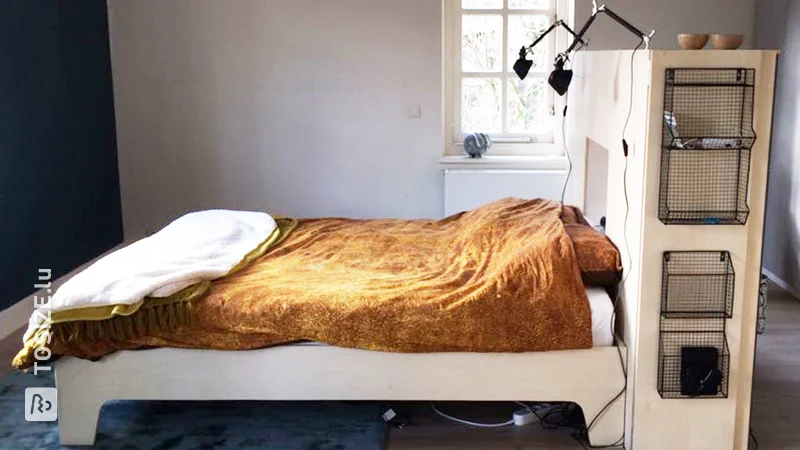
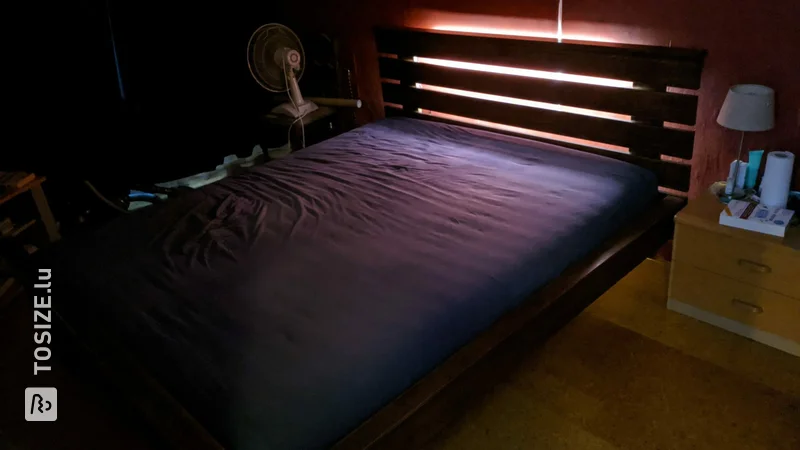
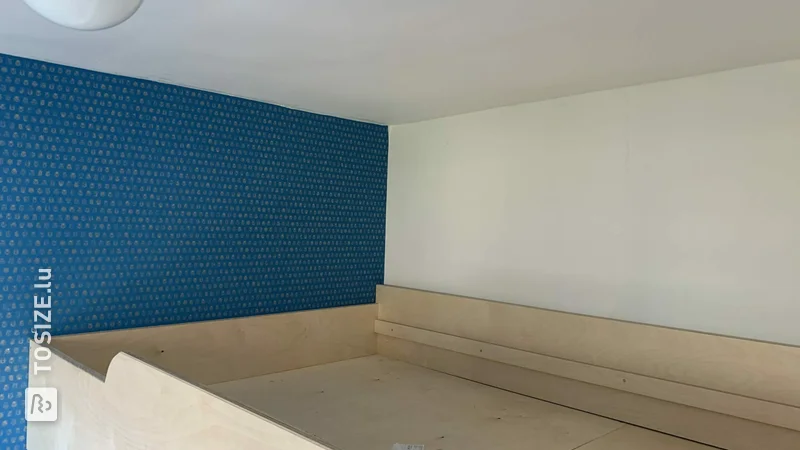
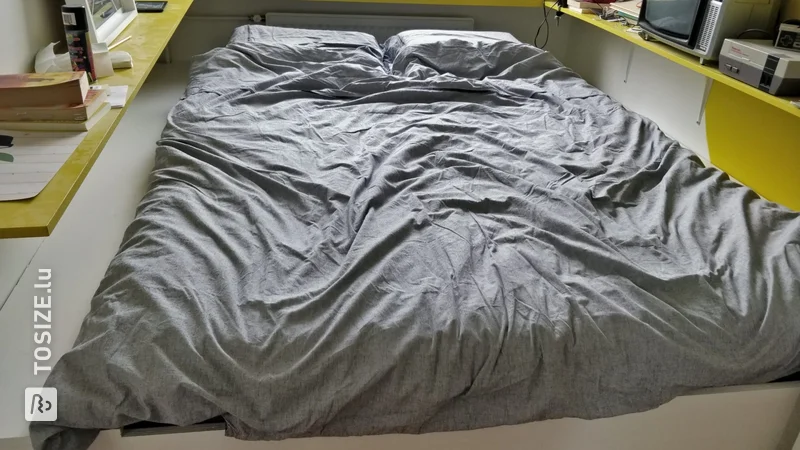
In this project, Markus describes in detail how he went about creating his self-built bed. He was inspired to design the bed so that it appears to float. With lighting, it has become a beautiful project! Read more about Markus' approach below.
Description by Markus
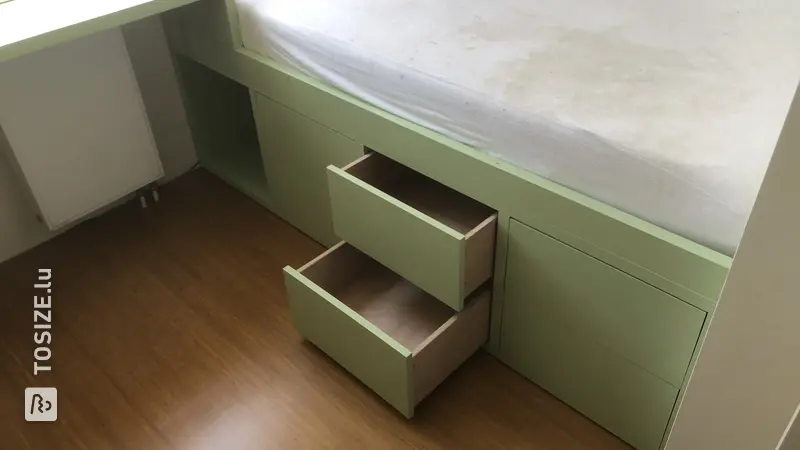
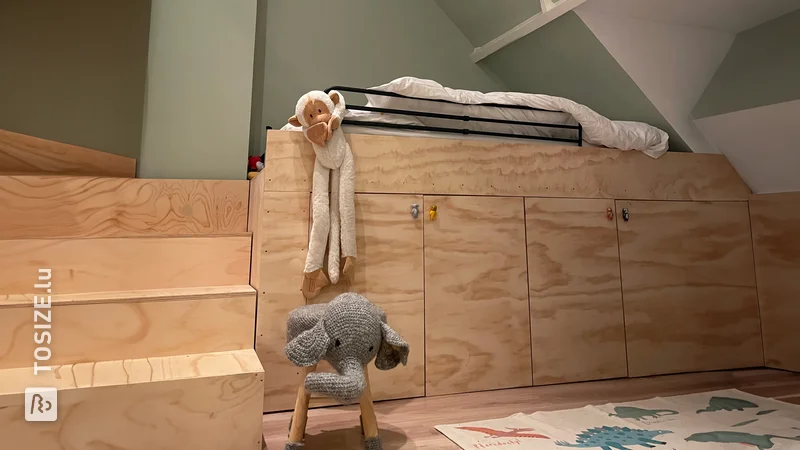
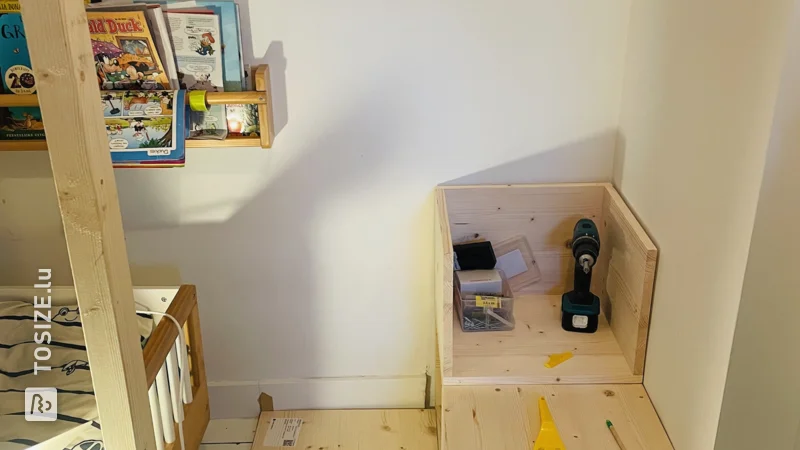
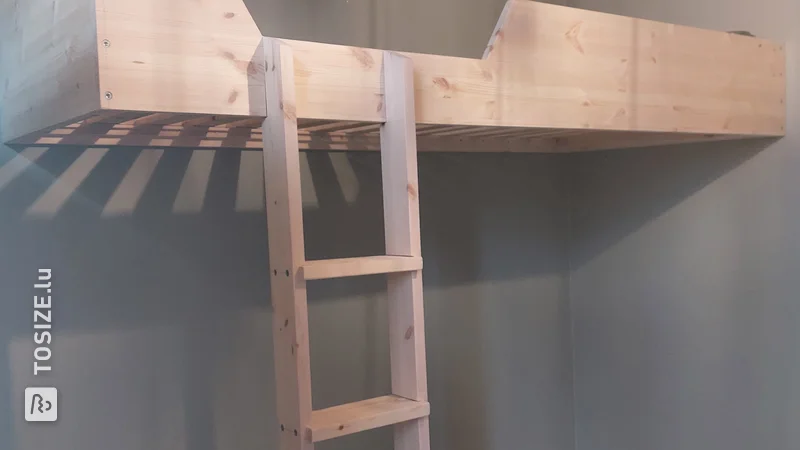
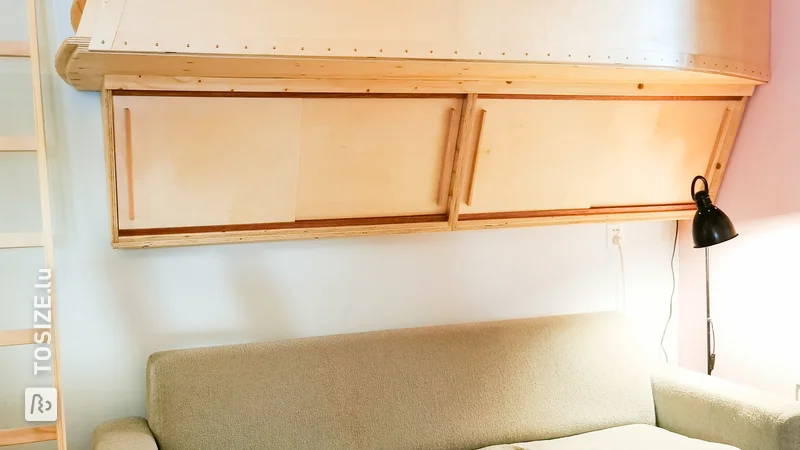
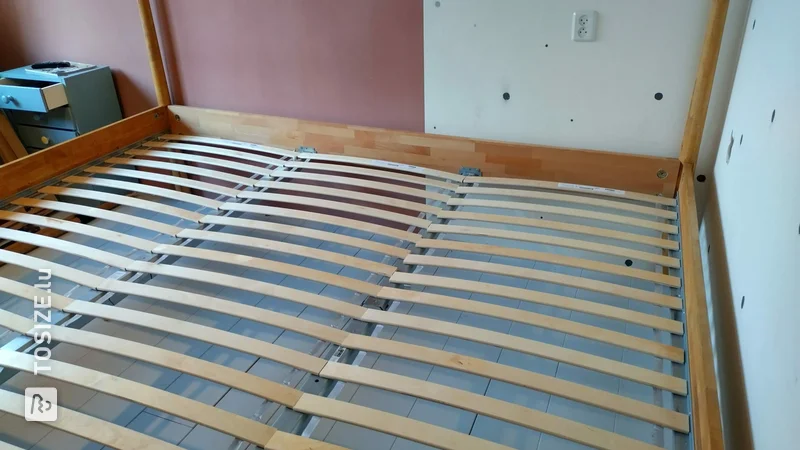
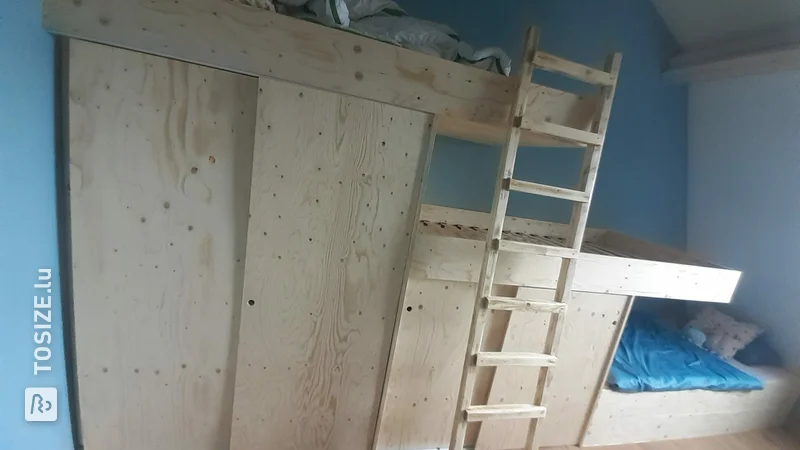
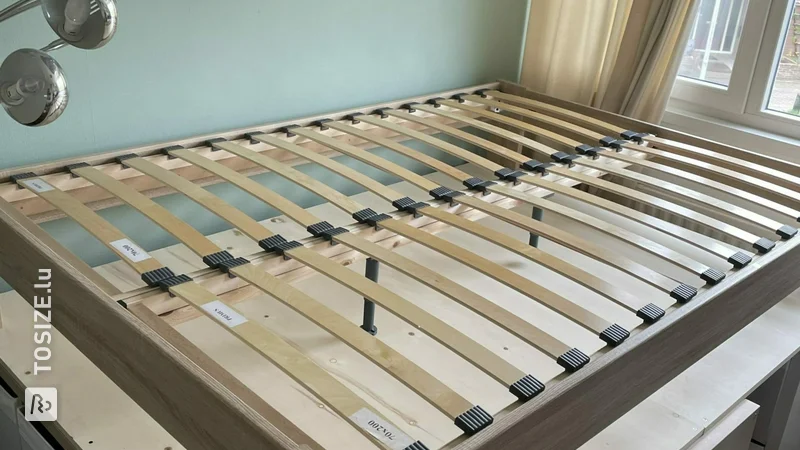
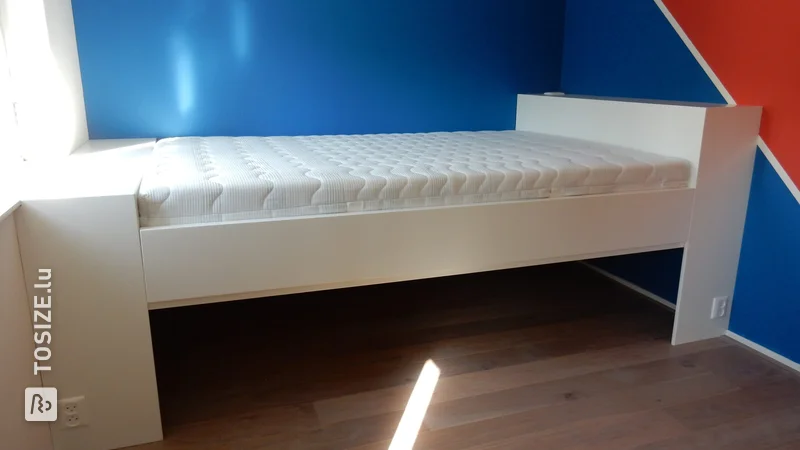
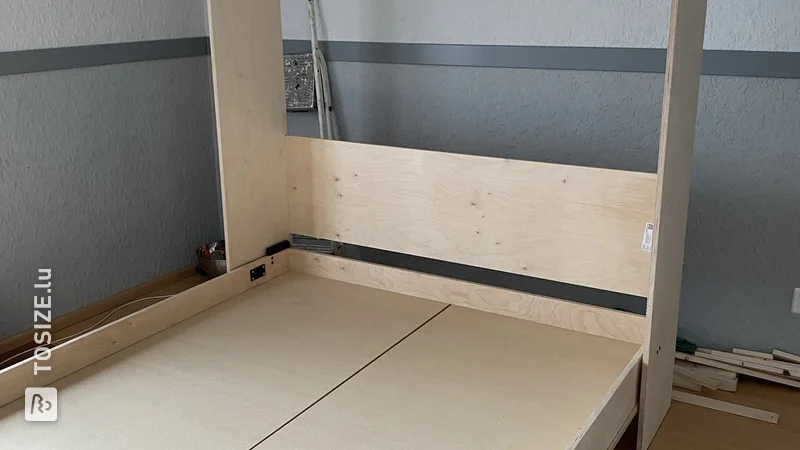
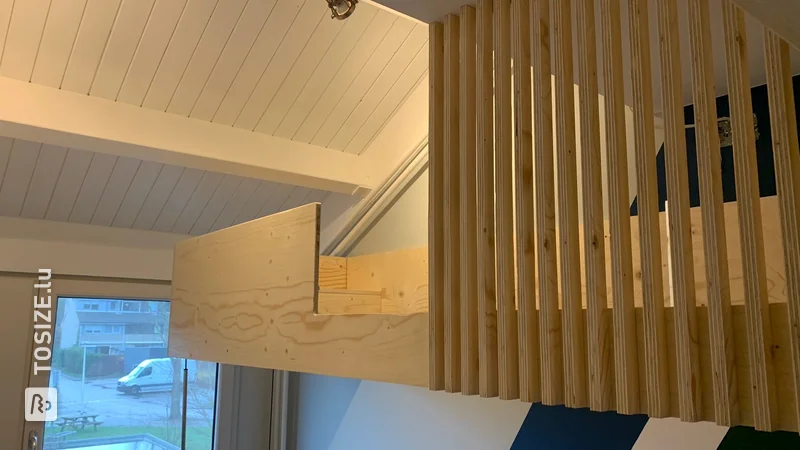
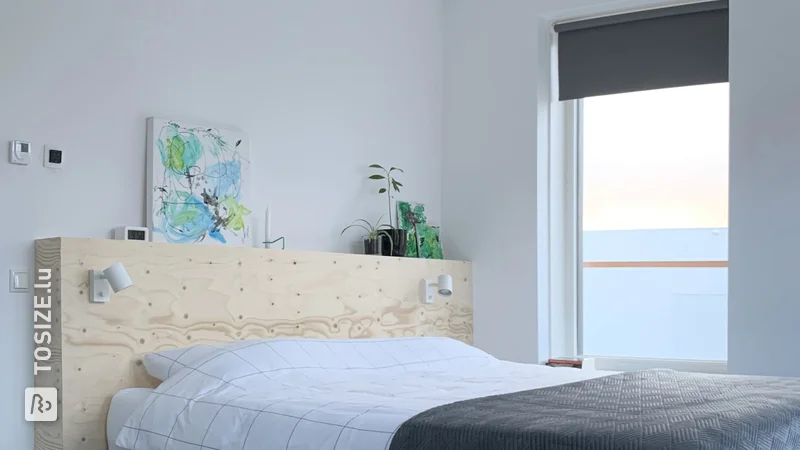
I built this bed based on an idea from Jonas Winkler. The idea is to have a solid wooden bed that looks like it is floating. I built the frame from 22mm multiplex boards. Because of the slopes on the sides, you will only see this later if you stand further away. This creates the floating effect. Note: my bed is only 140cm wide, so I screwed it to the wall at the headboard to prevent it from tipping over. With a larger bed (180cm) this should not be necessary because the weight of the bed would probably be sufficient. On top of this frame is a frame made of 60x80mm beams, which I screwed together to make 120x80mm after first roughly cutting them to length. The beam at the head end is only 40x80mm because I had to save a bit of space. The individual parts were screwed together using screw-in nuts so that the whole thing can be dismantled again. I made the bedside table attachments using 18mm spruce. First I built the boxes (wooden dowels and glue) and then screwed them back to the frame using screw-in nuts. Then I sanded and varnished them, then sanded and varnished them again. The lamps are a homemade construction using a clamp light and a 34x34mm squared timber, I embedded the switch in the bedside table. Finally, I attached the lighting and that was it...
How I made this project
Base frame: Drill holes (6mm or 10mm), insert screw-in nuts and screw plates with M6 screws Frame: Always screw two beams together to form a larger one (with normal wood screws, these are not dismantled again). I screwed the beams together offset, which makes it easier to assemble the frame, but you have to pay attention to the correct length of the short ends when screwing. I left the protruding ends a little longer. The frame is then screwed together again with screw-in nuts like the frame. Bedside table: Drill holes for the wooden dowels (I used 8mm) and then assemble with glue. When hardened, screw to the frame using screw-in nuts. Lighting: LED strips with motion detectors attached to the underside of the beams.
Dimensions of my DIY project
212.0 cm x 156.0 cm
Tip! Also check out our handy DIY tips!
What now?
Want to make this DIY project? Check out Markus's saw list and complete your order easily.
244,85€
View all sheet materials