- TOSIZE.lu
- Do it yourself
- DIY Projects
Handy DIY: sleek radiator conversion, by Ruud
Handy DIY: sleek radiator conversion, by Ruud
Create this project yourself with sheet material cut to size by TOSIZE.lu!
Ruud
Very easy
2 minutes
Description
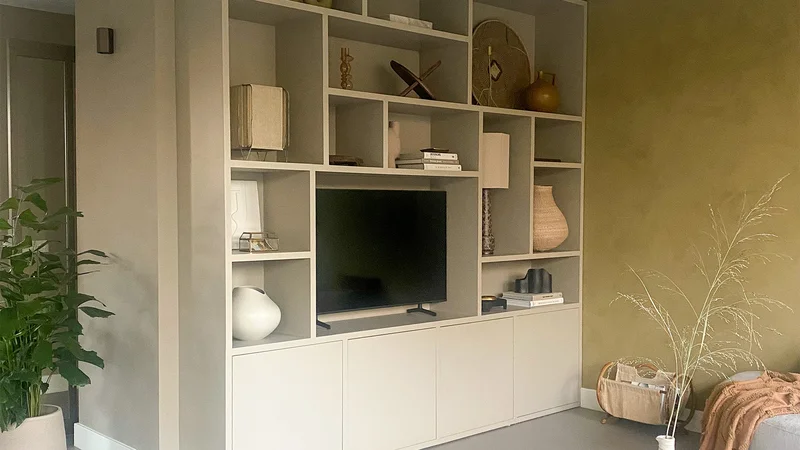
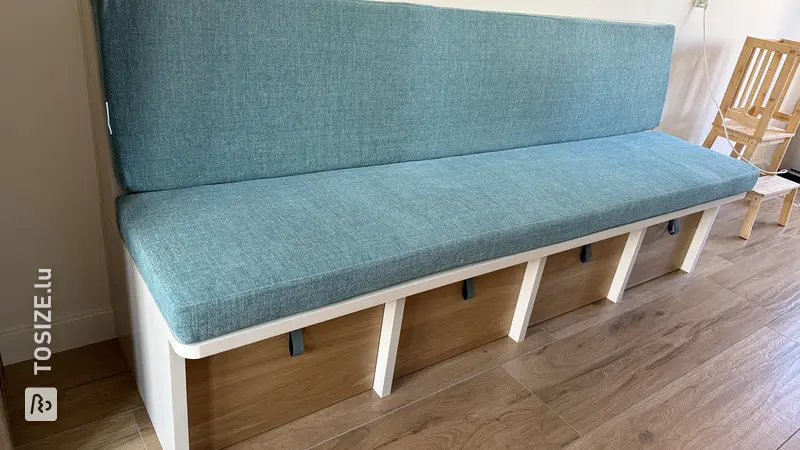
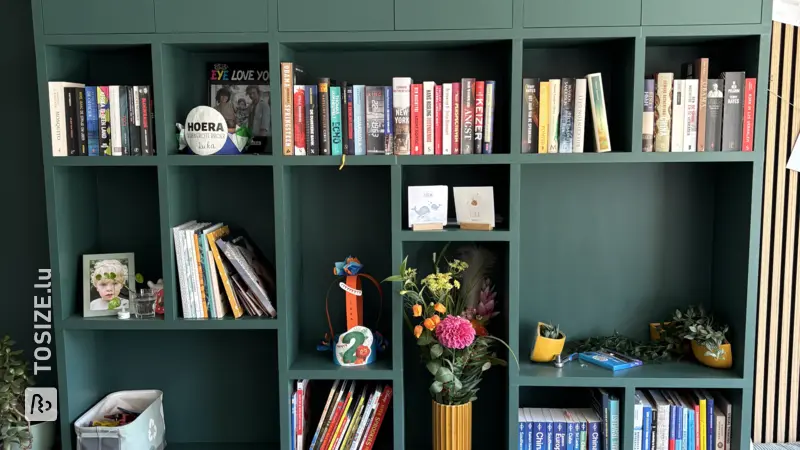
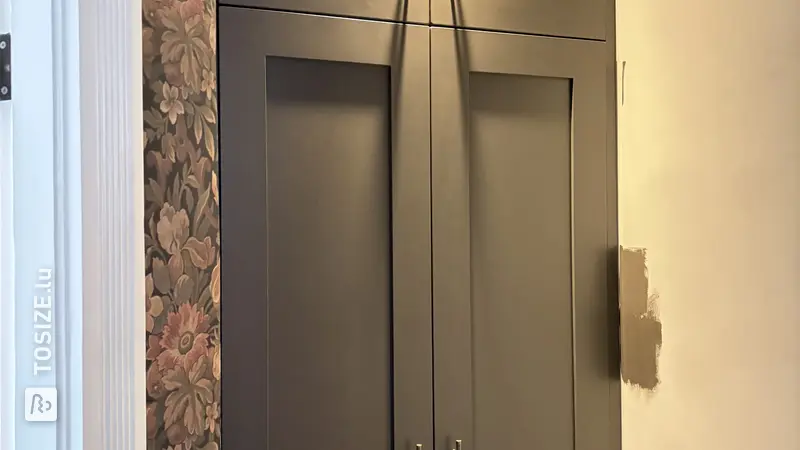
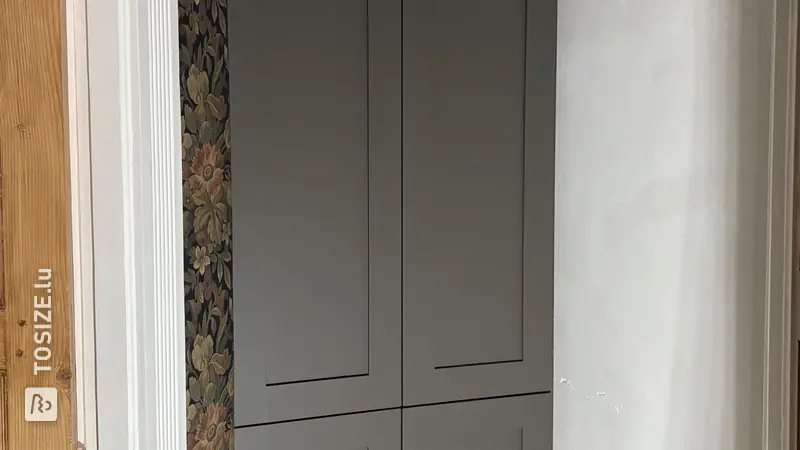
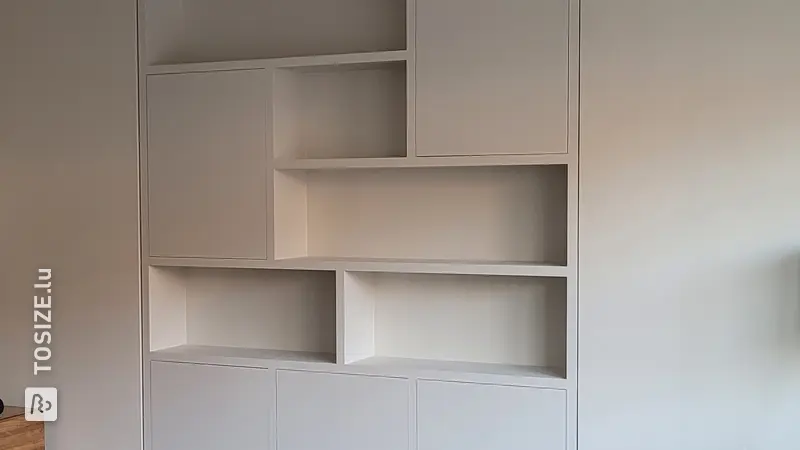
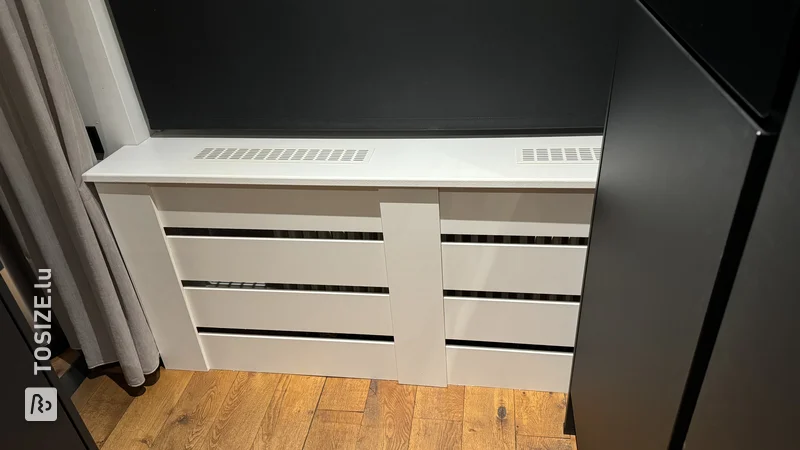
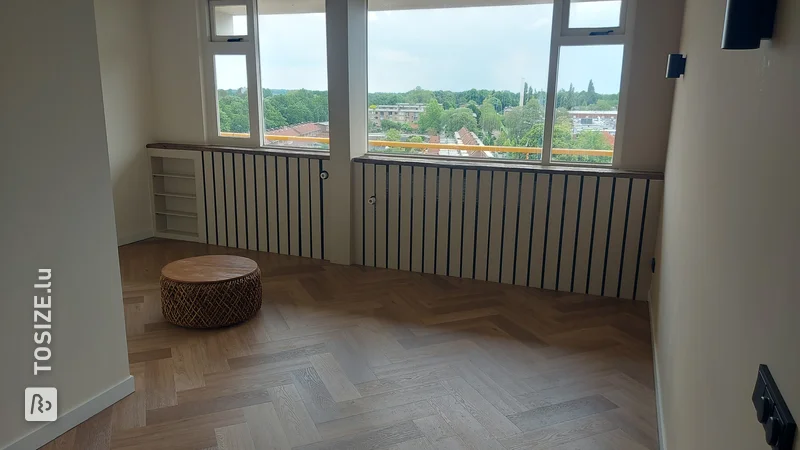
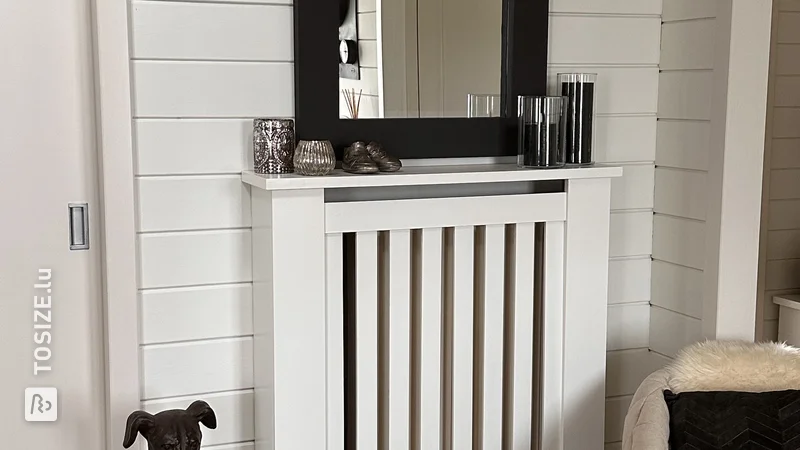
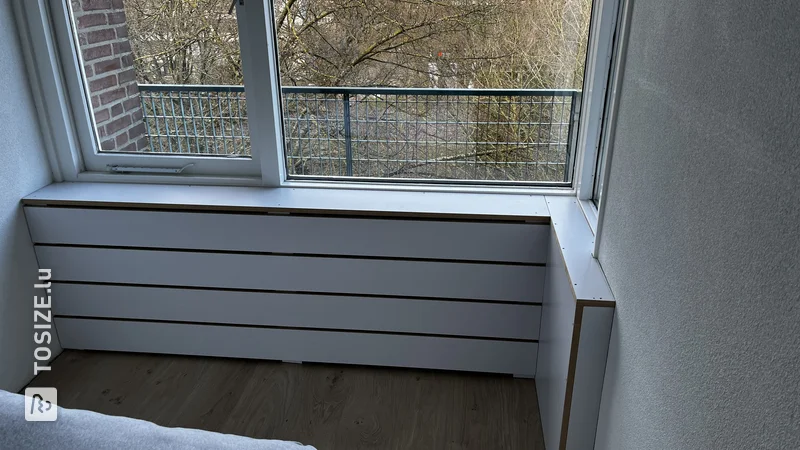
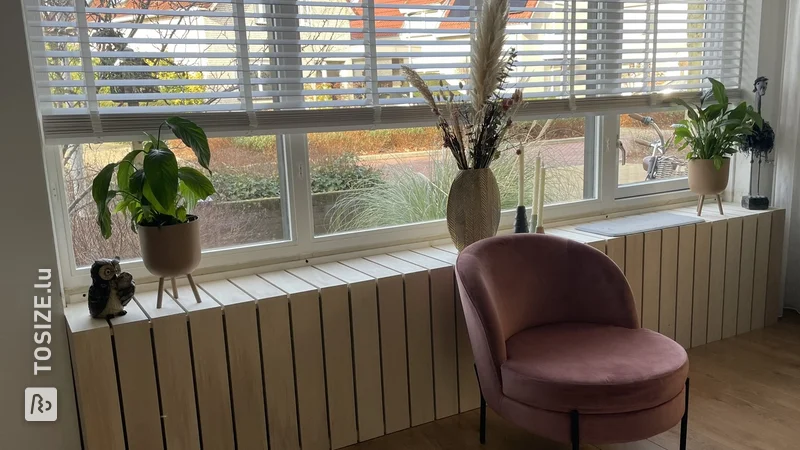
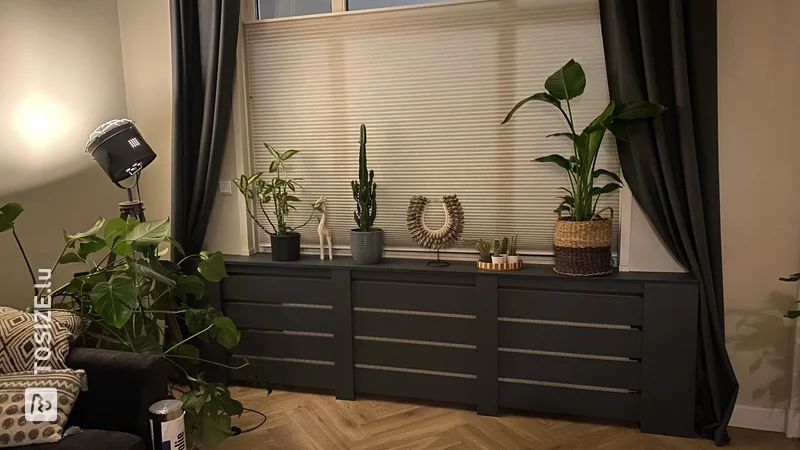
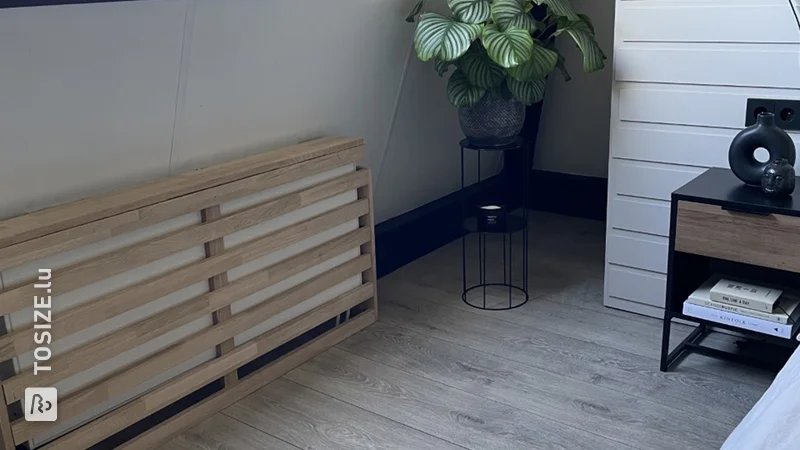
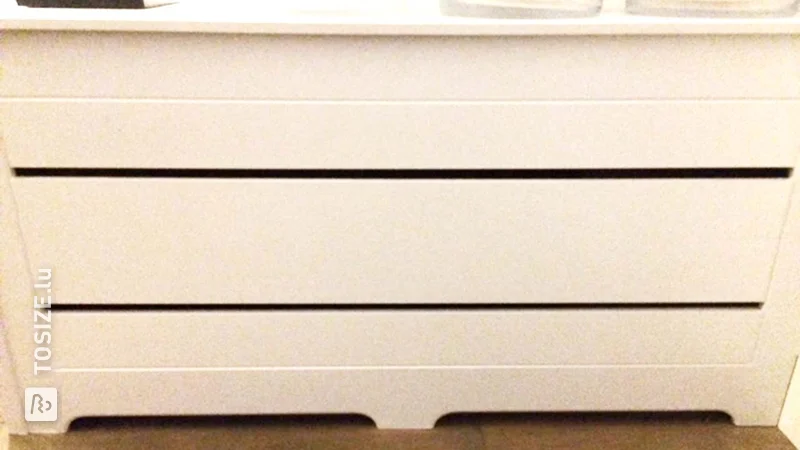
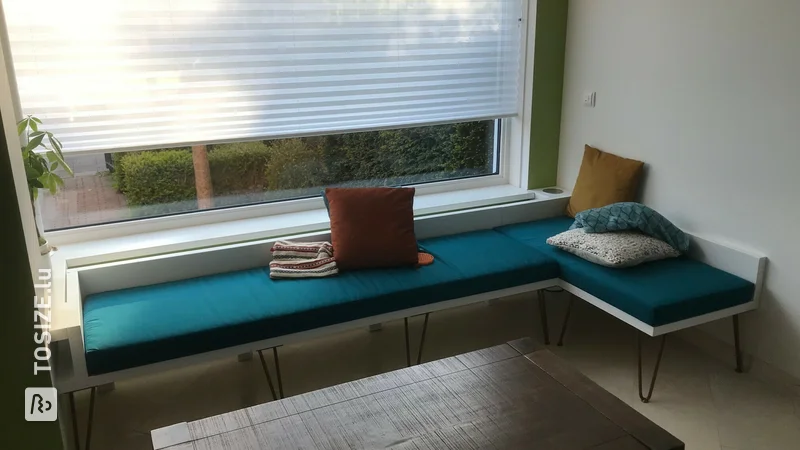
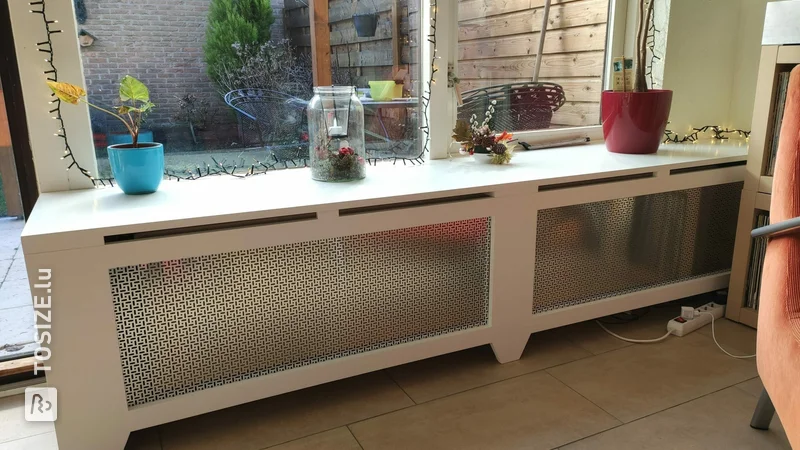
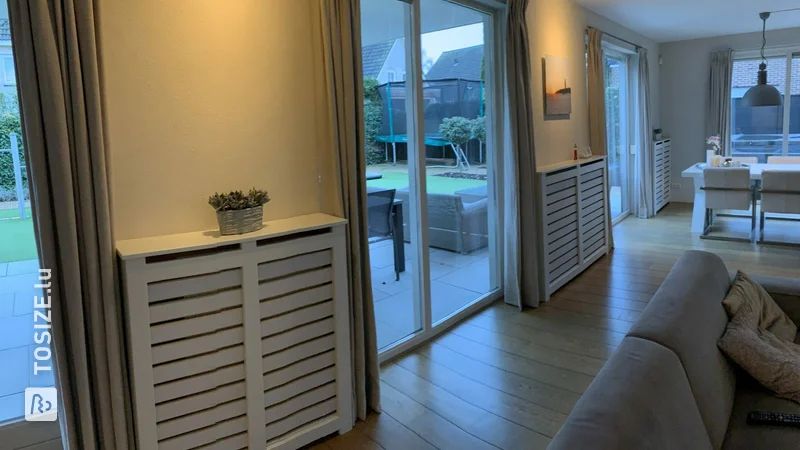
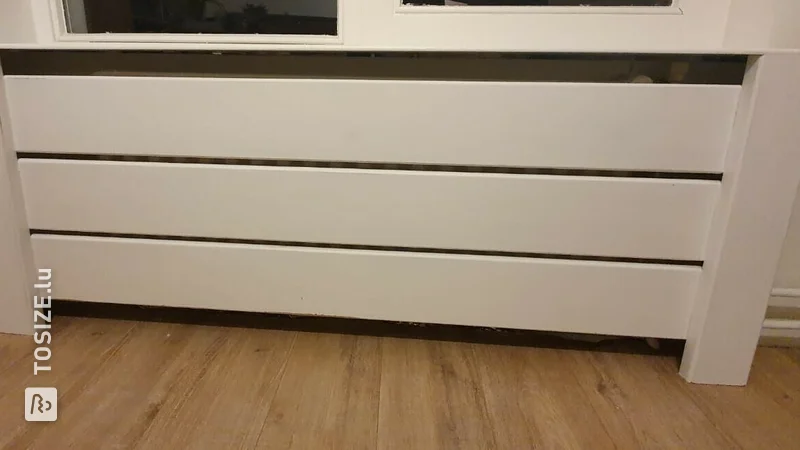
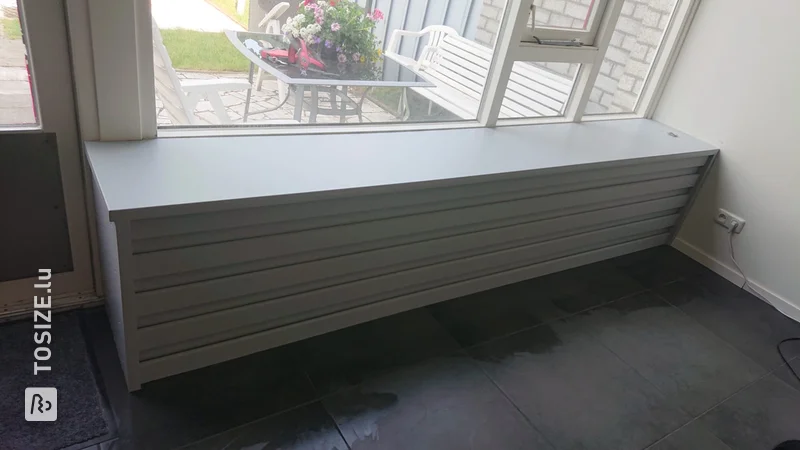
In a monumental building, the walls and window sills are not always perfectly level. In addition, these houses often have wide radiators for which no construction kits are available for sale at the range or praxis. That's why you should draw something yourself and have it cut to size.
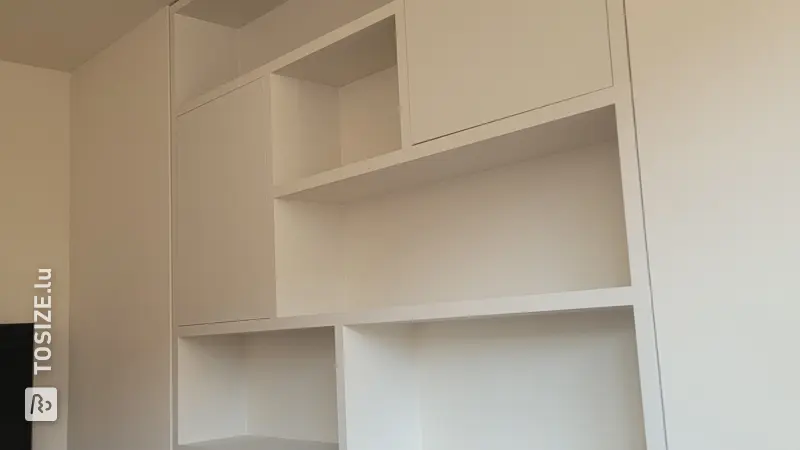
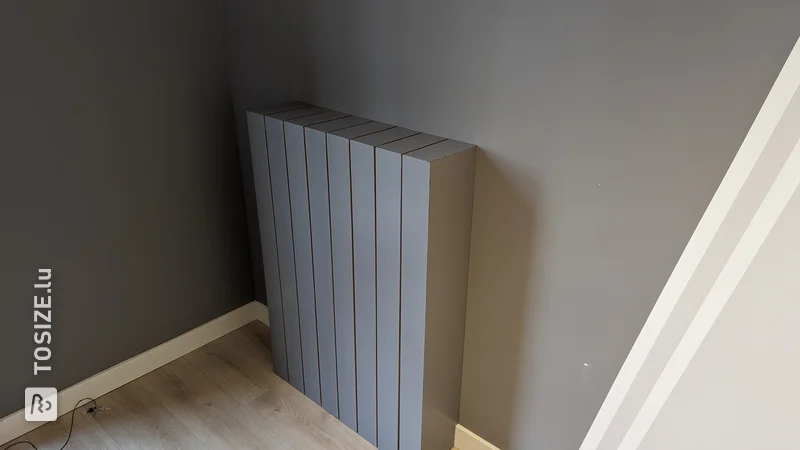
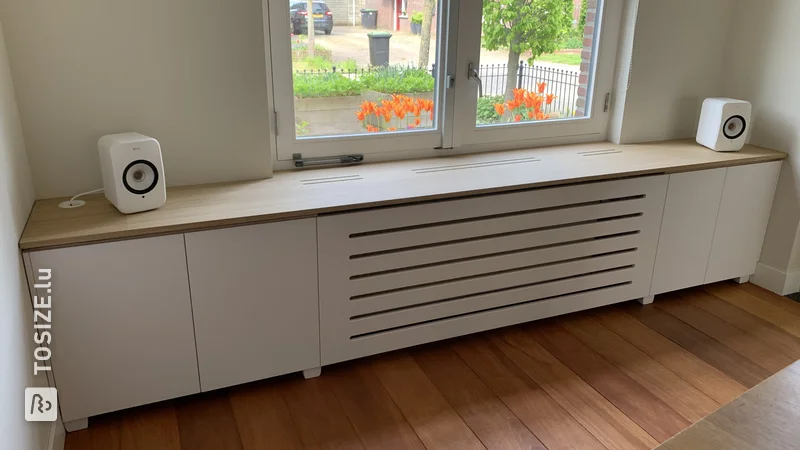
Custom radiator conversion
1. Dimensions recorded and checked twice
2 Drawing made.
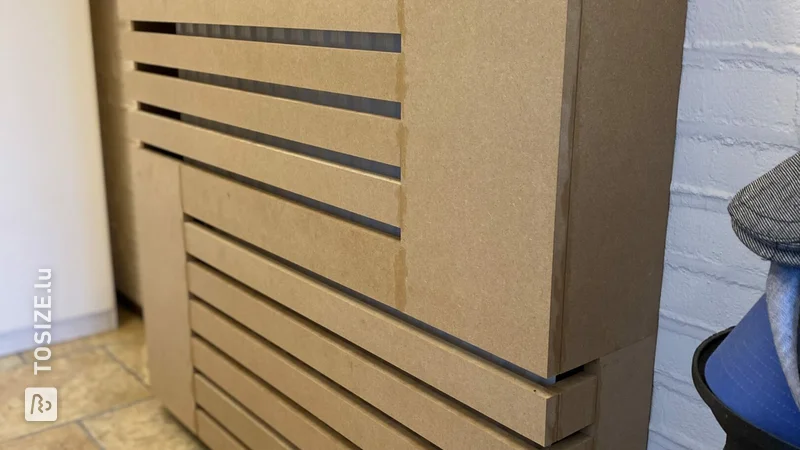
3 Required panels entered.
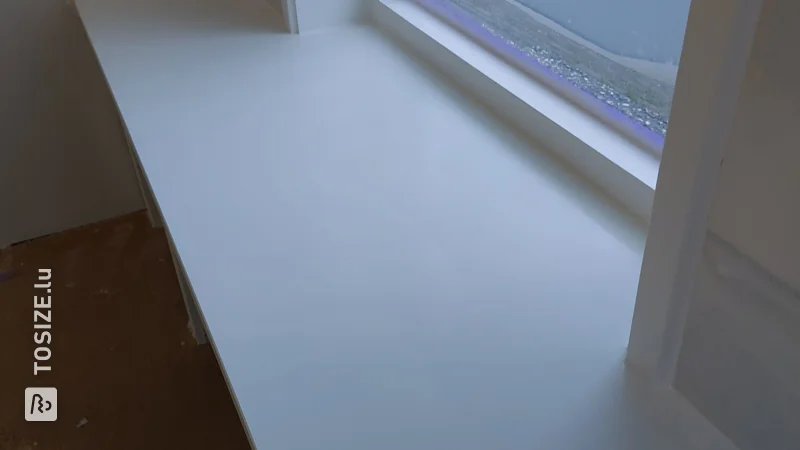
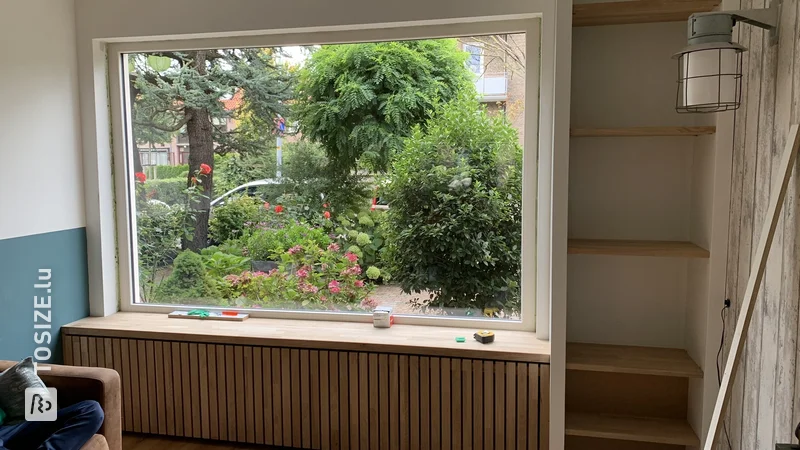
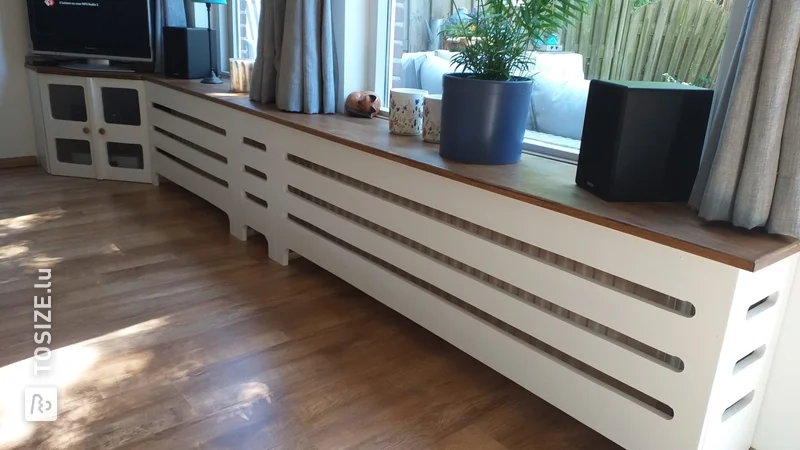
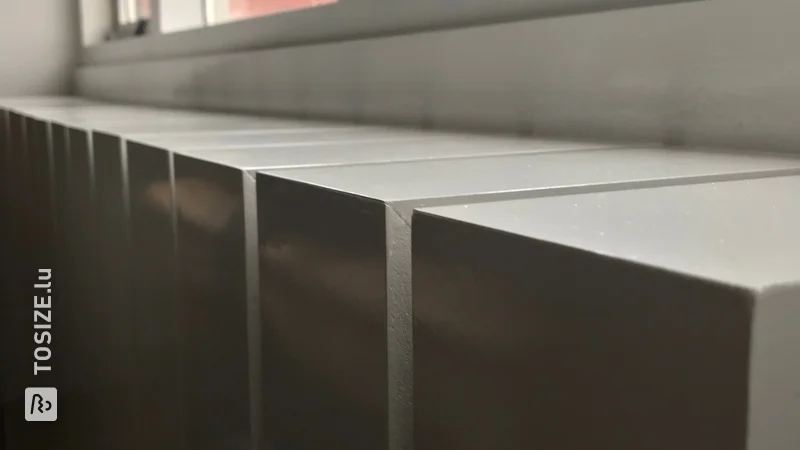
- top plate 12 mm (have 3 sides rounded off)
- side panels 18 mm
- three uprights at the front 12 mm
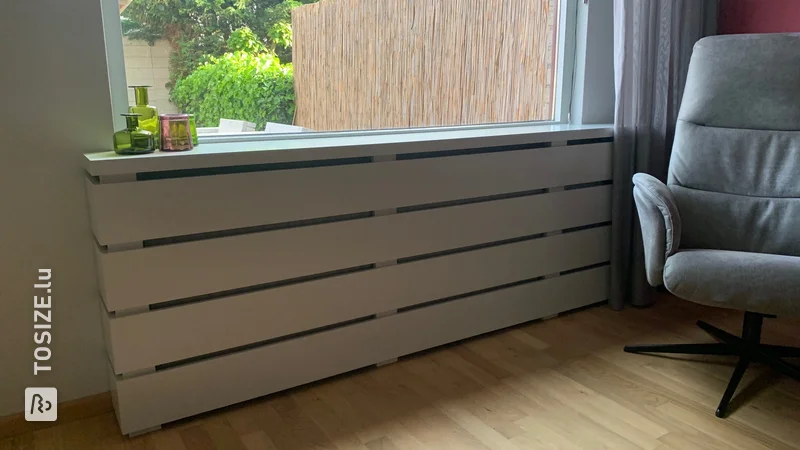
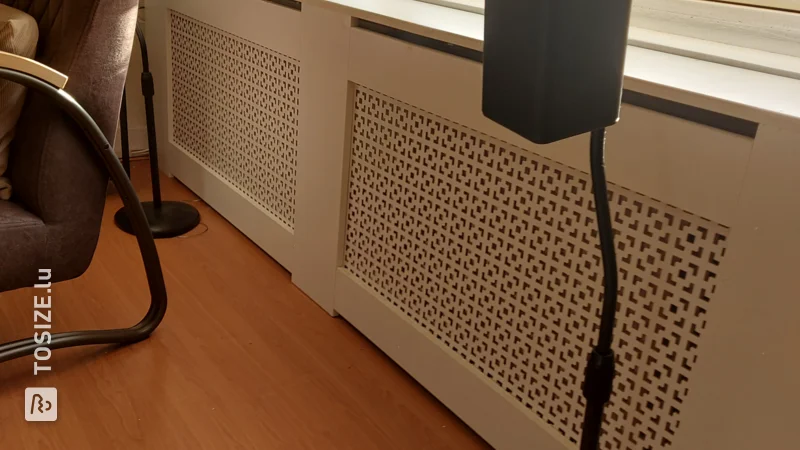
- transverse planks in the front
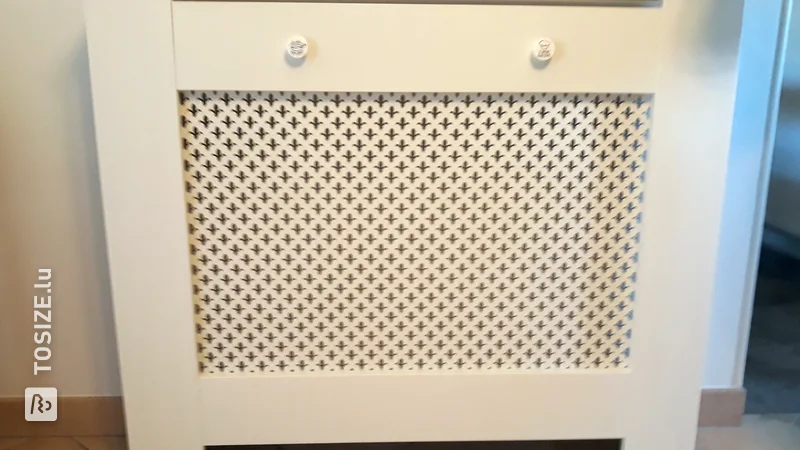
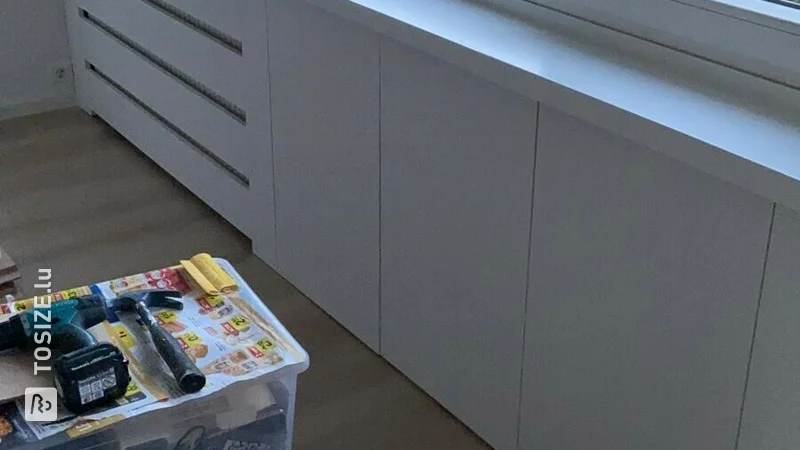
Also ordered ventilation strips ordered
- 2 for the front at the top
- 1 for the top.
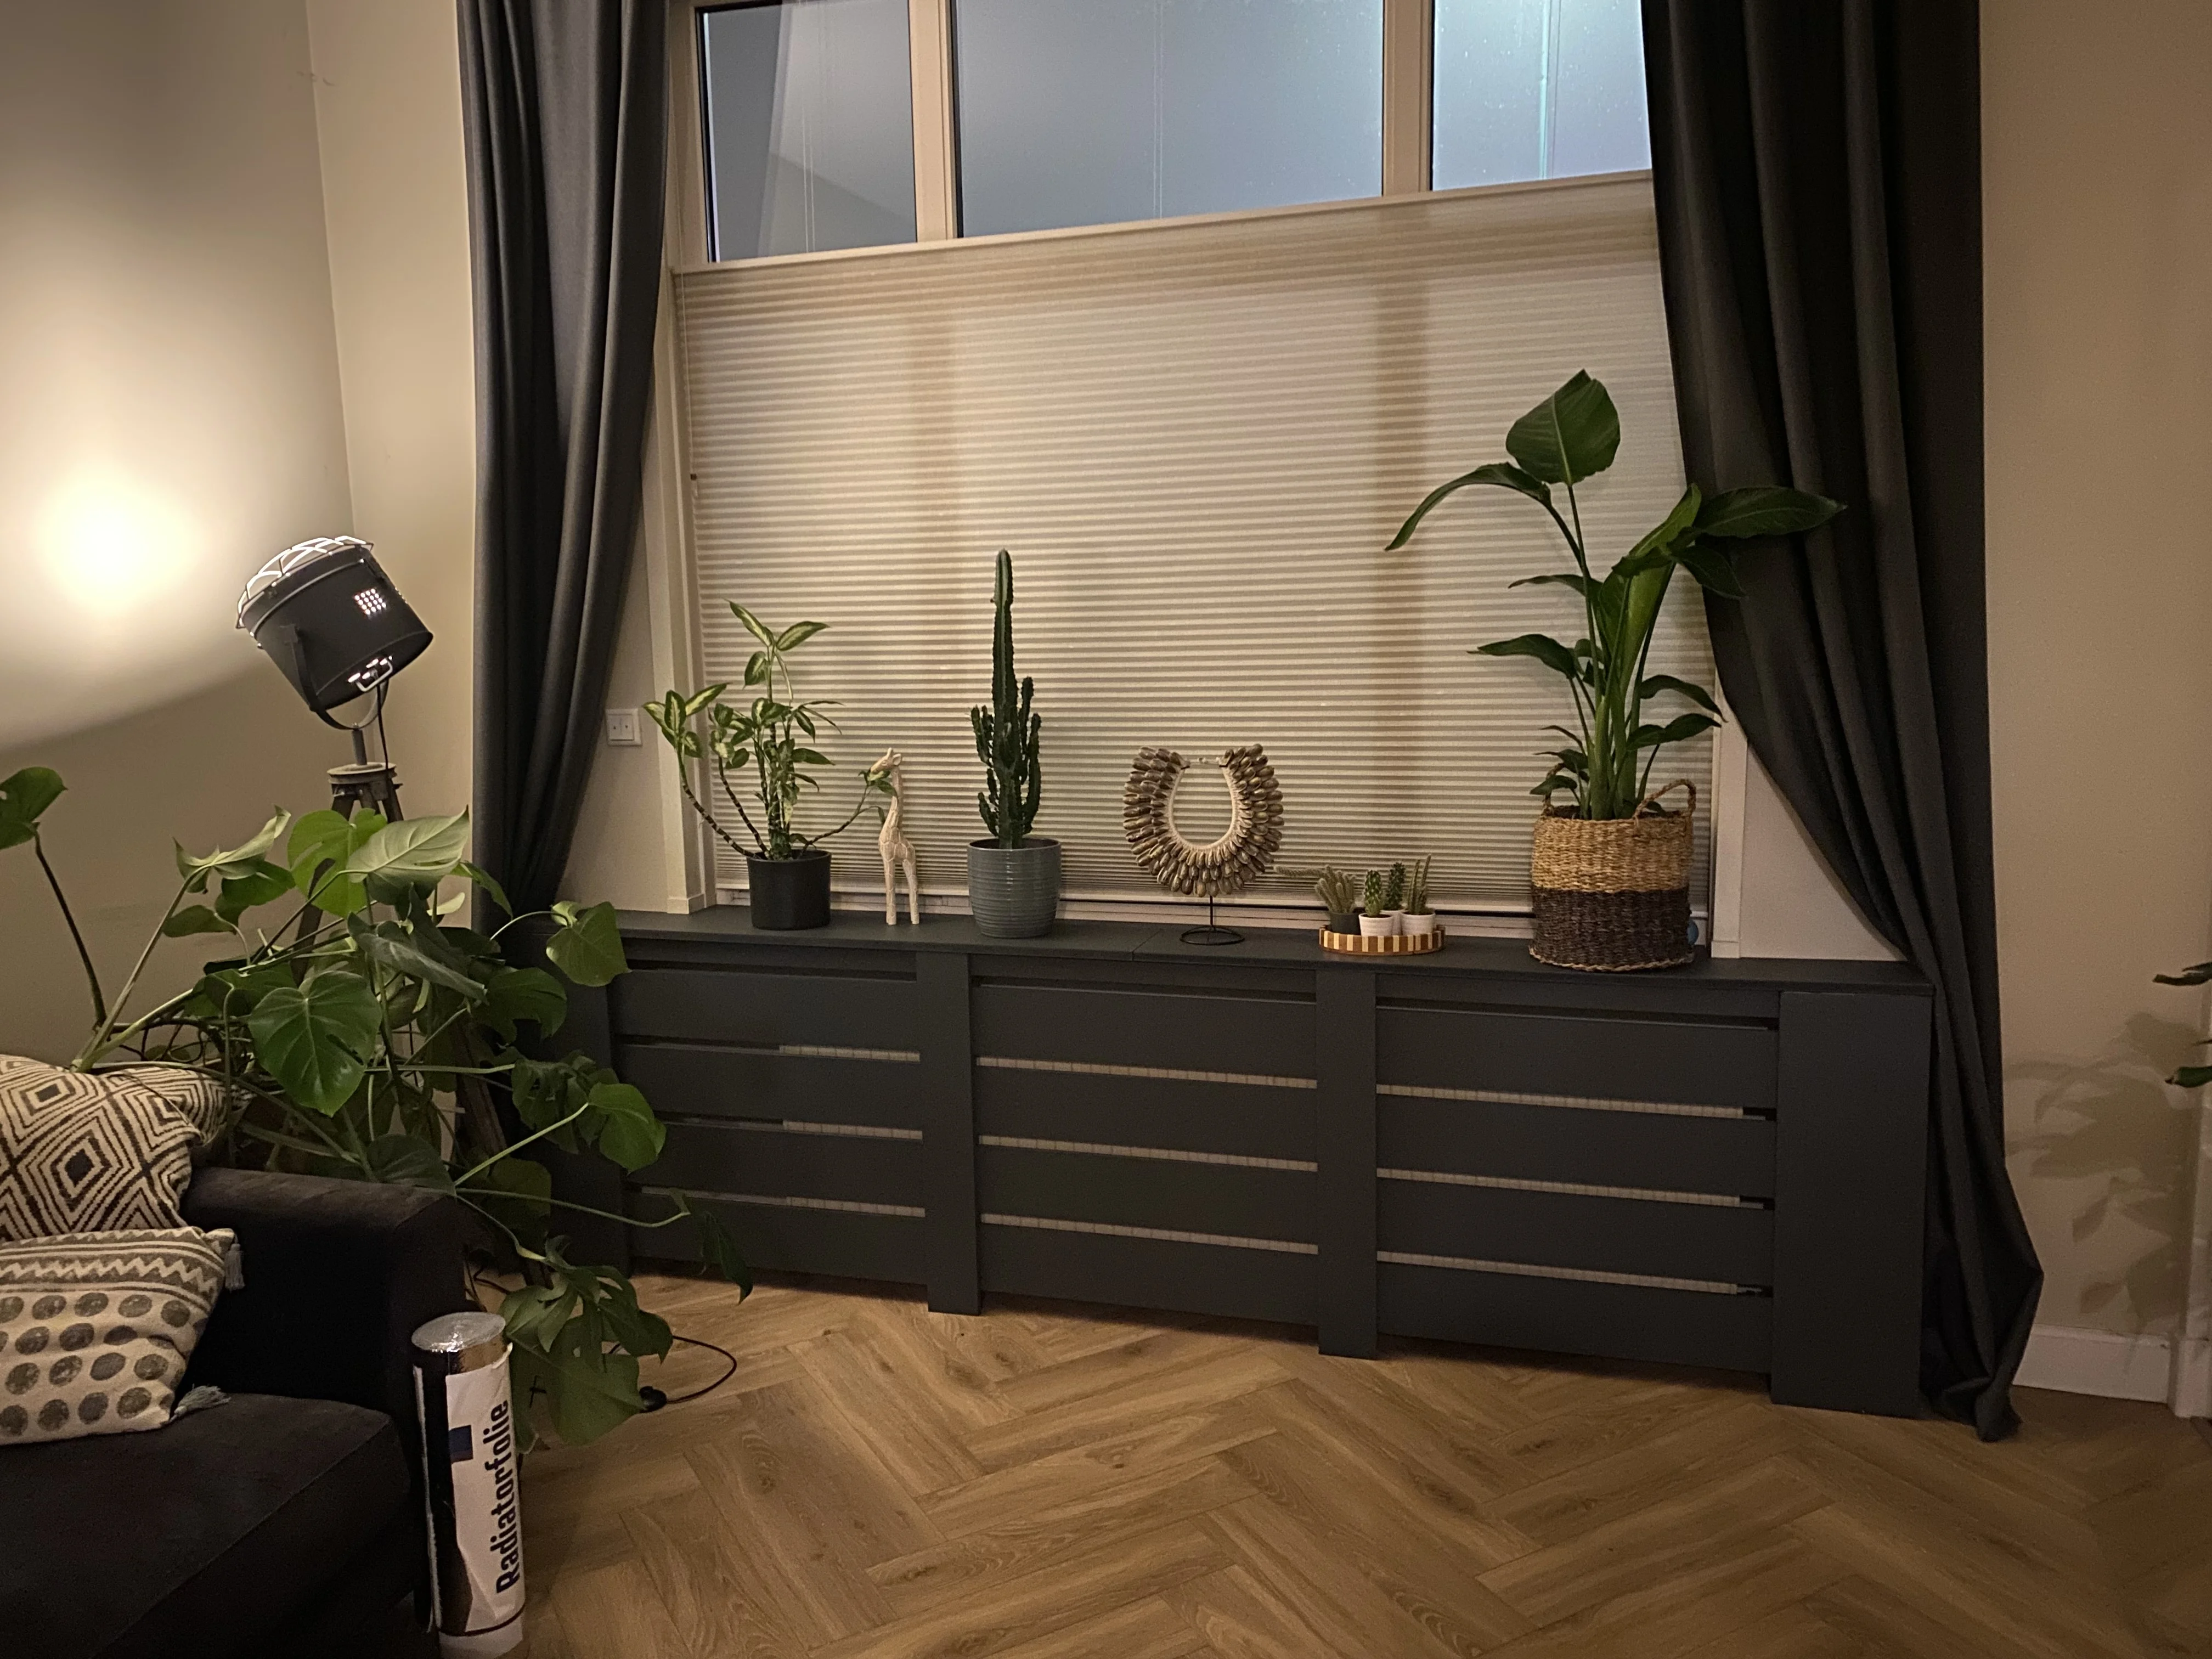
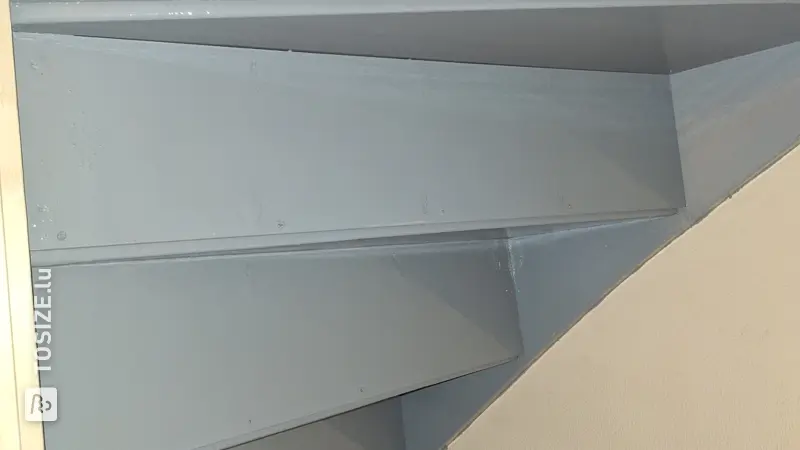
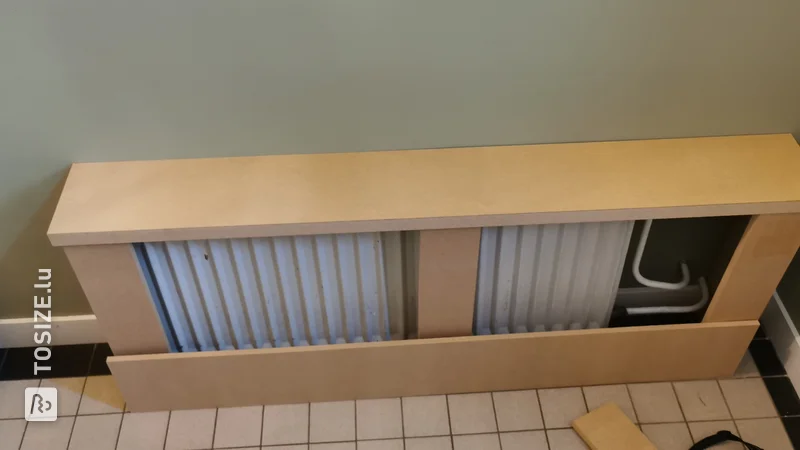
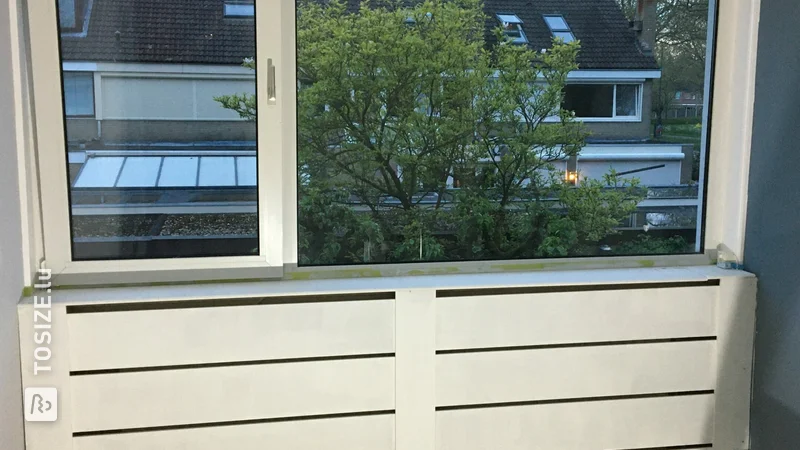
After receipt:
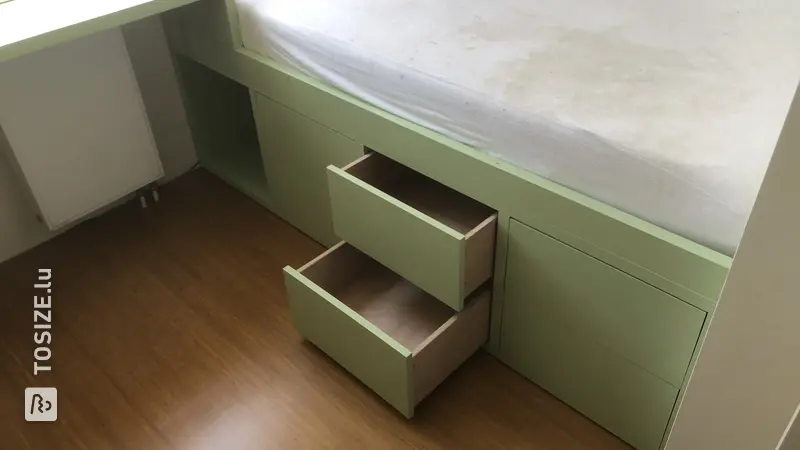
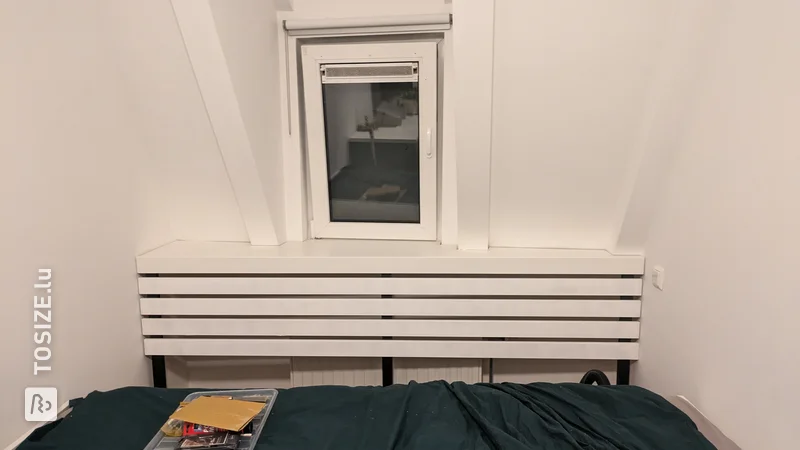
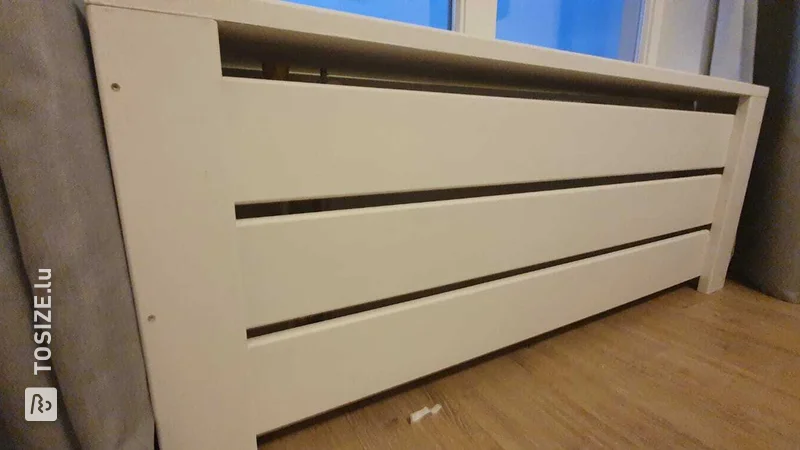
Make the left and right sides with 2 uprights at the front L profiles
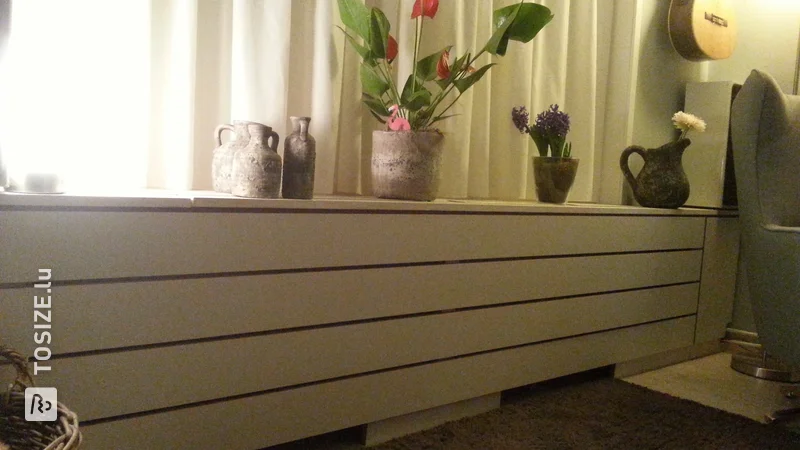
Then place these on the floor and start distributing the ventilation strips and the cross planks over the room from above.
Place them secured with glue and a few screws.
After this, you can put the frame in place and place the top shelf.
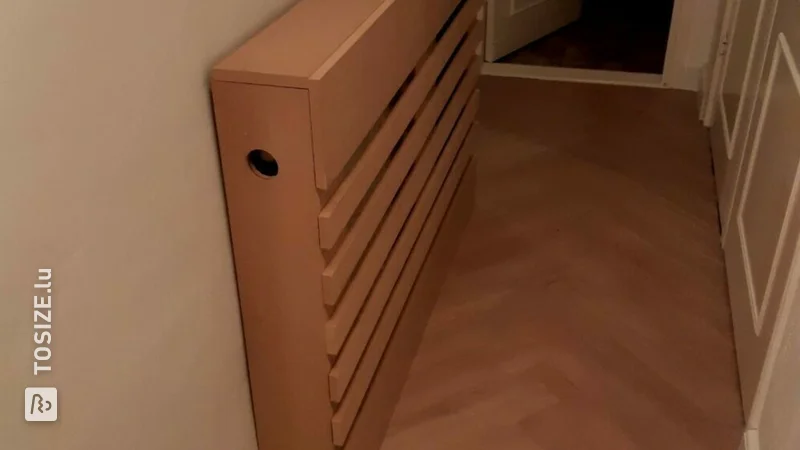
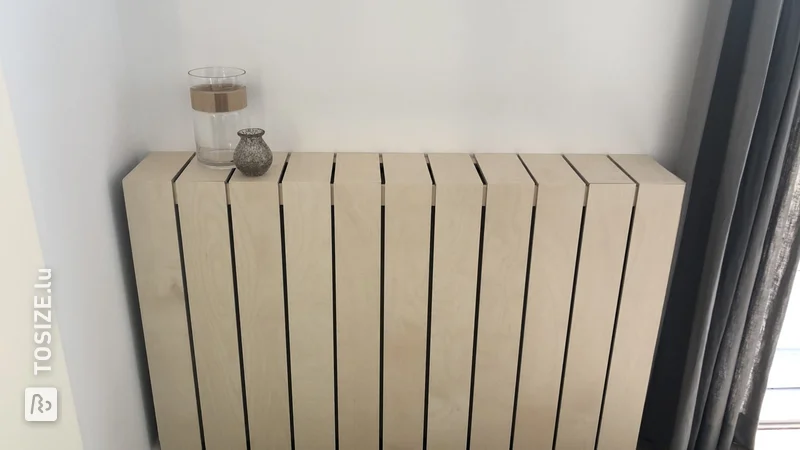
Use a template (available at gamma) to mark the corners to be cut out.
I also made a hole for the ventilation strip with a router.
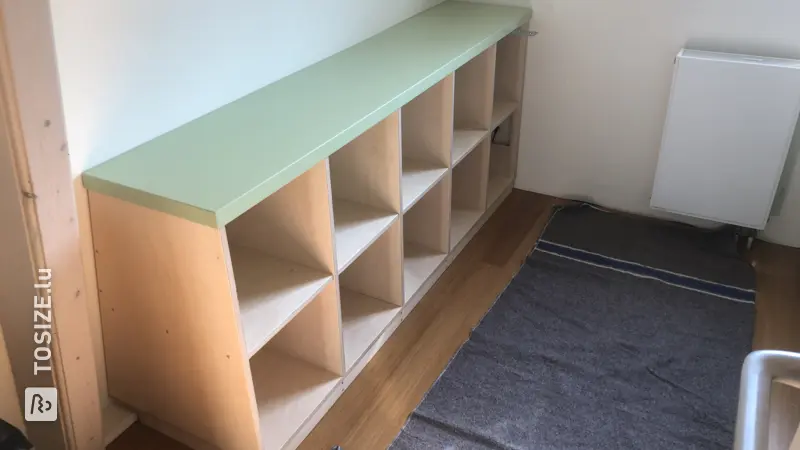
The dimensions of the conversion
L 107.0 W 42.0 H 64.0 cm
Tip! Also check out our handy DIY tips!
What now?
Want to make this DIY project? Check out Ruud's saw list and complete your order easily.
185,91€
View all sheet materials