- TOSIZE.lu
- Do it yourself
- DIY Projects
Repair roof and floor chicken coop
Repair roof and floor chicken coop
Create this project yourself with sheet material cut to size by TOSIZE.lu!
Easy
2 minutes
Description
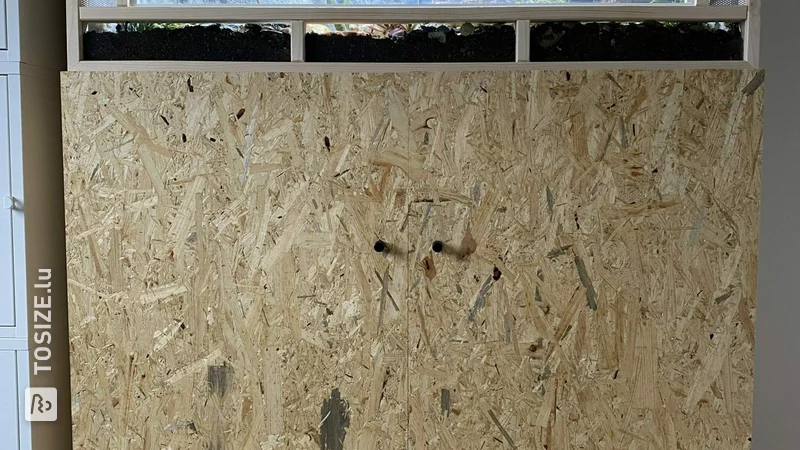
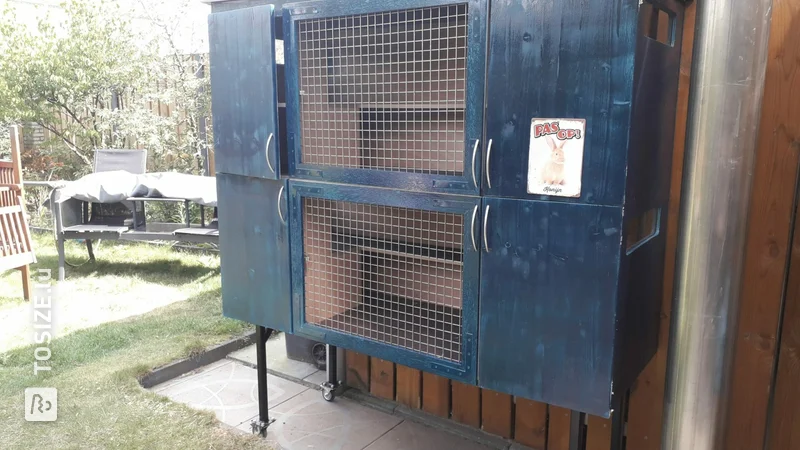
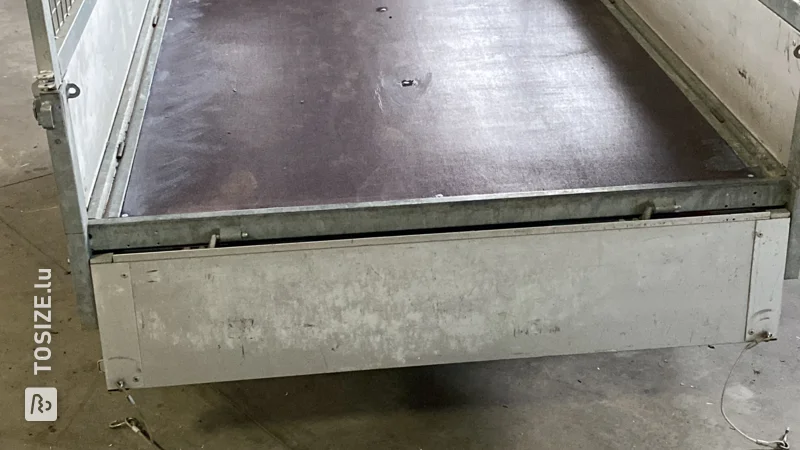
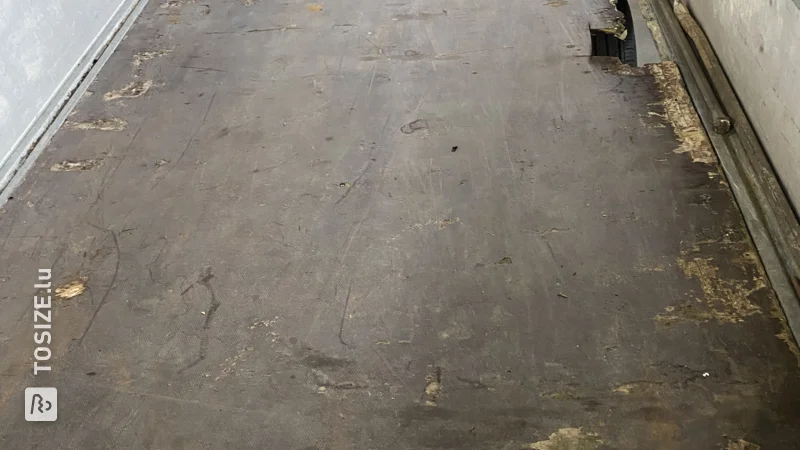
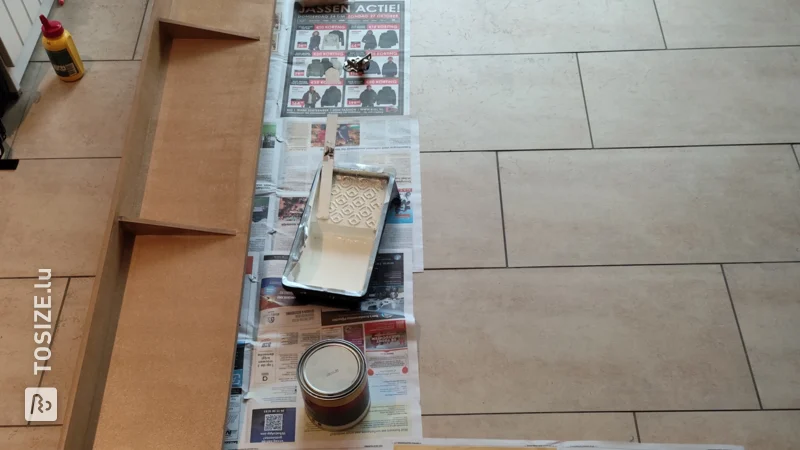
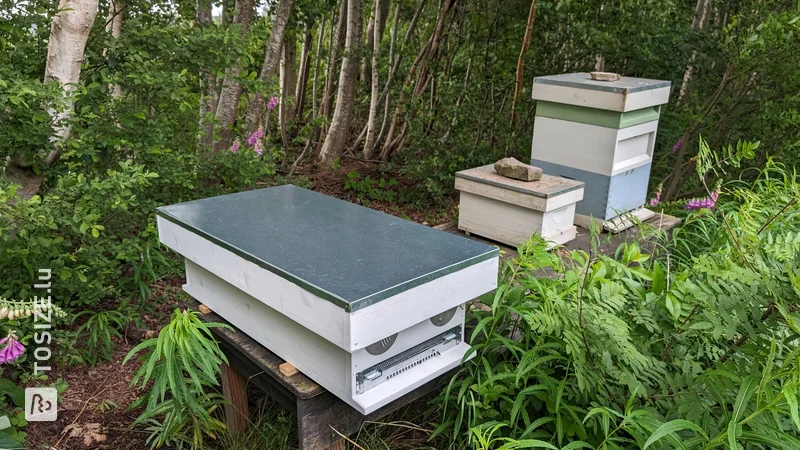
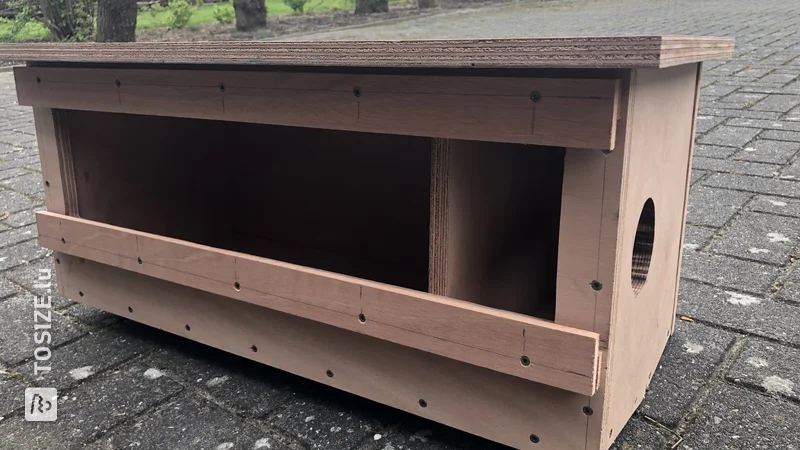
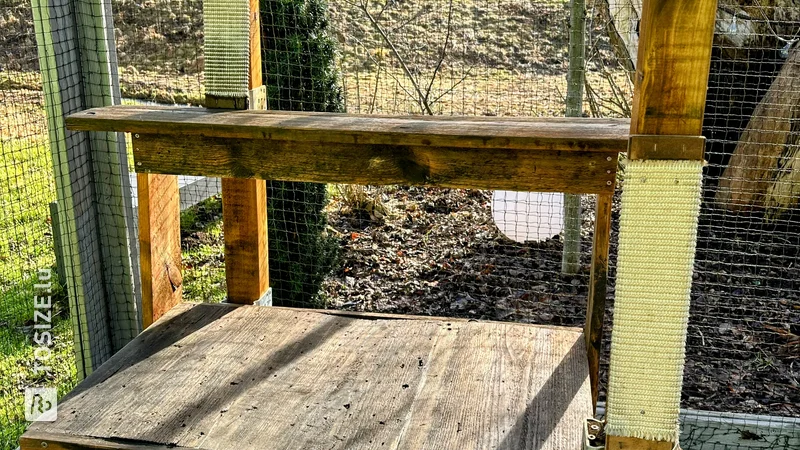
Due to leakage and wear and tear of the roof and floor of the chicken coop, it was profitable to repair it. The frame and walls are in such good condition that a new loft is not yet an option. Floor made of one piece of 12 mm concrete plywood and roof made of 11 mm OSB plate which is covered with adhesive nail roll roofing felt with slate chippings.
How did you make your project?
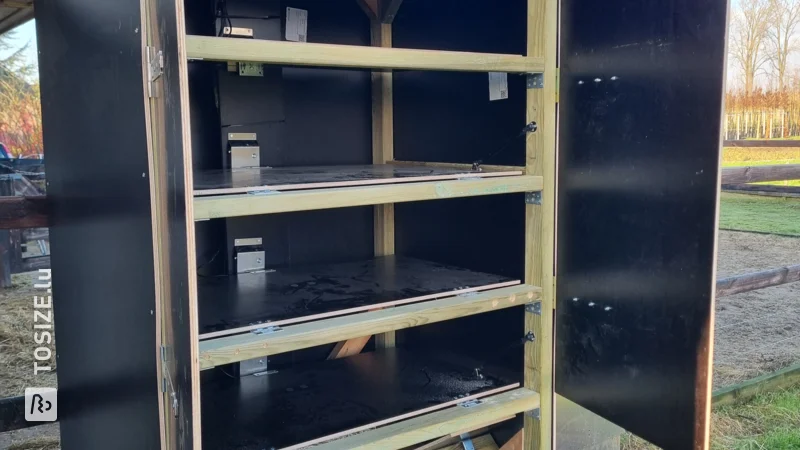
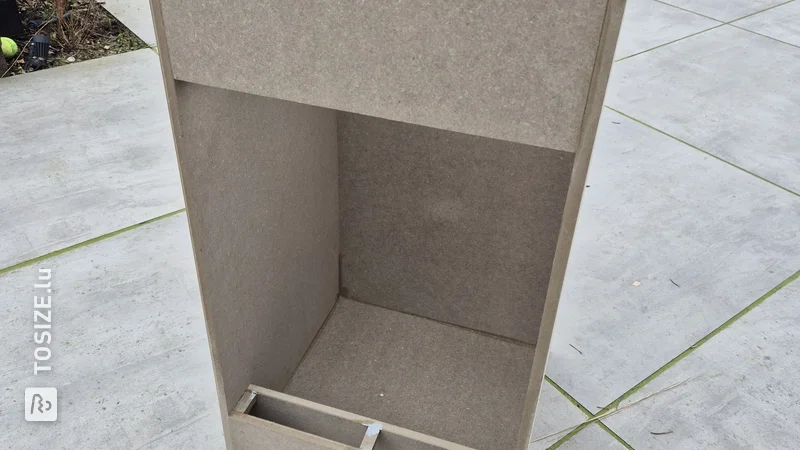
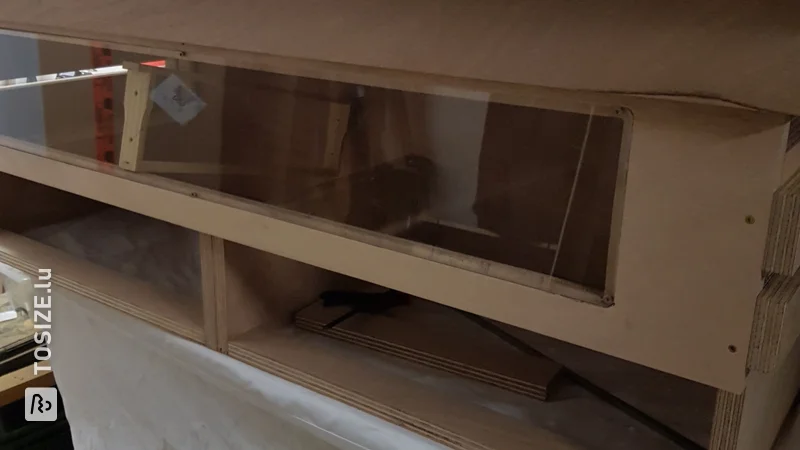
To be able to replace the floor the roof had to be removed anyway, so we started by removing the old roof and roofing felt. The floor should drop into the cage from above for a seamless result. This makes cleaning more pleasant and prevents diseases and vermin in the coop. The concrete floor slab was delivered neatly to size and only needed to be provided with a number of recesses. After applying this with the jigsaw, I lowered the floor into place using a suction cup, ideal when working with concrete plywood. The floor plate is mounted over the old (cleaned) floor and screwed to the old framework. After installation, the floor was sealed all around.
Then, the custom-made OSB plates were aligned for a correct overhang at the front and rear. The OSB plates are secured to the existing framework with 3.5x30 screws and connected to each other with a piece of wood, so that the plates lie equally flat. Installation kit applied before installing the roof covering for extra adhesion. In order to fold the roofing felt properly, lightly heat it with a paint burner and secure it with the supplied slats. Roofing felt folded 90 degrees on the side, 180 degrees at the front and rear. This way no water can get under the finish between roofing felt and sheets.
To finish it off, cover slats are applied to the front and sides as a finish and to keep the roofing felt in place. br
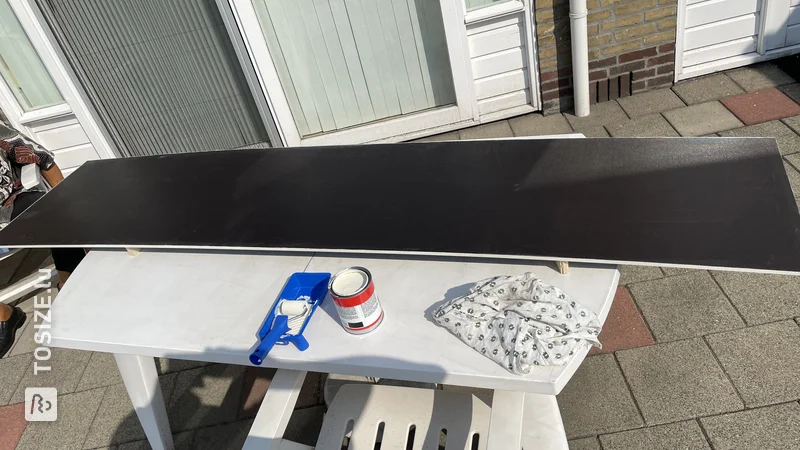
To finish it off, the wood will eventually be given a green stain, like the rest of the hutch. At the moment the ladies are very happy with their dry and warm night cage again.
What are the dimensions?
The dimensions are 90.0 cm by 255.0 cm by 110, 0 cm.
Tip! Also check out our handy DIY tips!
What now?
This is a project for inspiration. Because our assortment has changed, (some of) the products are no longer available.
View all sheet materials


.webp)