- TOSIZE.lu
- Do it yourself
- DIY Projects
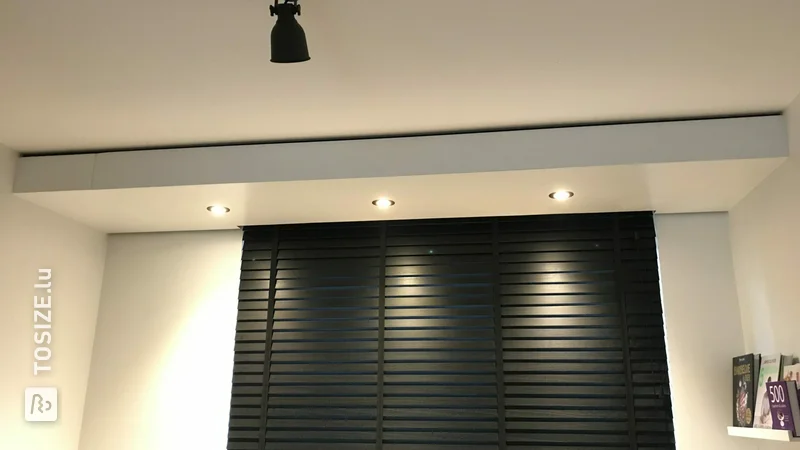
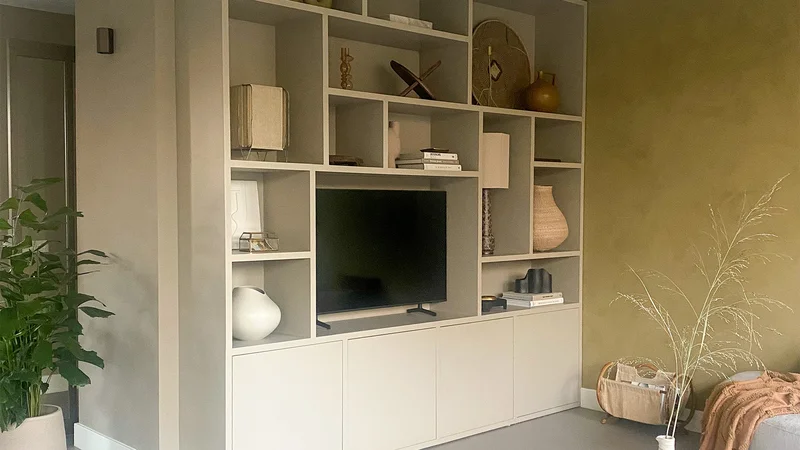
Tight edging of cove with spotlights, by Jeroen
Tight edging of cove with spotlights, by Jeroen
Create this project yourself with sheet material cut to size by TOSIZE.lu!
Jeroen
Easy
2 minutes
Description of Jeroen
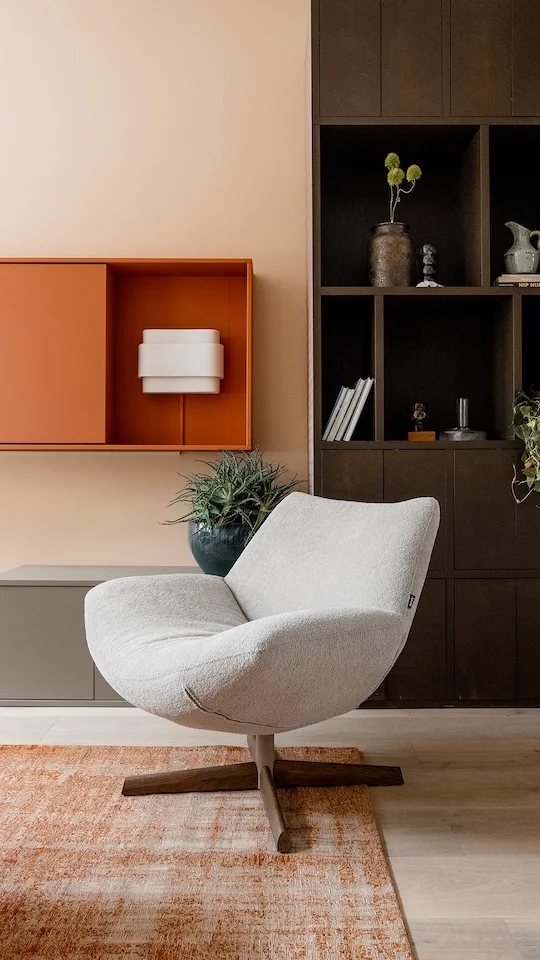
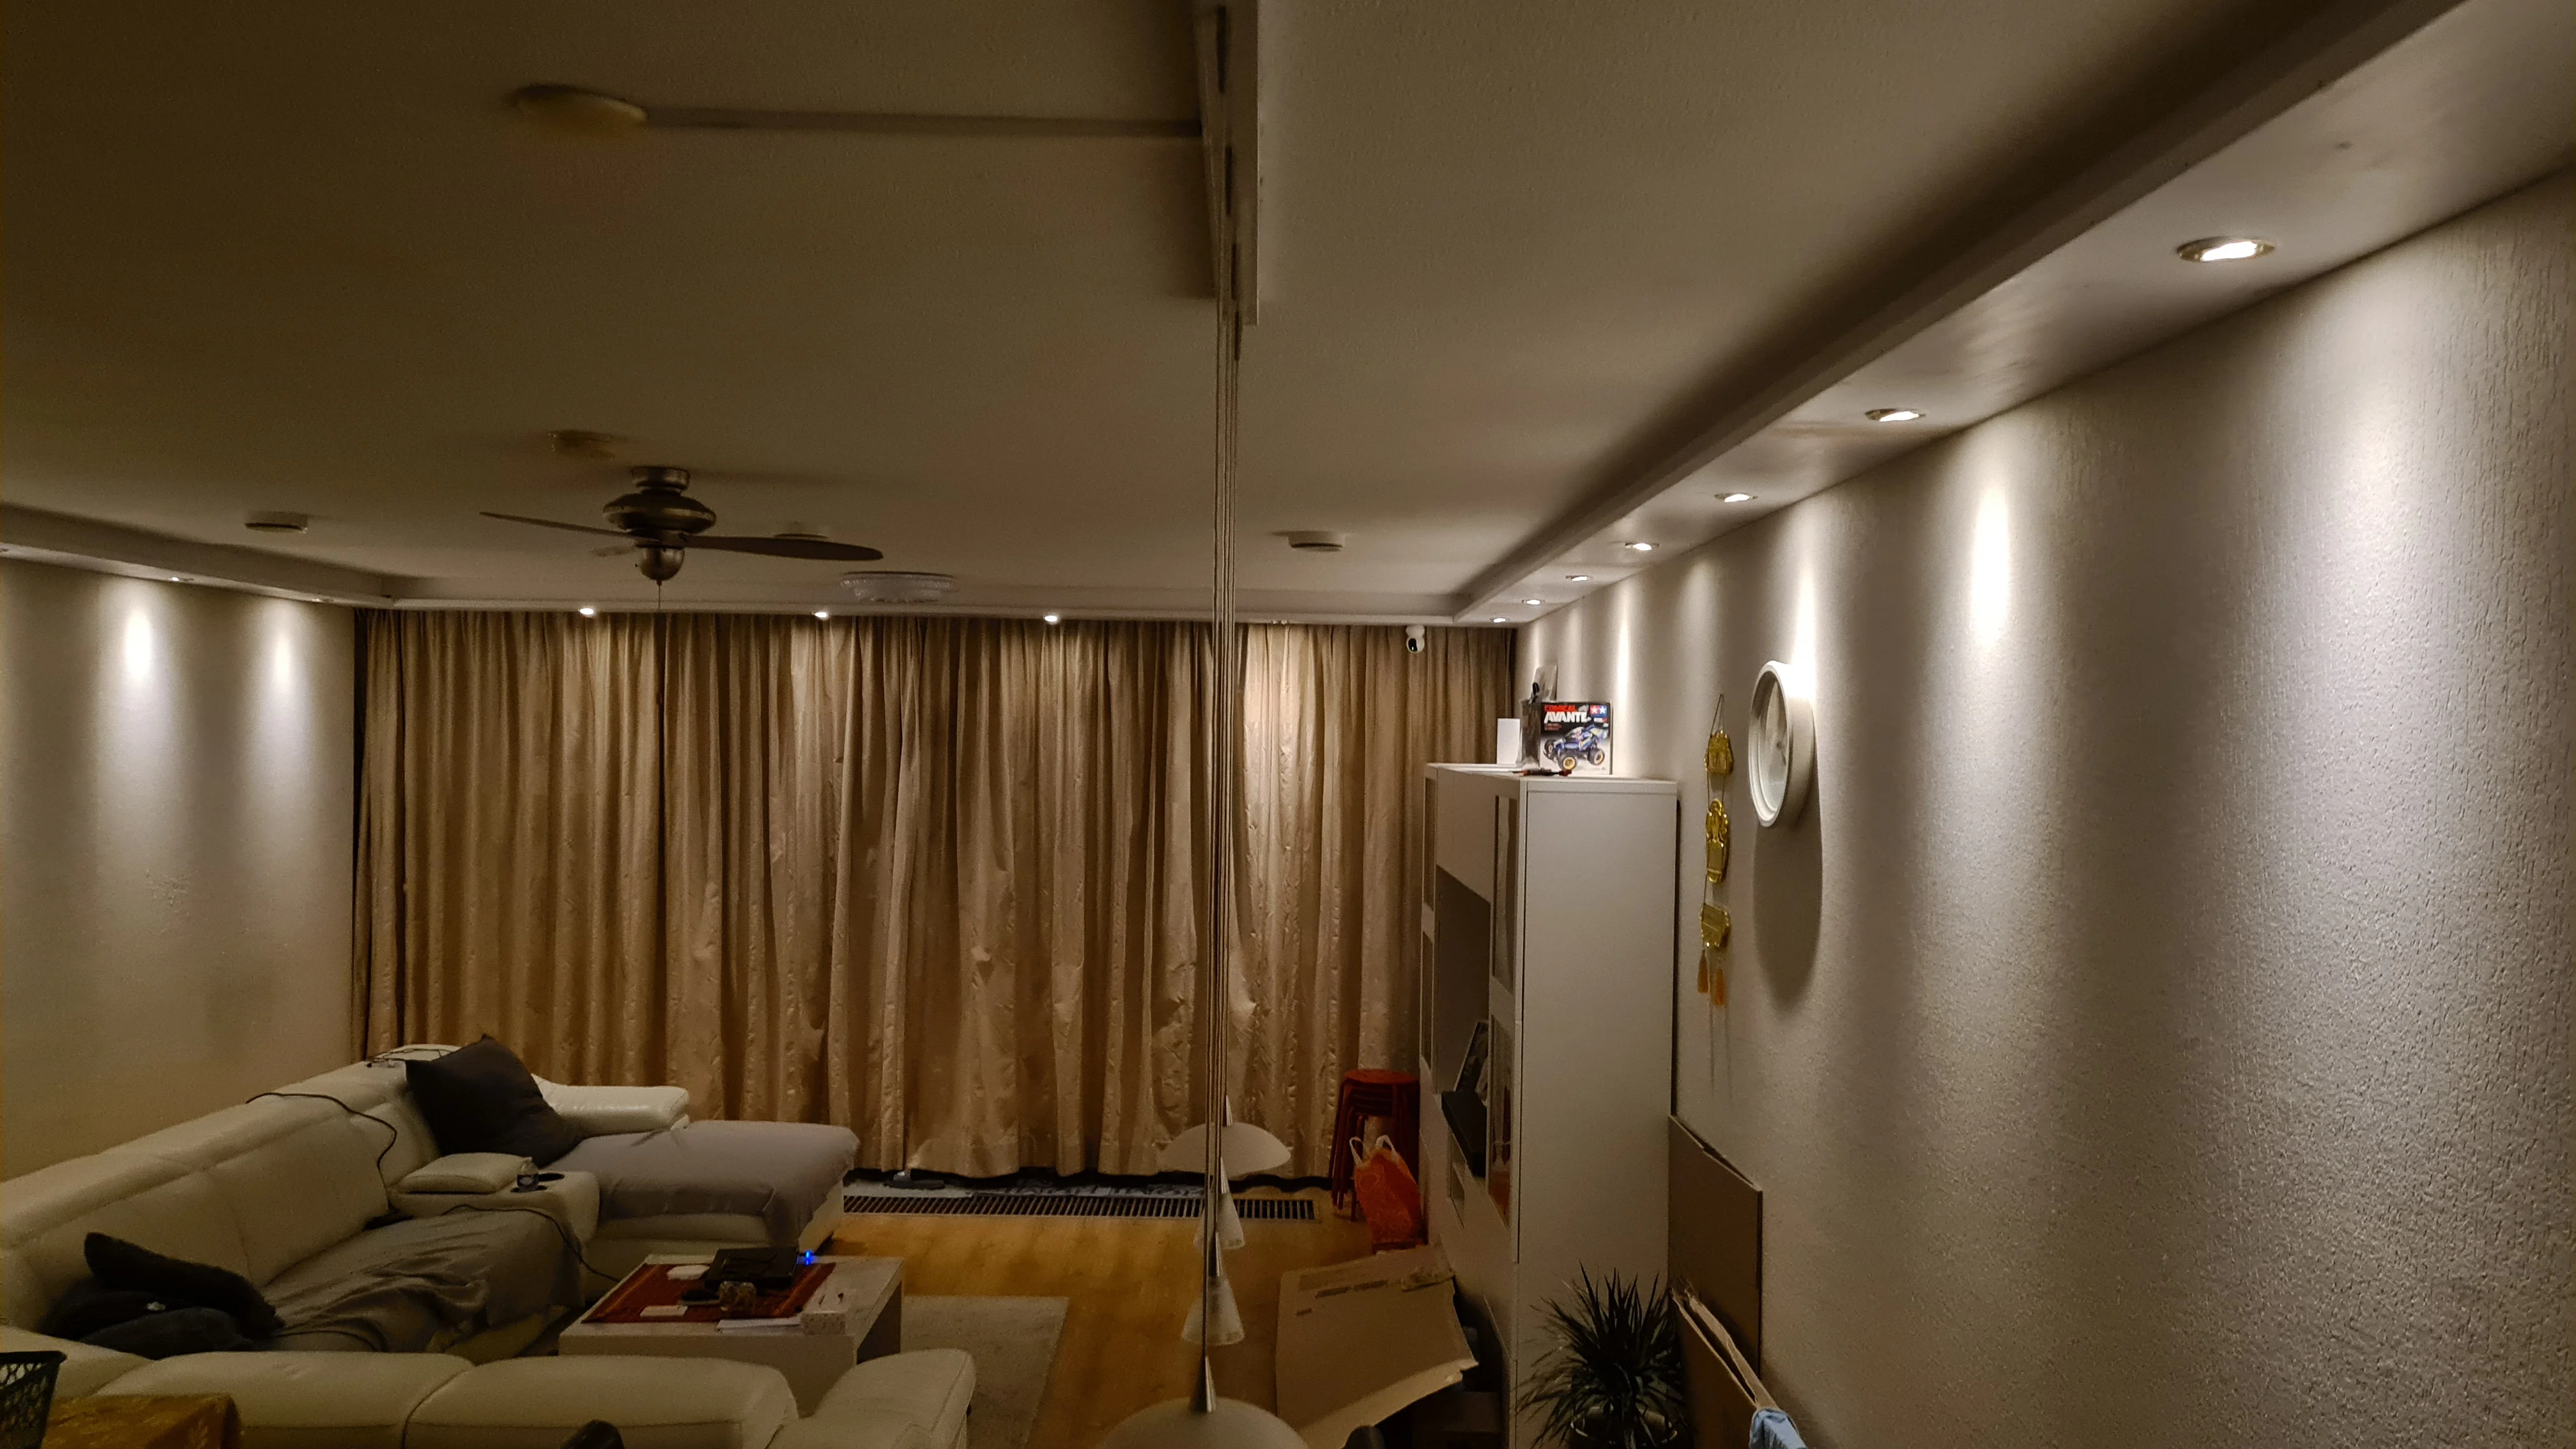
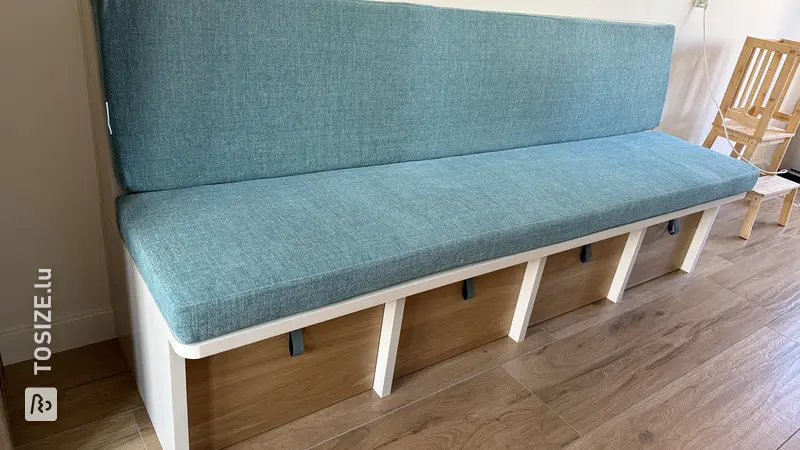
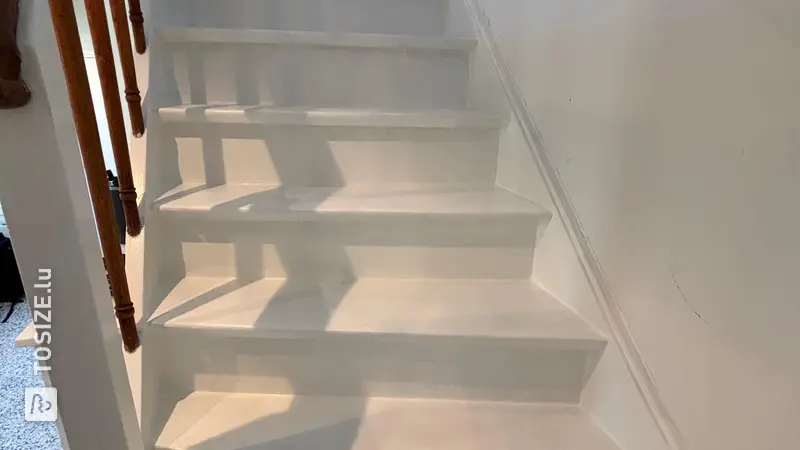
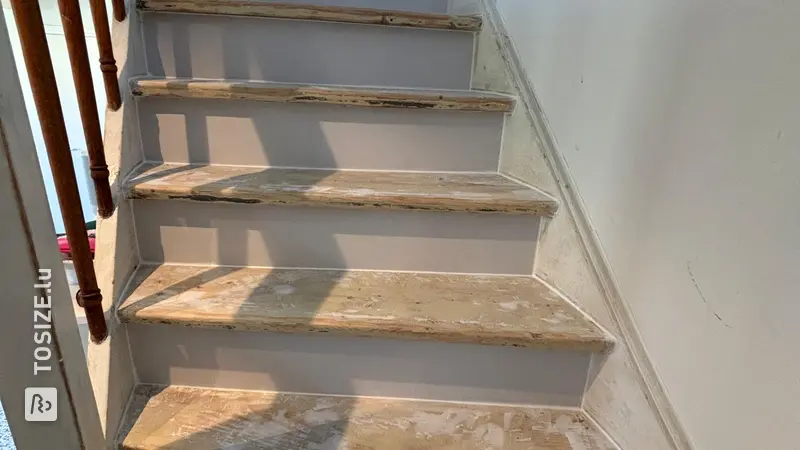
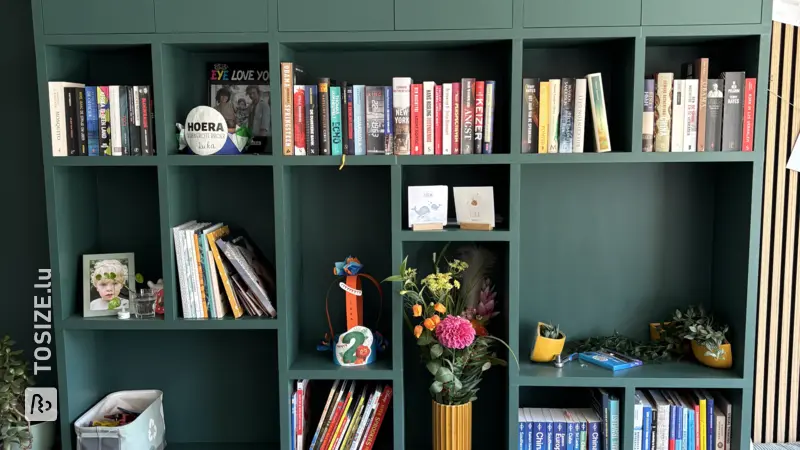
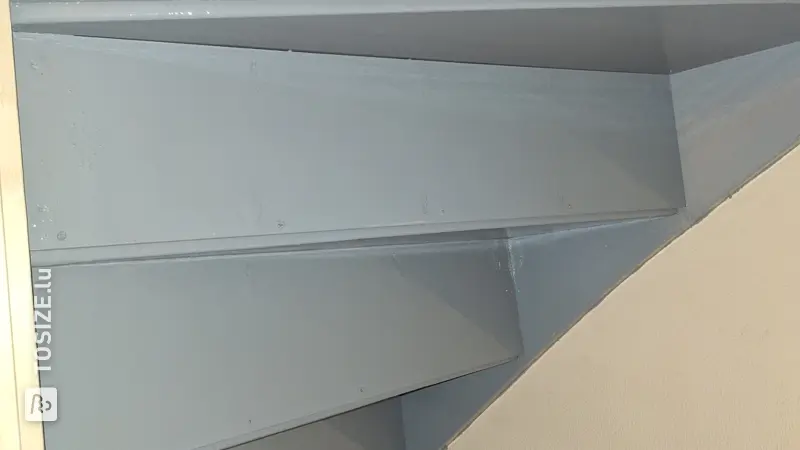
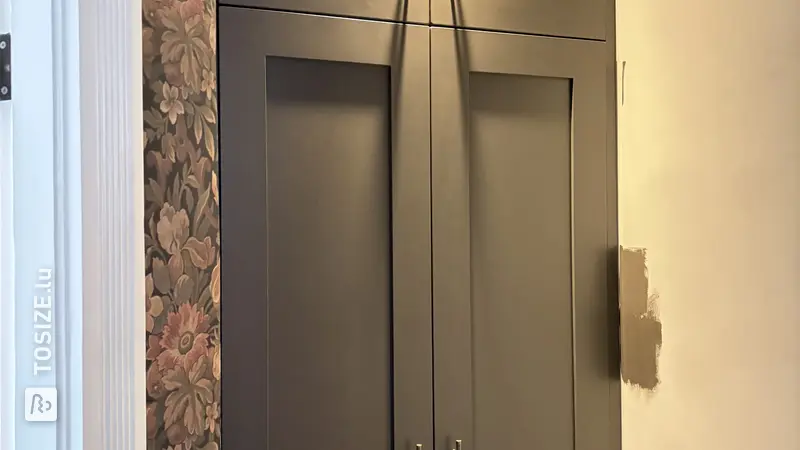
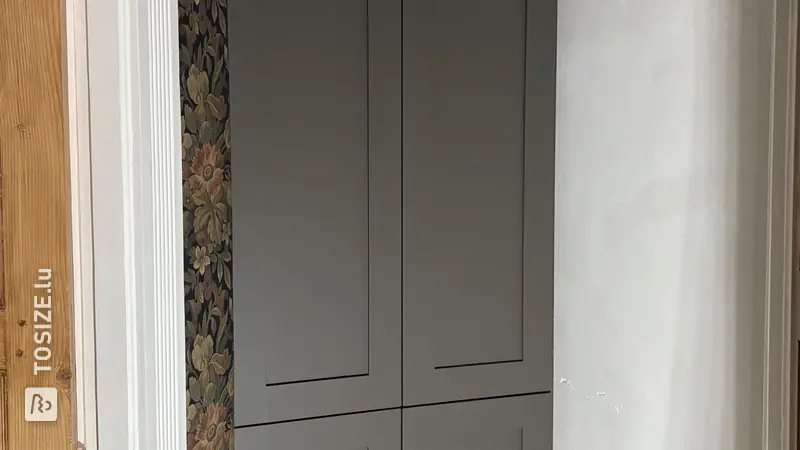
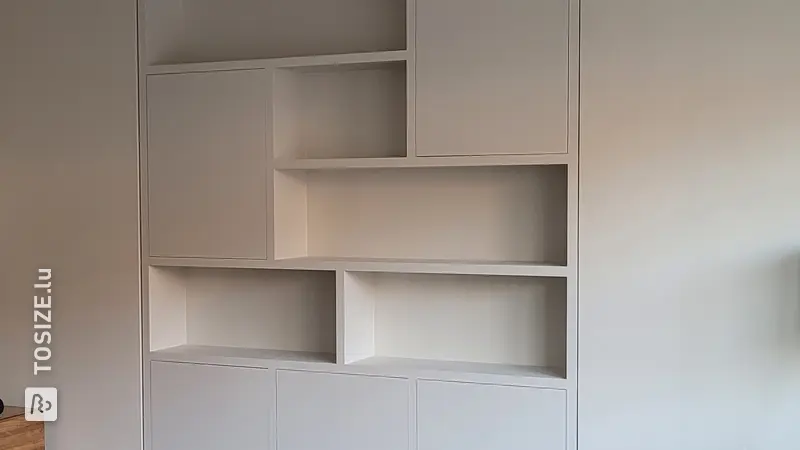
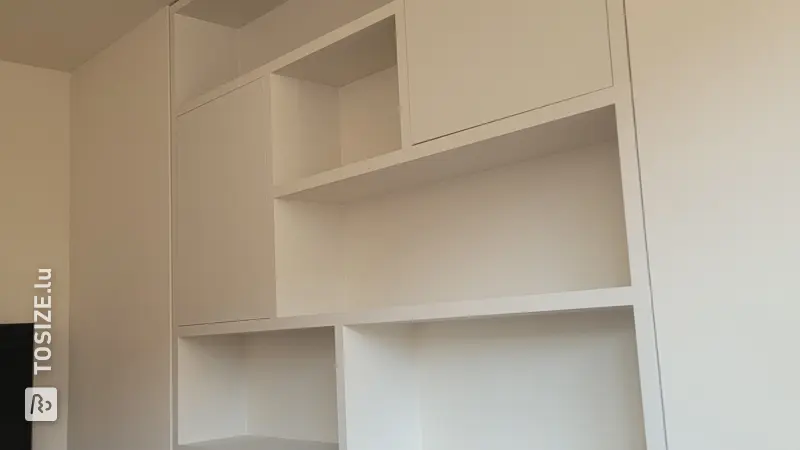
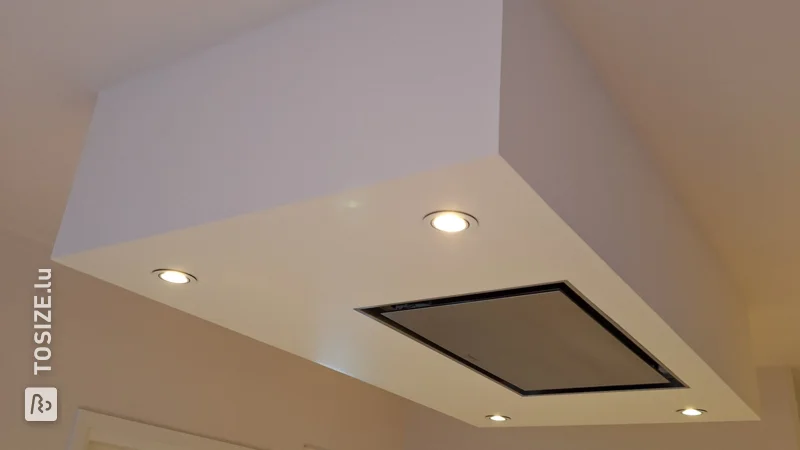
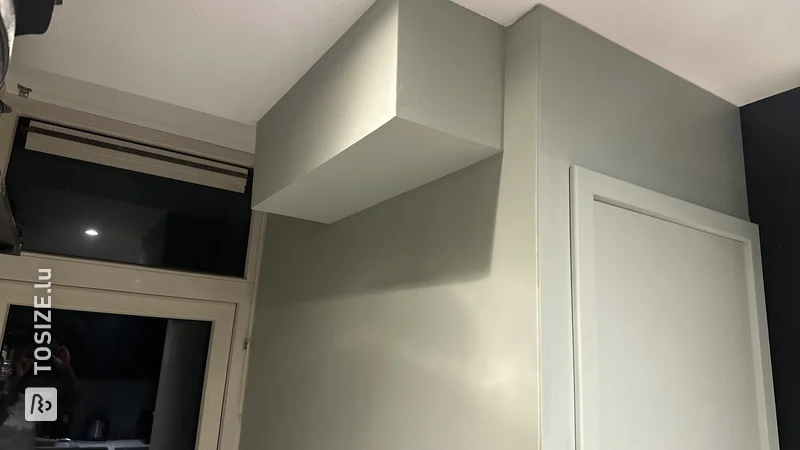
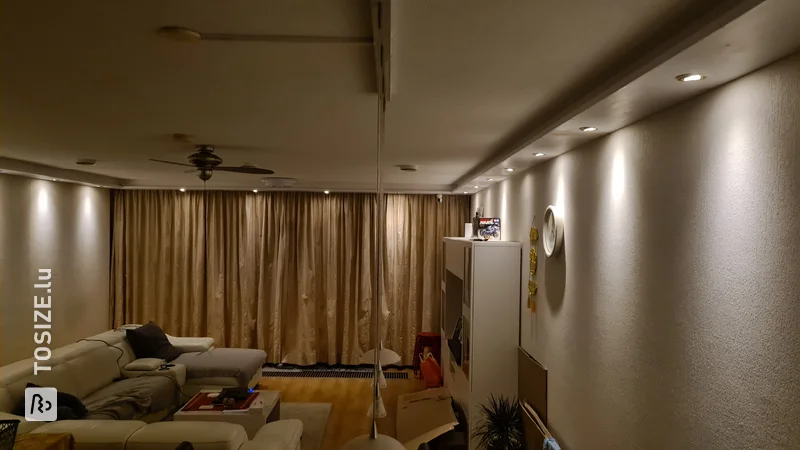
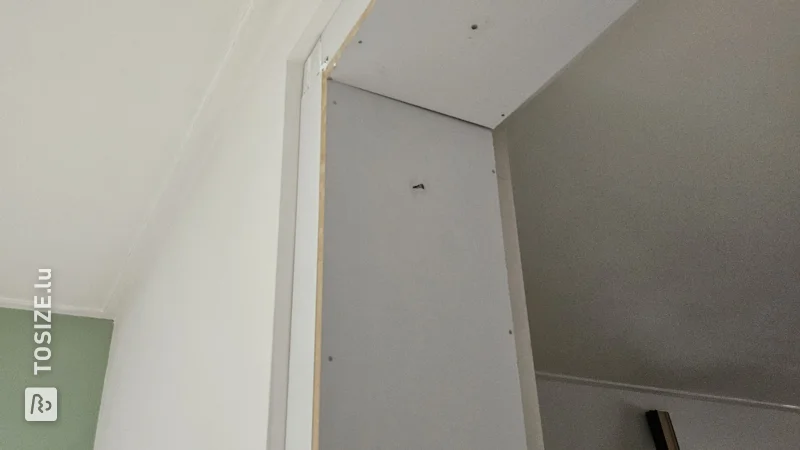
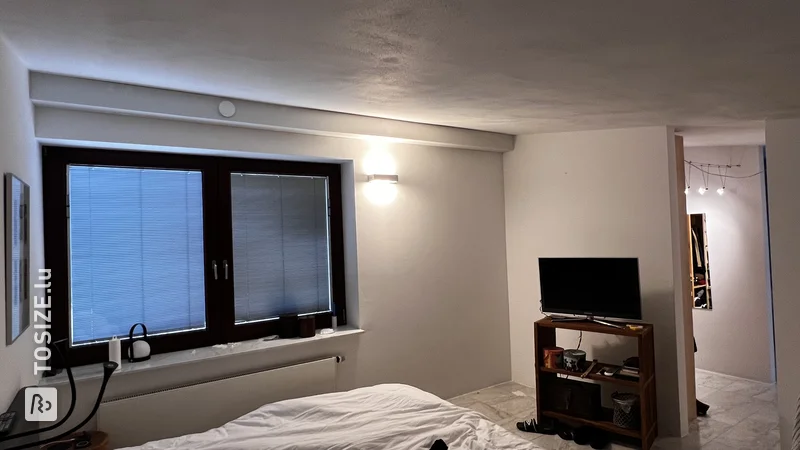
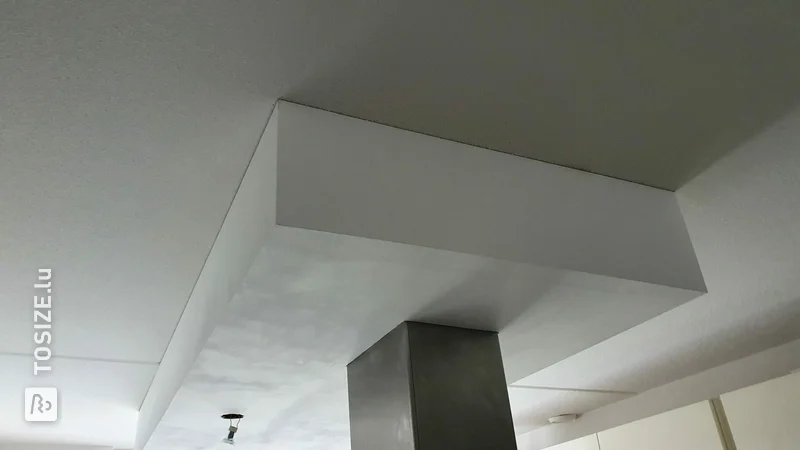
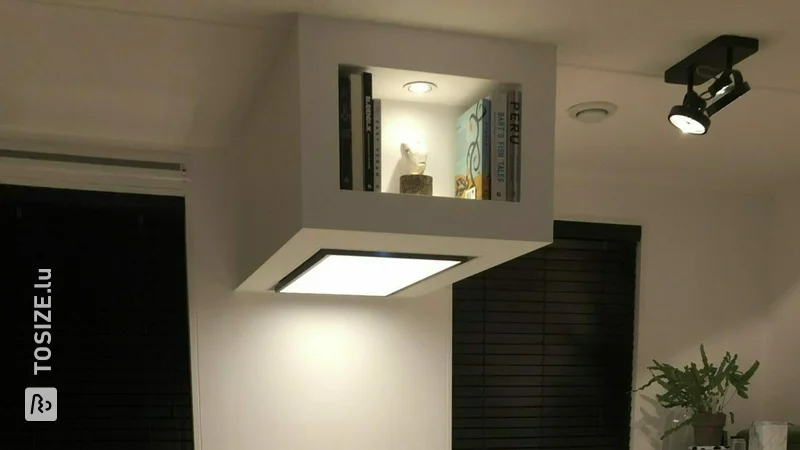
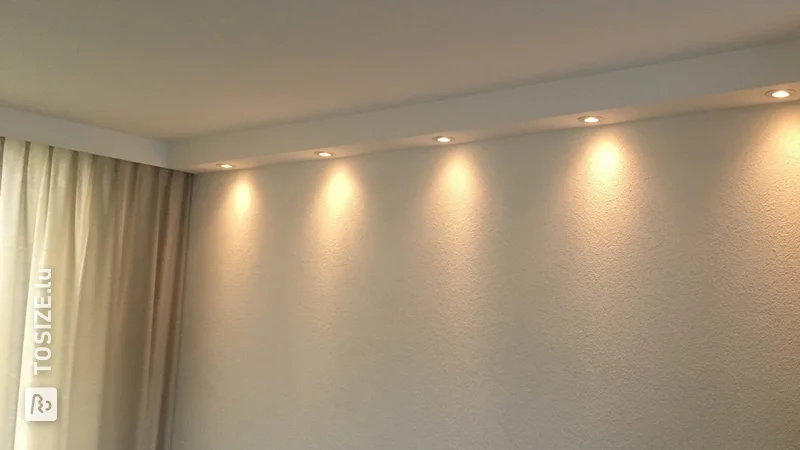
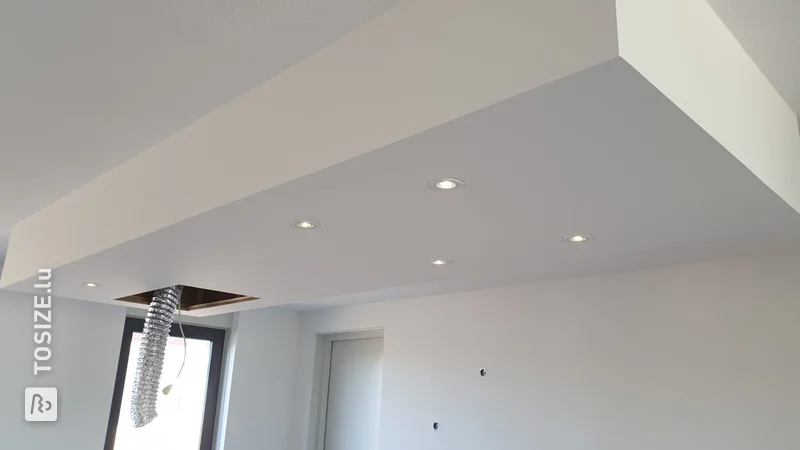
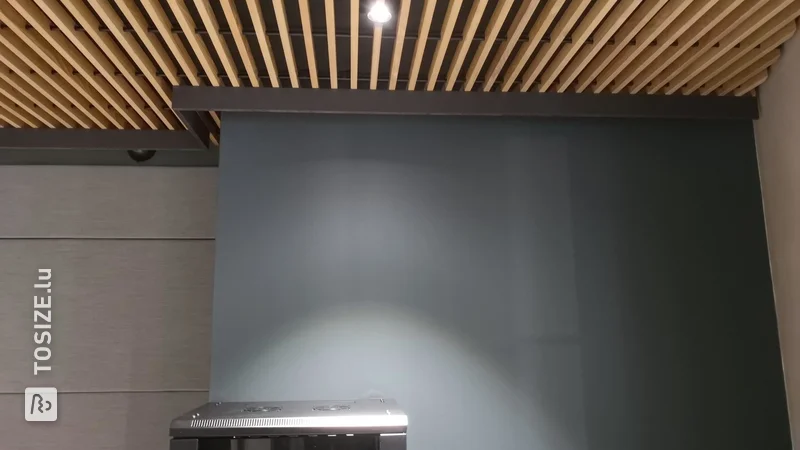
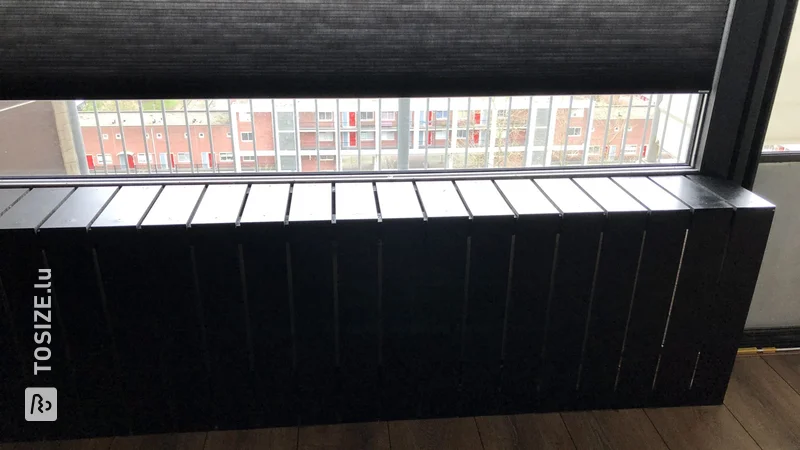
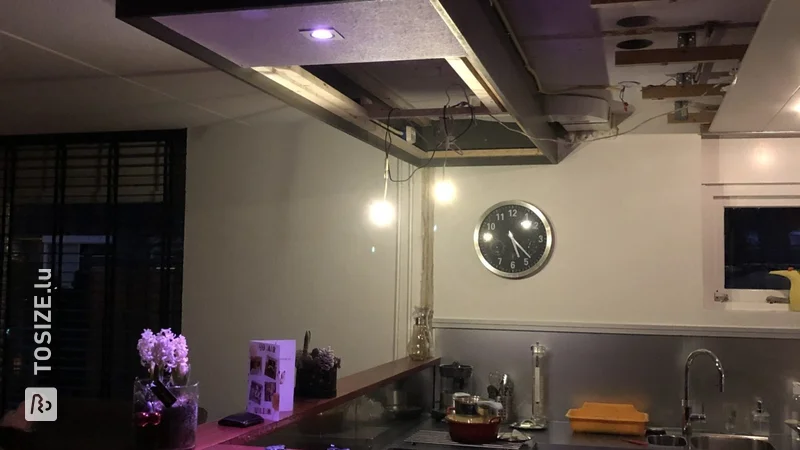
Our bedroom had a wooden cove with spotlights with a classic look. The classic look no longer matched the rest of the interior of our recently renovated bedroom, so we decided to give the cove a sleek finish. Using 3 mm wooden MDF panels sawn by TOSIZE.lu, I gave this surround a sleek look. I had 3 mm MDF panels cut to size, primed them myself and painted them in white. Then I attached the panels to the wooden cove with mounting adhesive. Then I sealed everything and painted it once more.
How I made this project
By first painting the MDF panels and then attaching them to the wooden cove with mounting adhesive. To ensure that the MDF panels do not shift, I hammered small nails into the bottom of the MDF panels. The panels rest on the nails and cannot sag in this way. Finally, I sealed everything and painted it once more for a super-smooth finish. I used paintable adhesive and water-based paint. This way I could paint the entire border once more after assembly and because of the water-based paint we do not suffer from a turpentine smell in our bedroom.
Dimensions of my DIY project
251.5 cm x 447.1
Tip! Also check out our handy DIY tips!
What now?
Want to make this DIY project? Check out Jeroen's saw list and complete your order easily.
60,14€
All materials used
View all sheet materials